

ELEVATE YOUR GAME
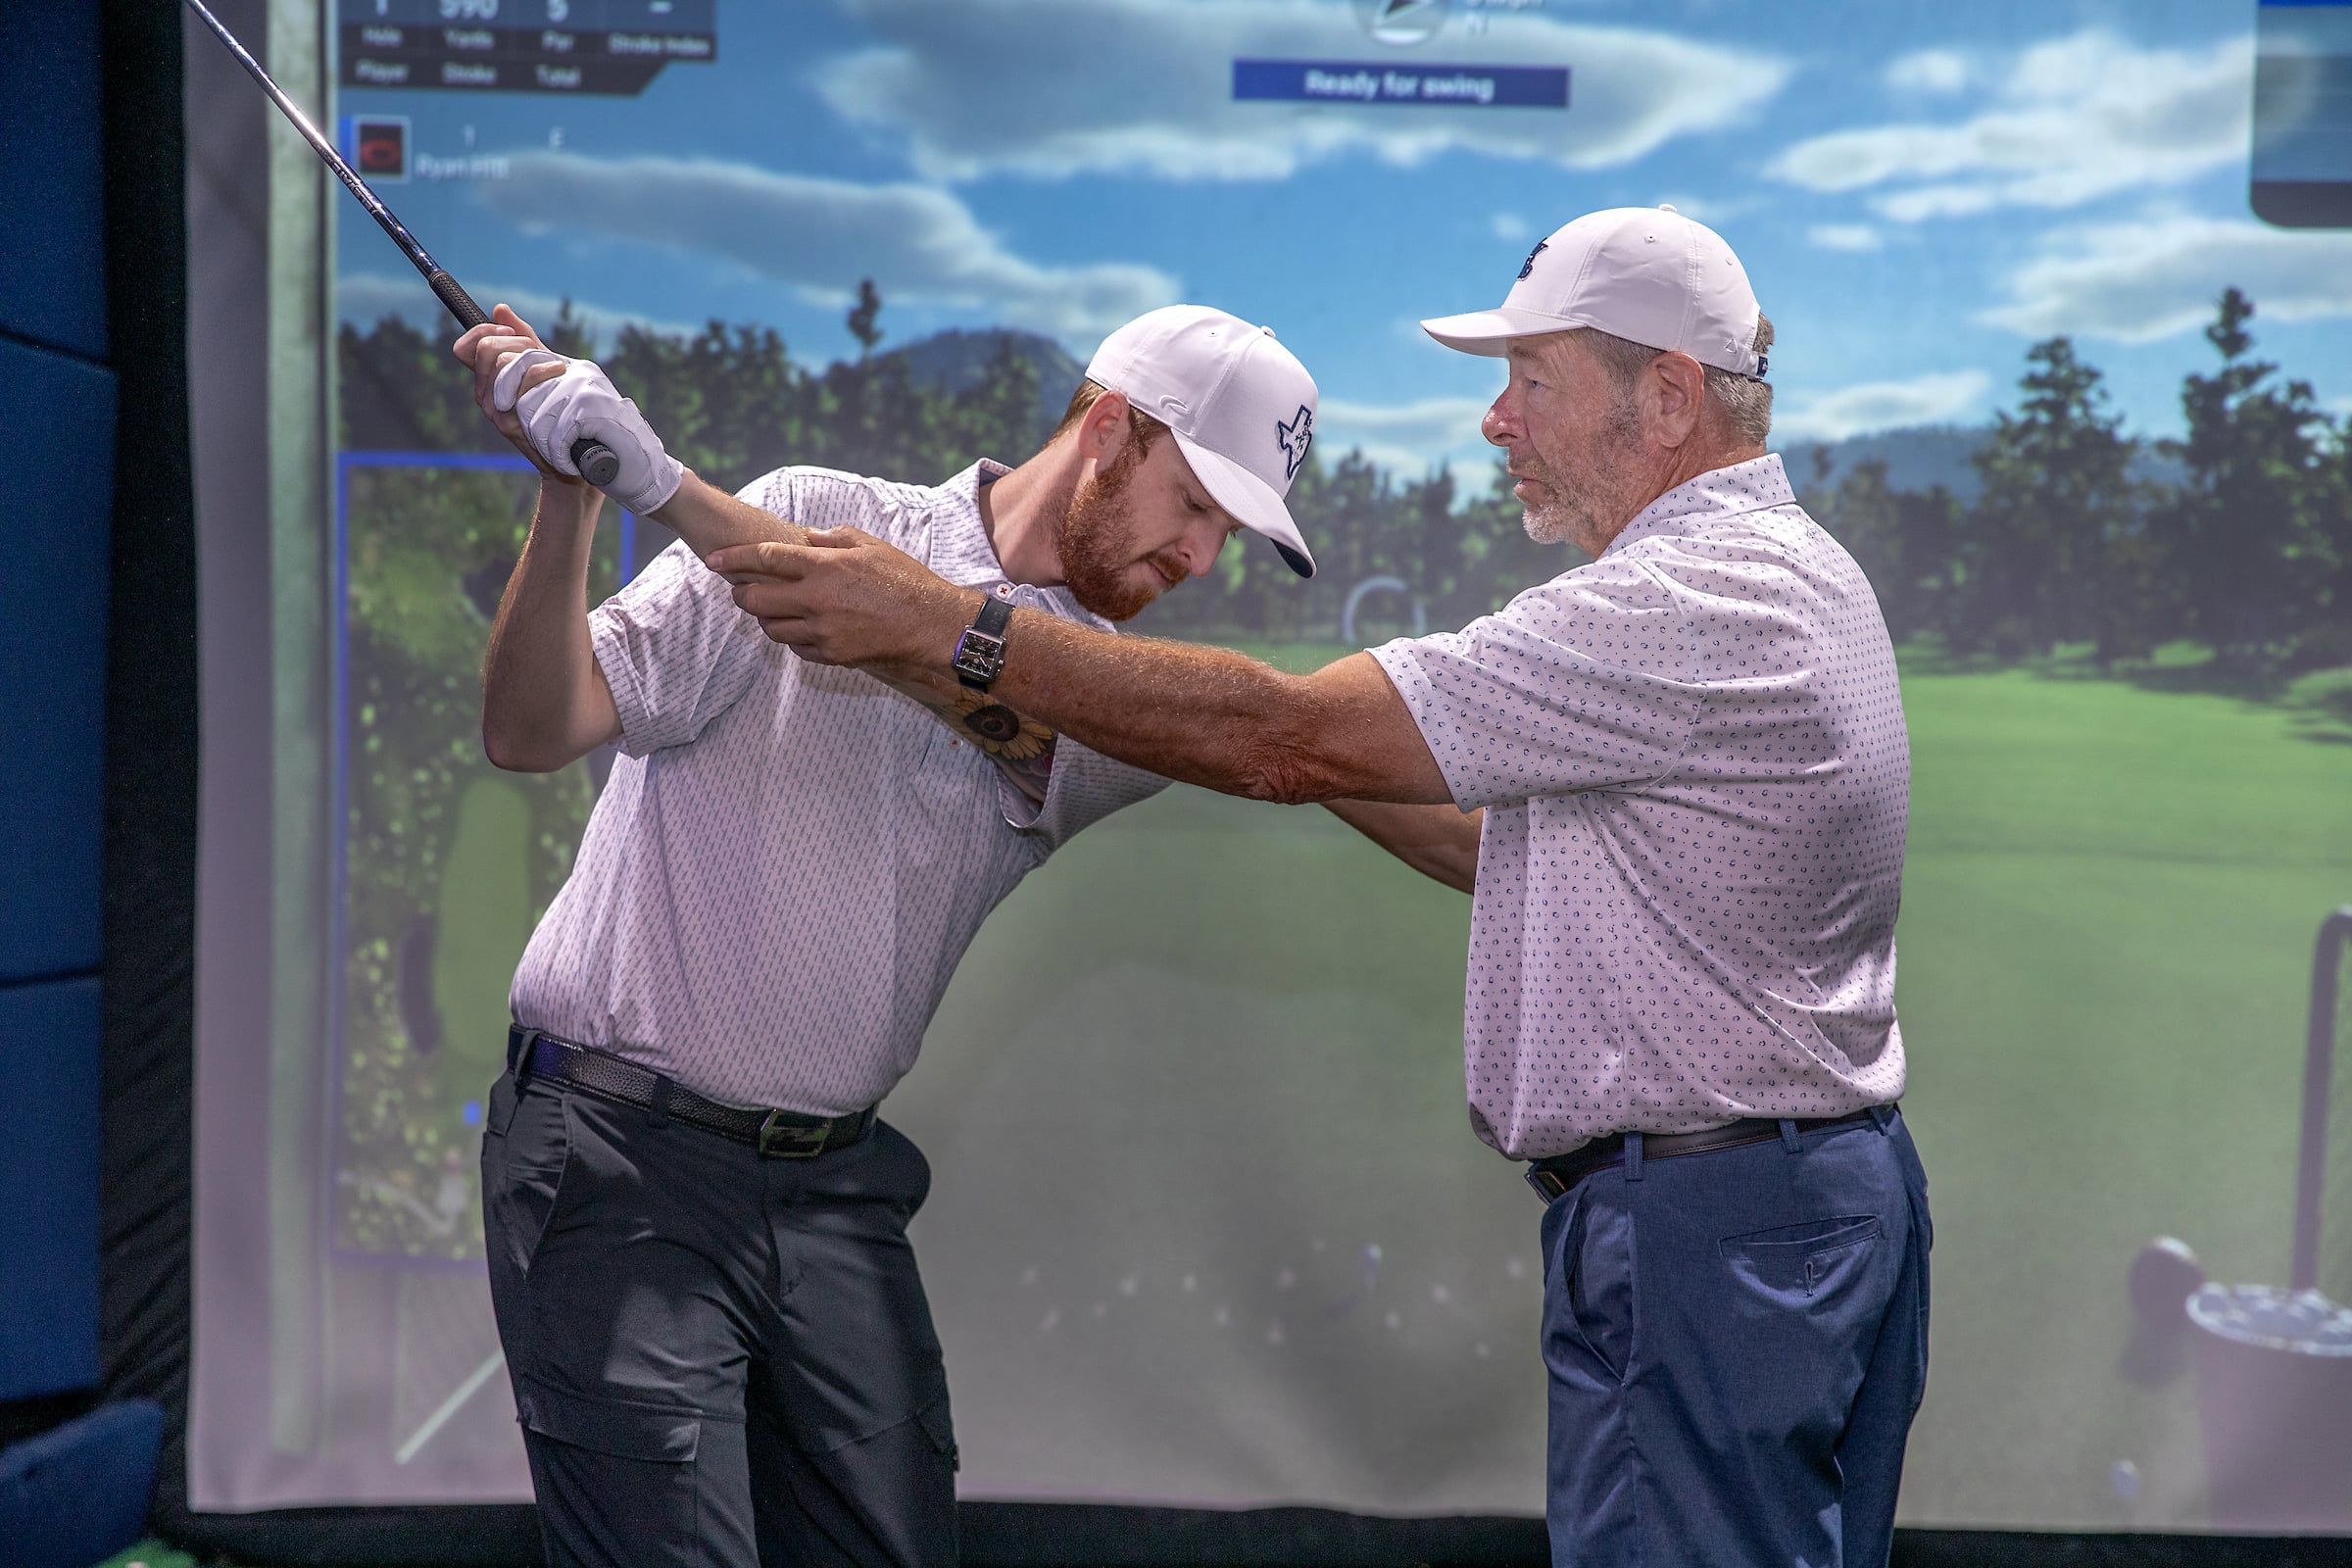
Sharpen your game with individual and group lessons, clinics, beginner programs, junior development, and TrackMan-supported fitting. From first swings to fine-tuning, coaching feels clear, personal, and built around progress.
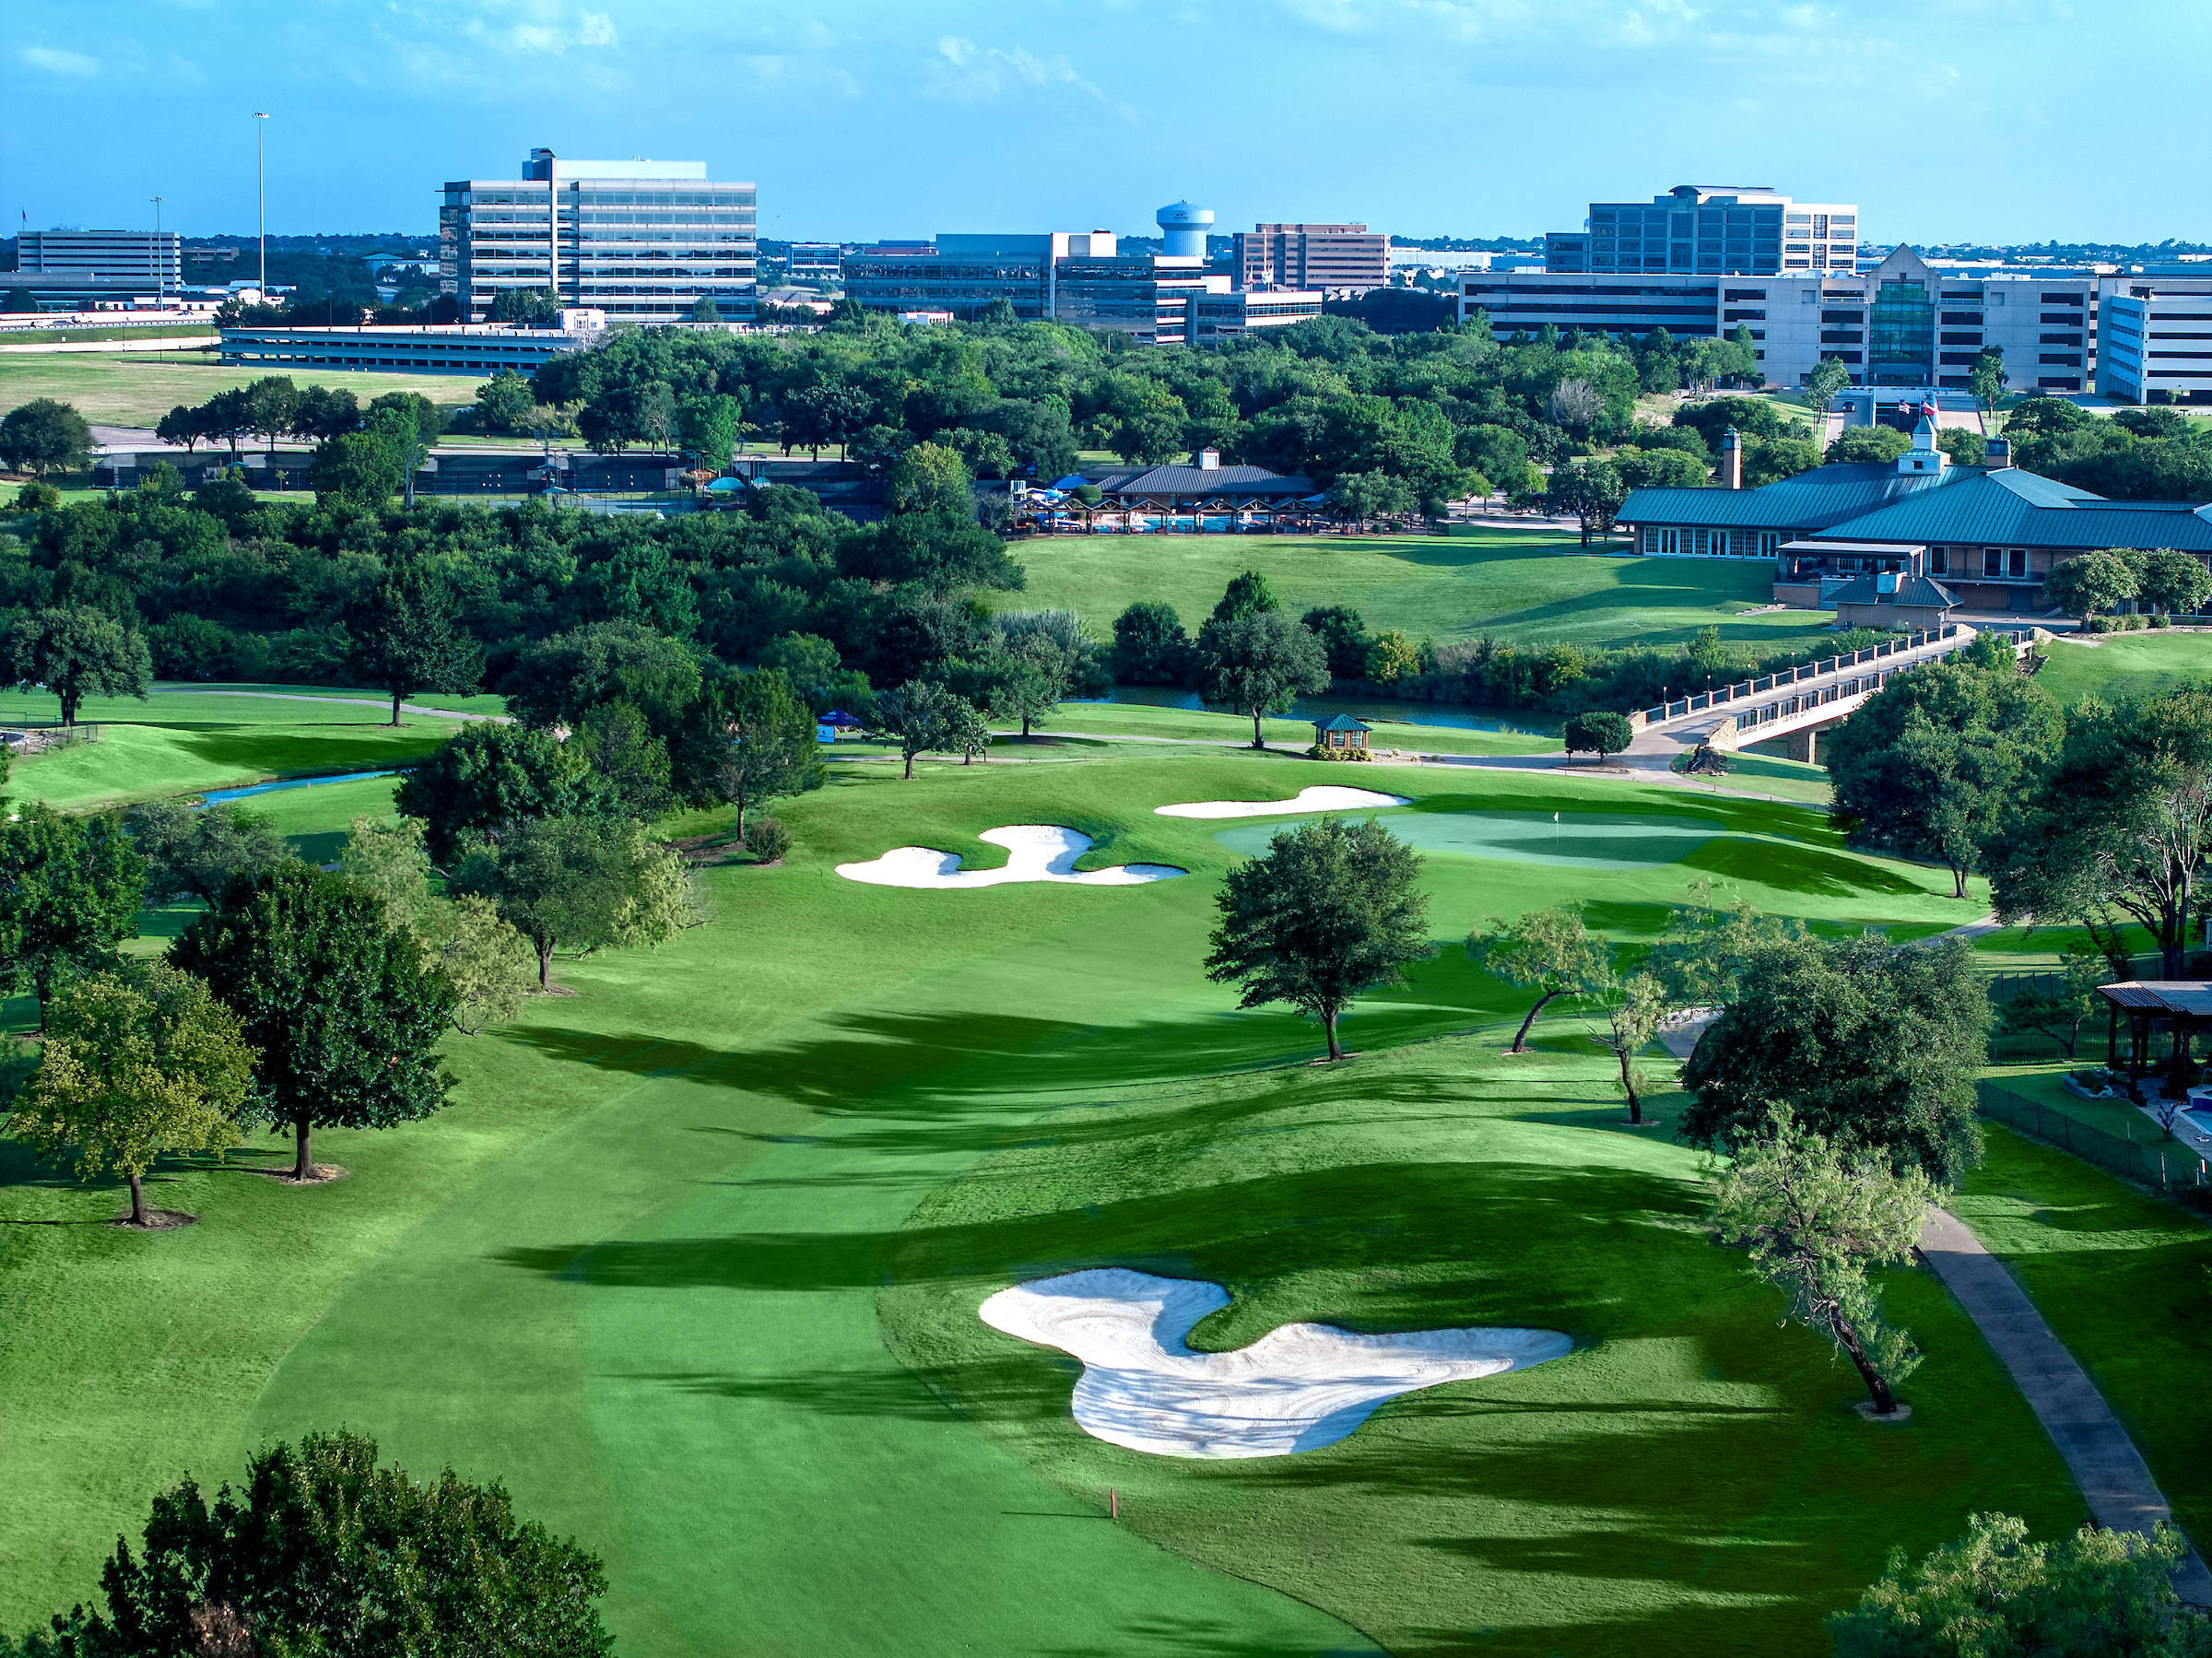
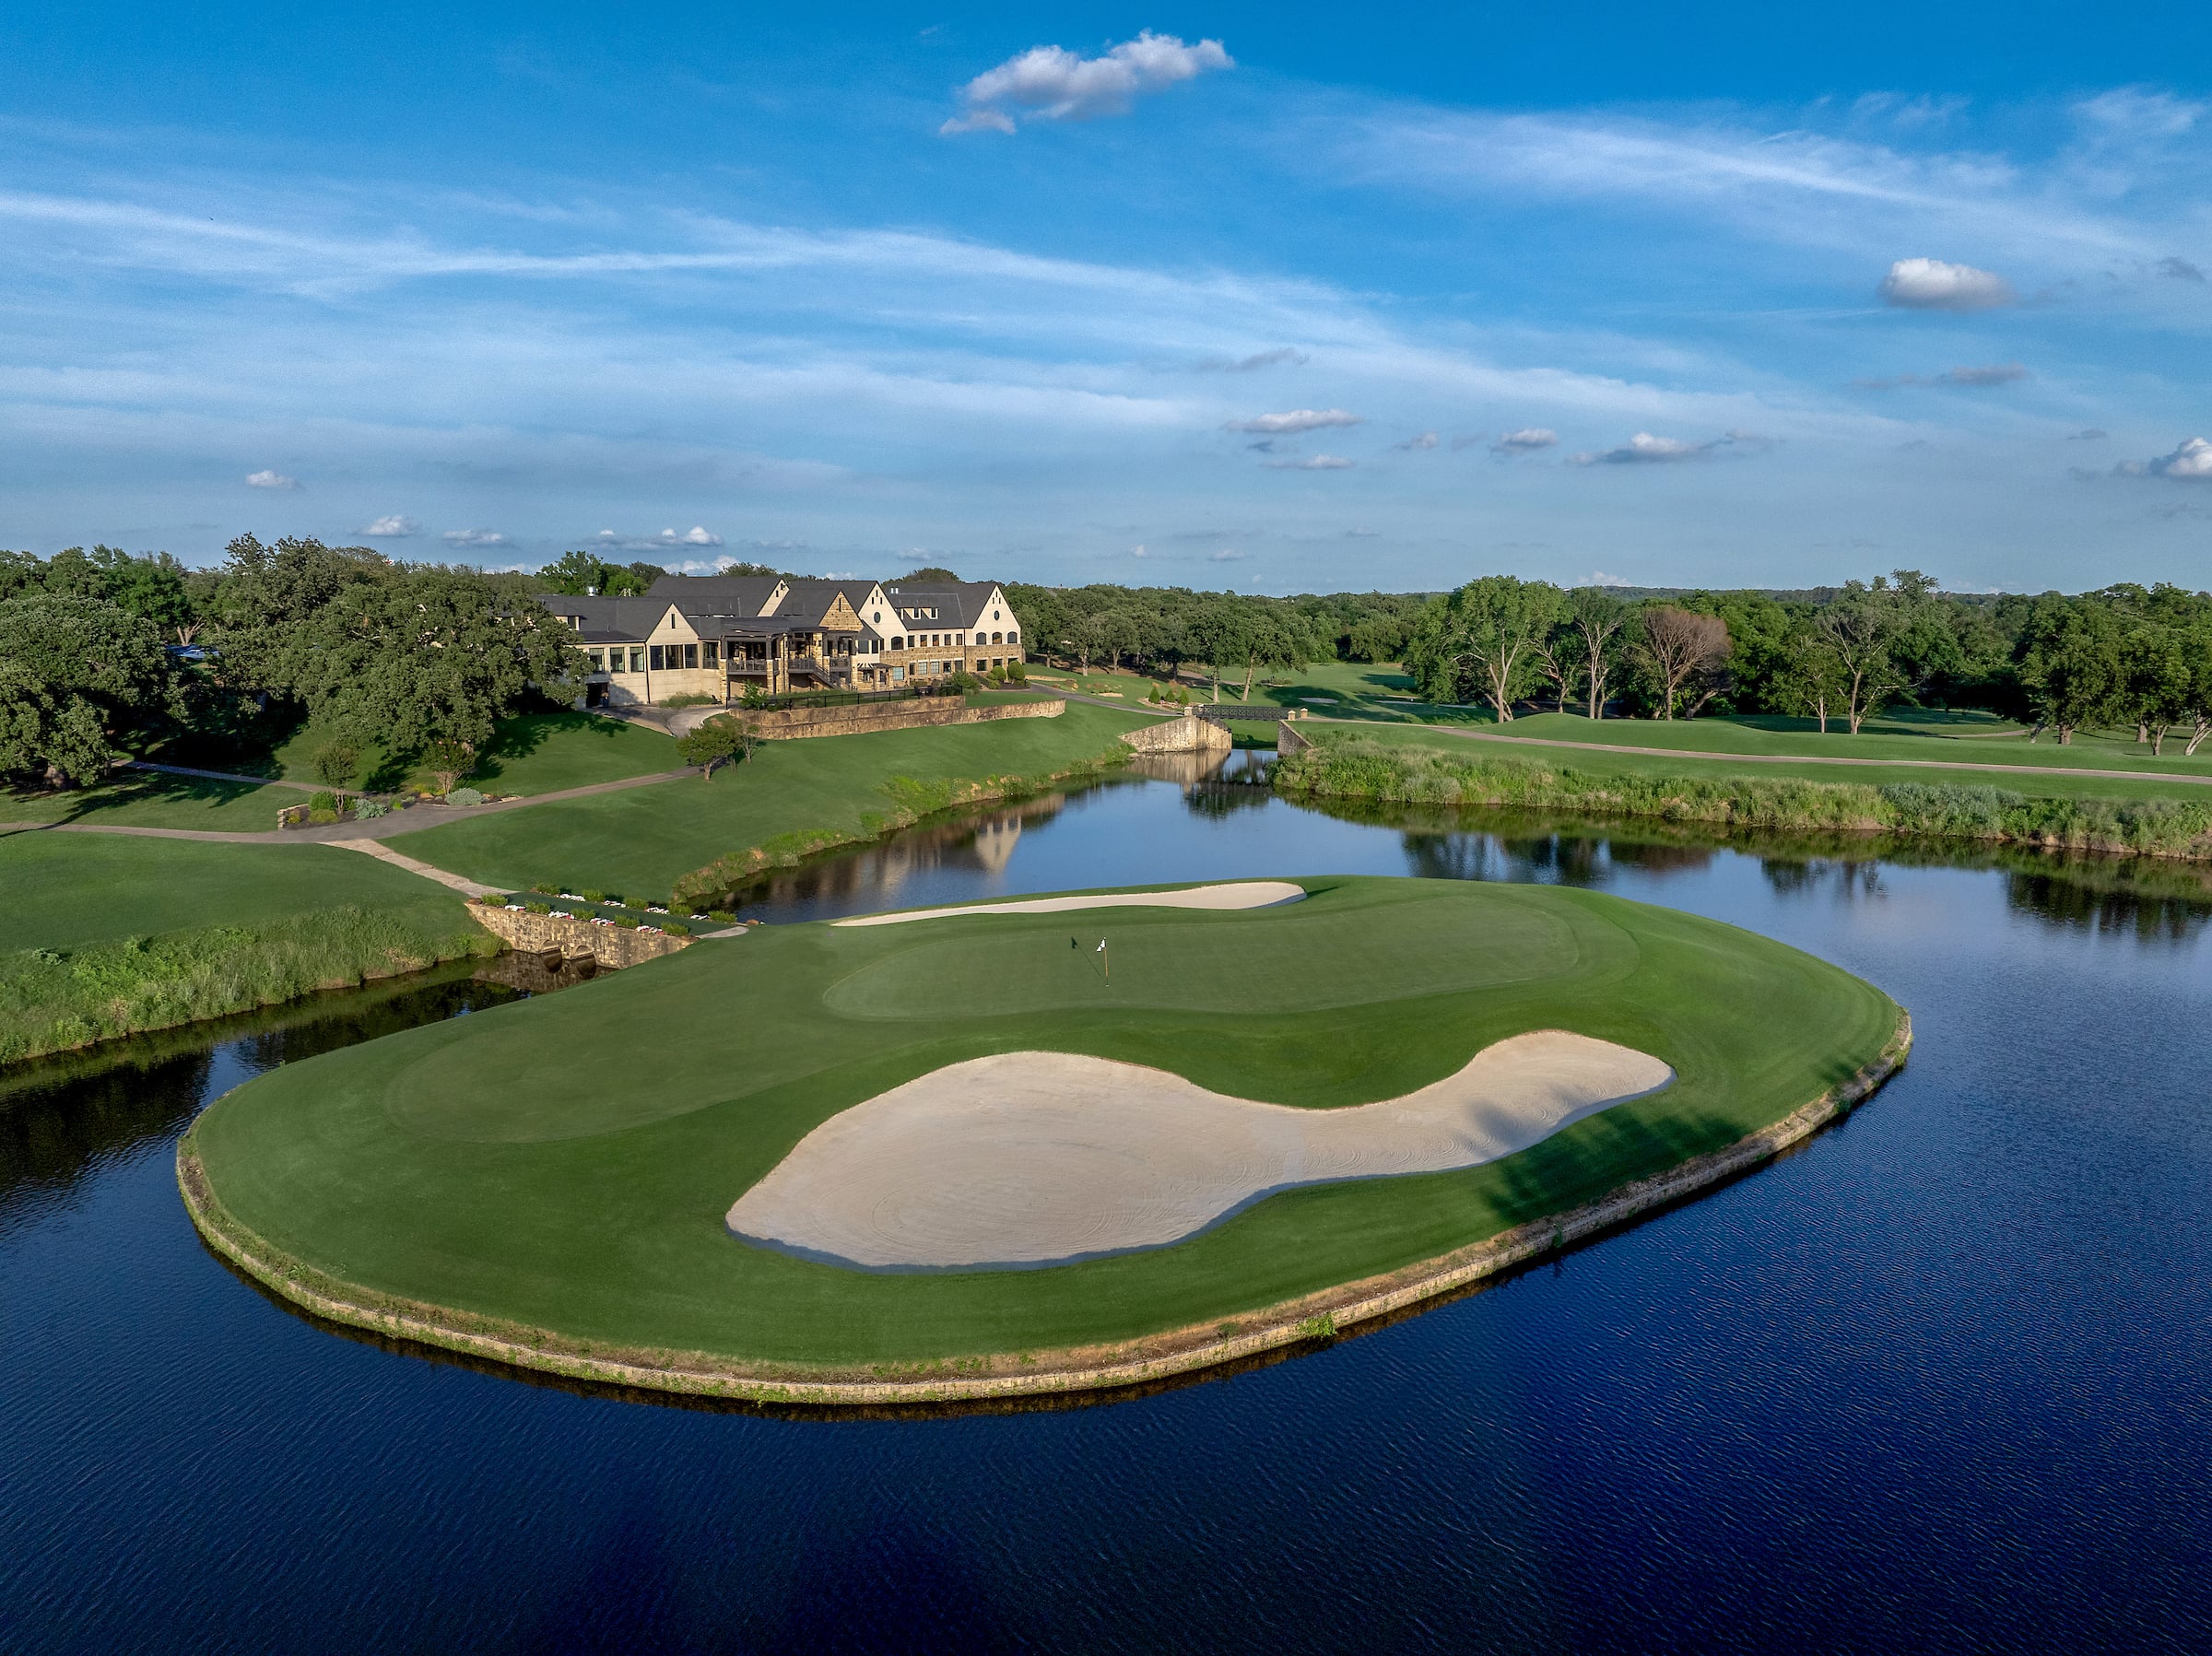
The Whitworth Course at Trophy Club Country Club is an 18-hole championship course in Trophy Club, Texas, in the Dallas-Fort Worth area. Designed by Arthur Hills in 1975 and named in 2008 to honor longtime Trophy Club resident and LPGA legend Kathy Whitworth, the course offers Members a compelling round with variety, challenge, and modern North Texas character. Her legacy is also celebrated in the Club’s main dining room, affectionately known as The Whit, where many of her 88 professional tour trophies are displayed with photos and personal mementos.
Par 4
Tee 1: 394
Tee 2: 394
Tee 3: 364
Tee 4: 364
Tee 5: 289
Par 4
Tee 1: 402
Tee 2: 370
Tee 3: 370
Tee 4: 304
Tee 5: 304
Par 3
Tee 1: 158
Tee 2: 127
Tee 3: 117
Tee 4: 117
Tee 5: 289

Par 4
Tee 1: 403
Tee 2: 387
Tee 3: 372
Tee 4: 348
Tee 5: 348

Par 5
Tee 1: 610
Tee 2: 557
Tee 3: 557
Tee 4: 512
Tee 5: 463

Par 4
Tee 1: 388
Tee 2: 388
Tee 3: 343
Tee 4: 343
Tee 5: 306

Par 5
Tee 1: 520
Tee 2: 520
Tee 3: 488
Tee 4: 488
Tee 5: 436

Par 3
Tee 1: 212
Tee 2: 174
Tee 3: 149
Tee 4: 134
Tee 5: 134

Par 4
Tee 1: 362
Tee 2: 336
Tee 3: 305
Tee 4: 305
Tee 5: 277
Par 5
Tee 1: 517
Tee 3: 517
Tee 2: 487
Tee 4: 487
Tee 5: 419
Par 4
Tee 1: 408
Tee 2: 375
Tee 3: 375
Tee 4: 276
Tee 5: 276
Par 4
Tee 1: 419
Tee 2: 370
Tee 3: 3049
Tee 4: 318
Tee 5: 286
Par 3
Tee 1: 205
Tee 3: 167
Tee 2: 167
Tee 4: 130
Tee 5: 130
Par 5
Tee 1: 560
Tee 2: 560
Tee 3: 528
Tee 4: 528
Tee 5: 447

Par 4
Tee 1: 370
Tee 2: 339
Tee 3: 320
Tee 4: 296
Tee 5: 276

Par 4
Tee 1: 427
Tee 2: 393
Tee 3: 393
Tee 4: 335
Tee 5: 335
Par 3
Tee 1: 177
Tee 2: 177
Tee 3: 125
Tee 4: 125
Tee 5: 92
Par 4
Tee 1: 460
Tee 2: 396
Tee 3: 396
Tee 4: 327
Tee 5: 327
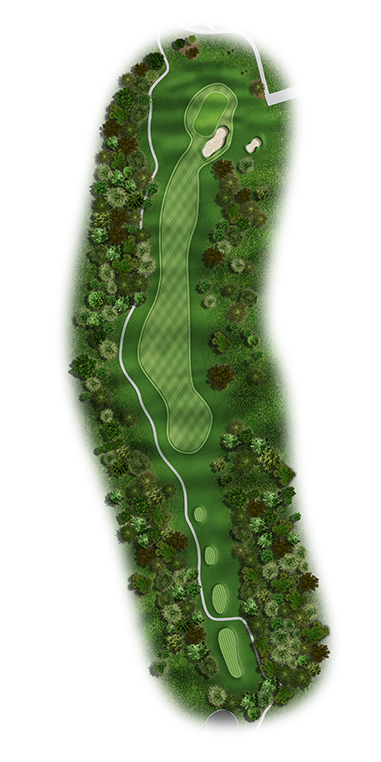
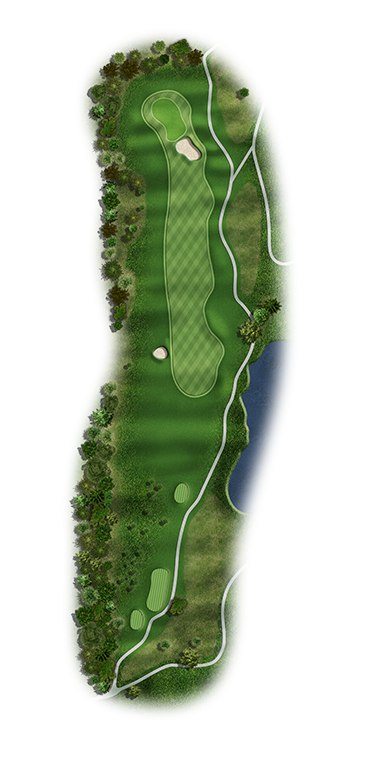
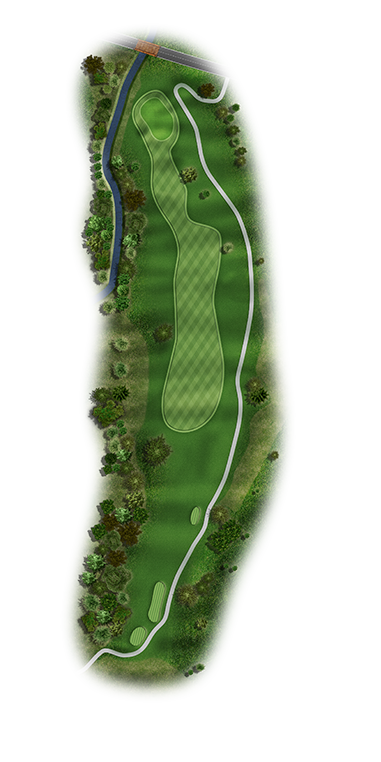
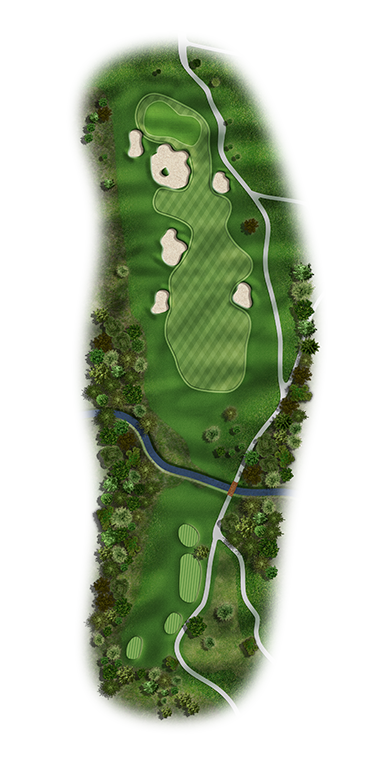
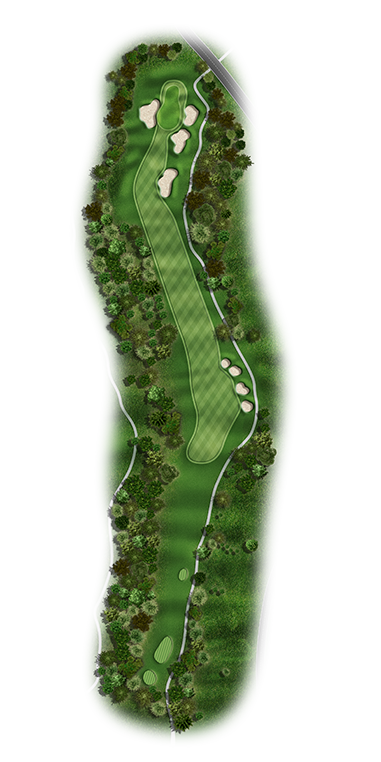
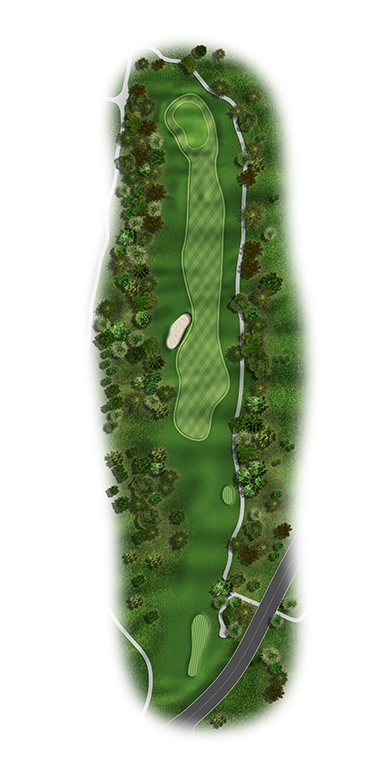
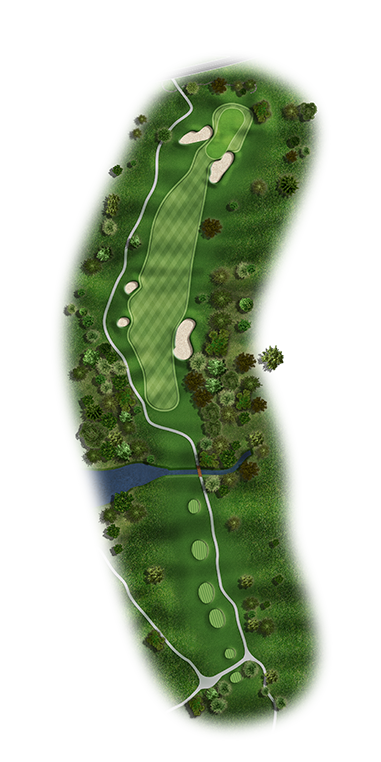
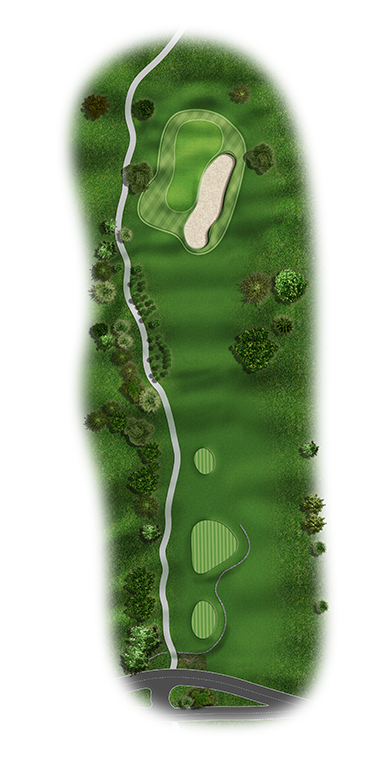
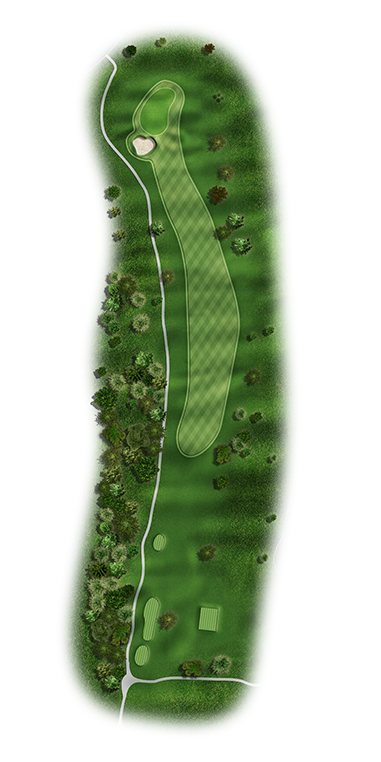
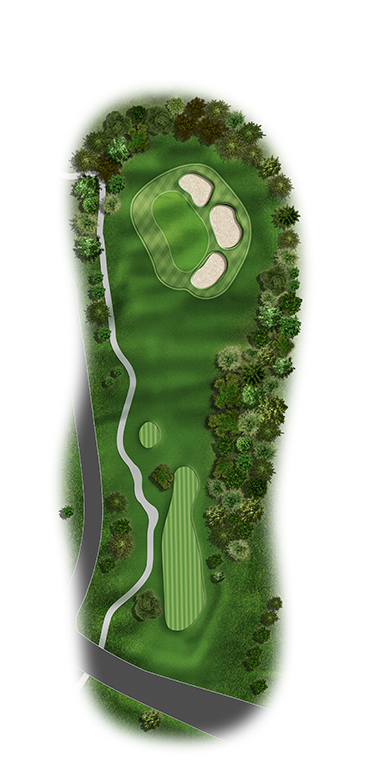
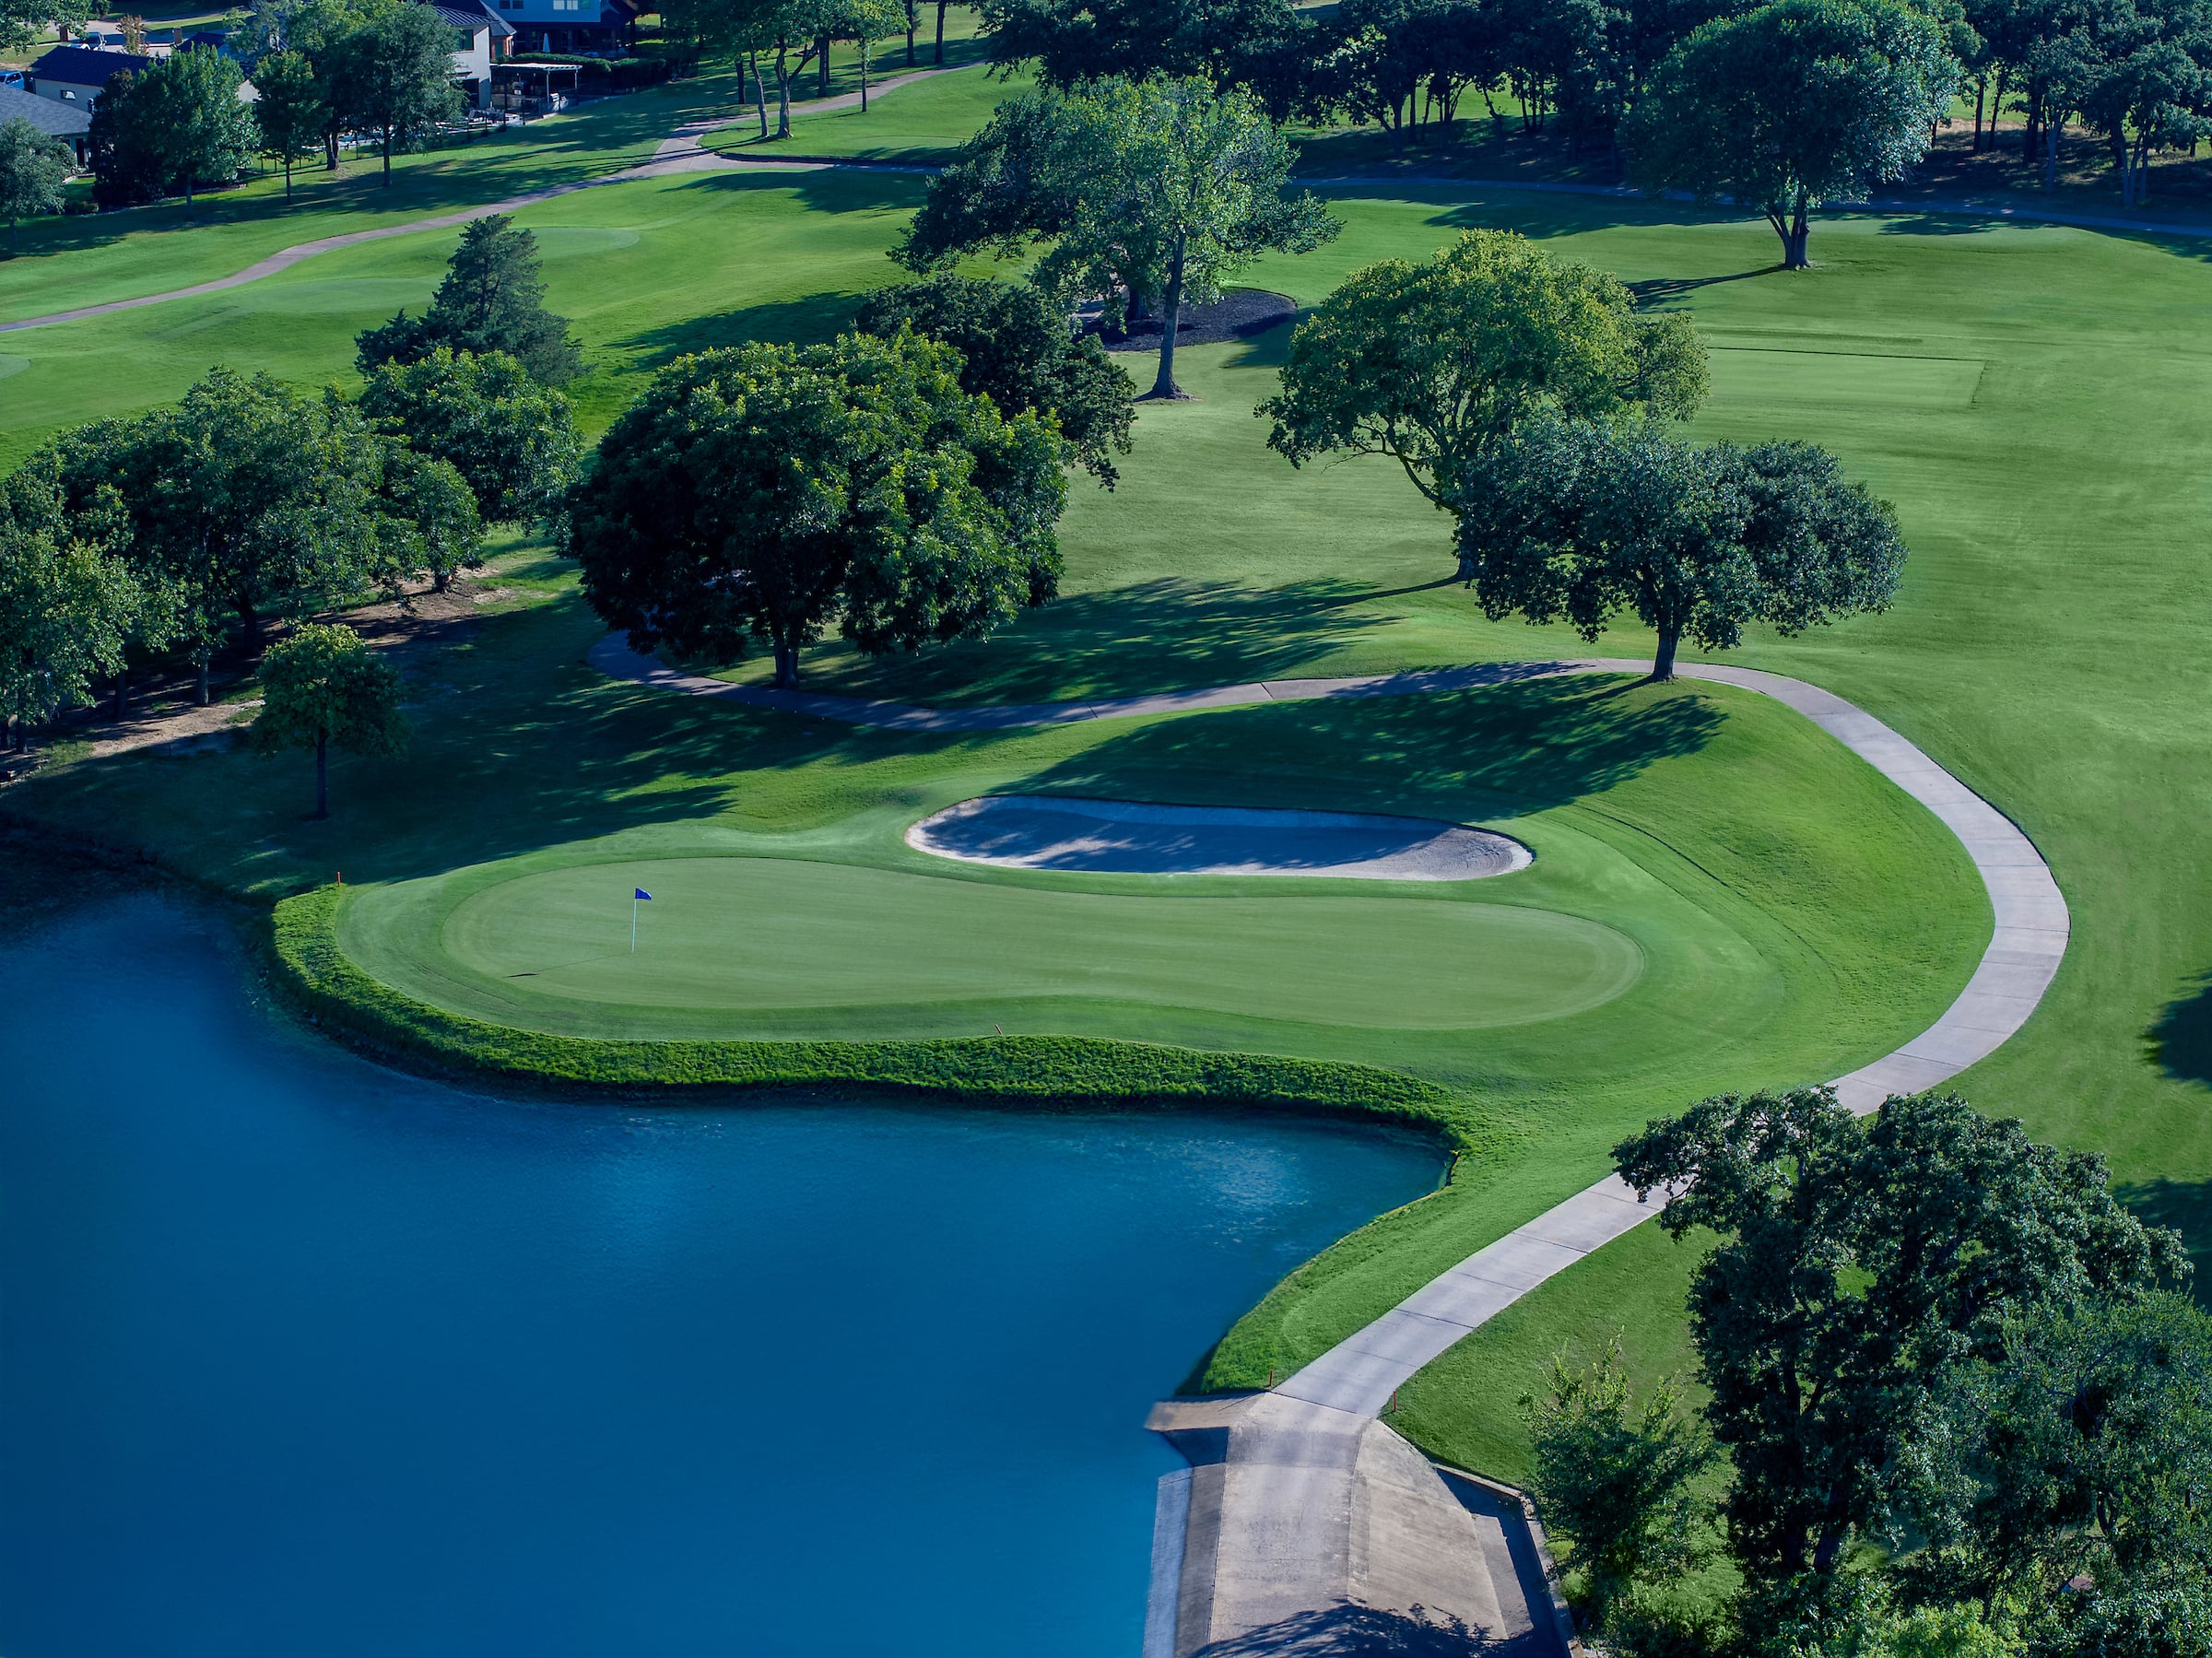
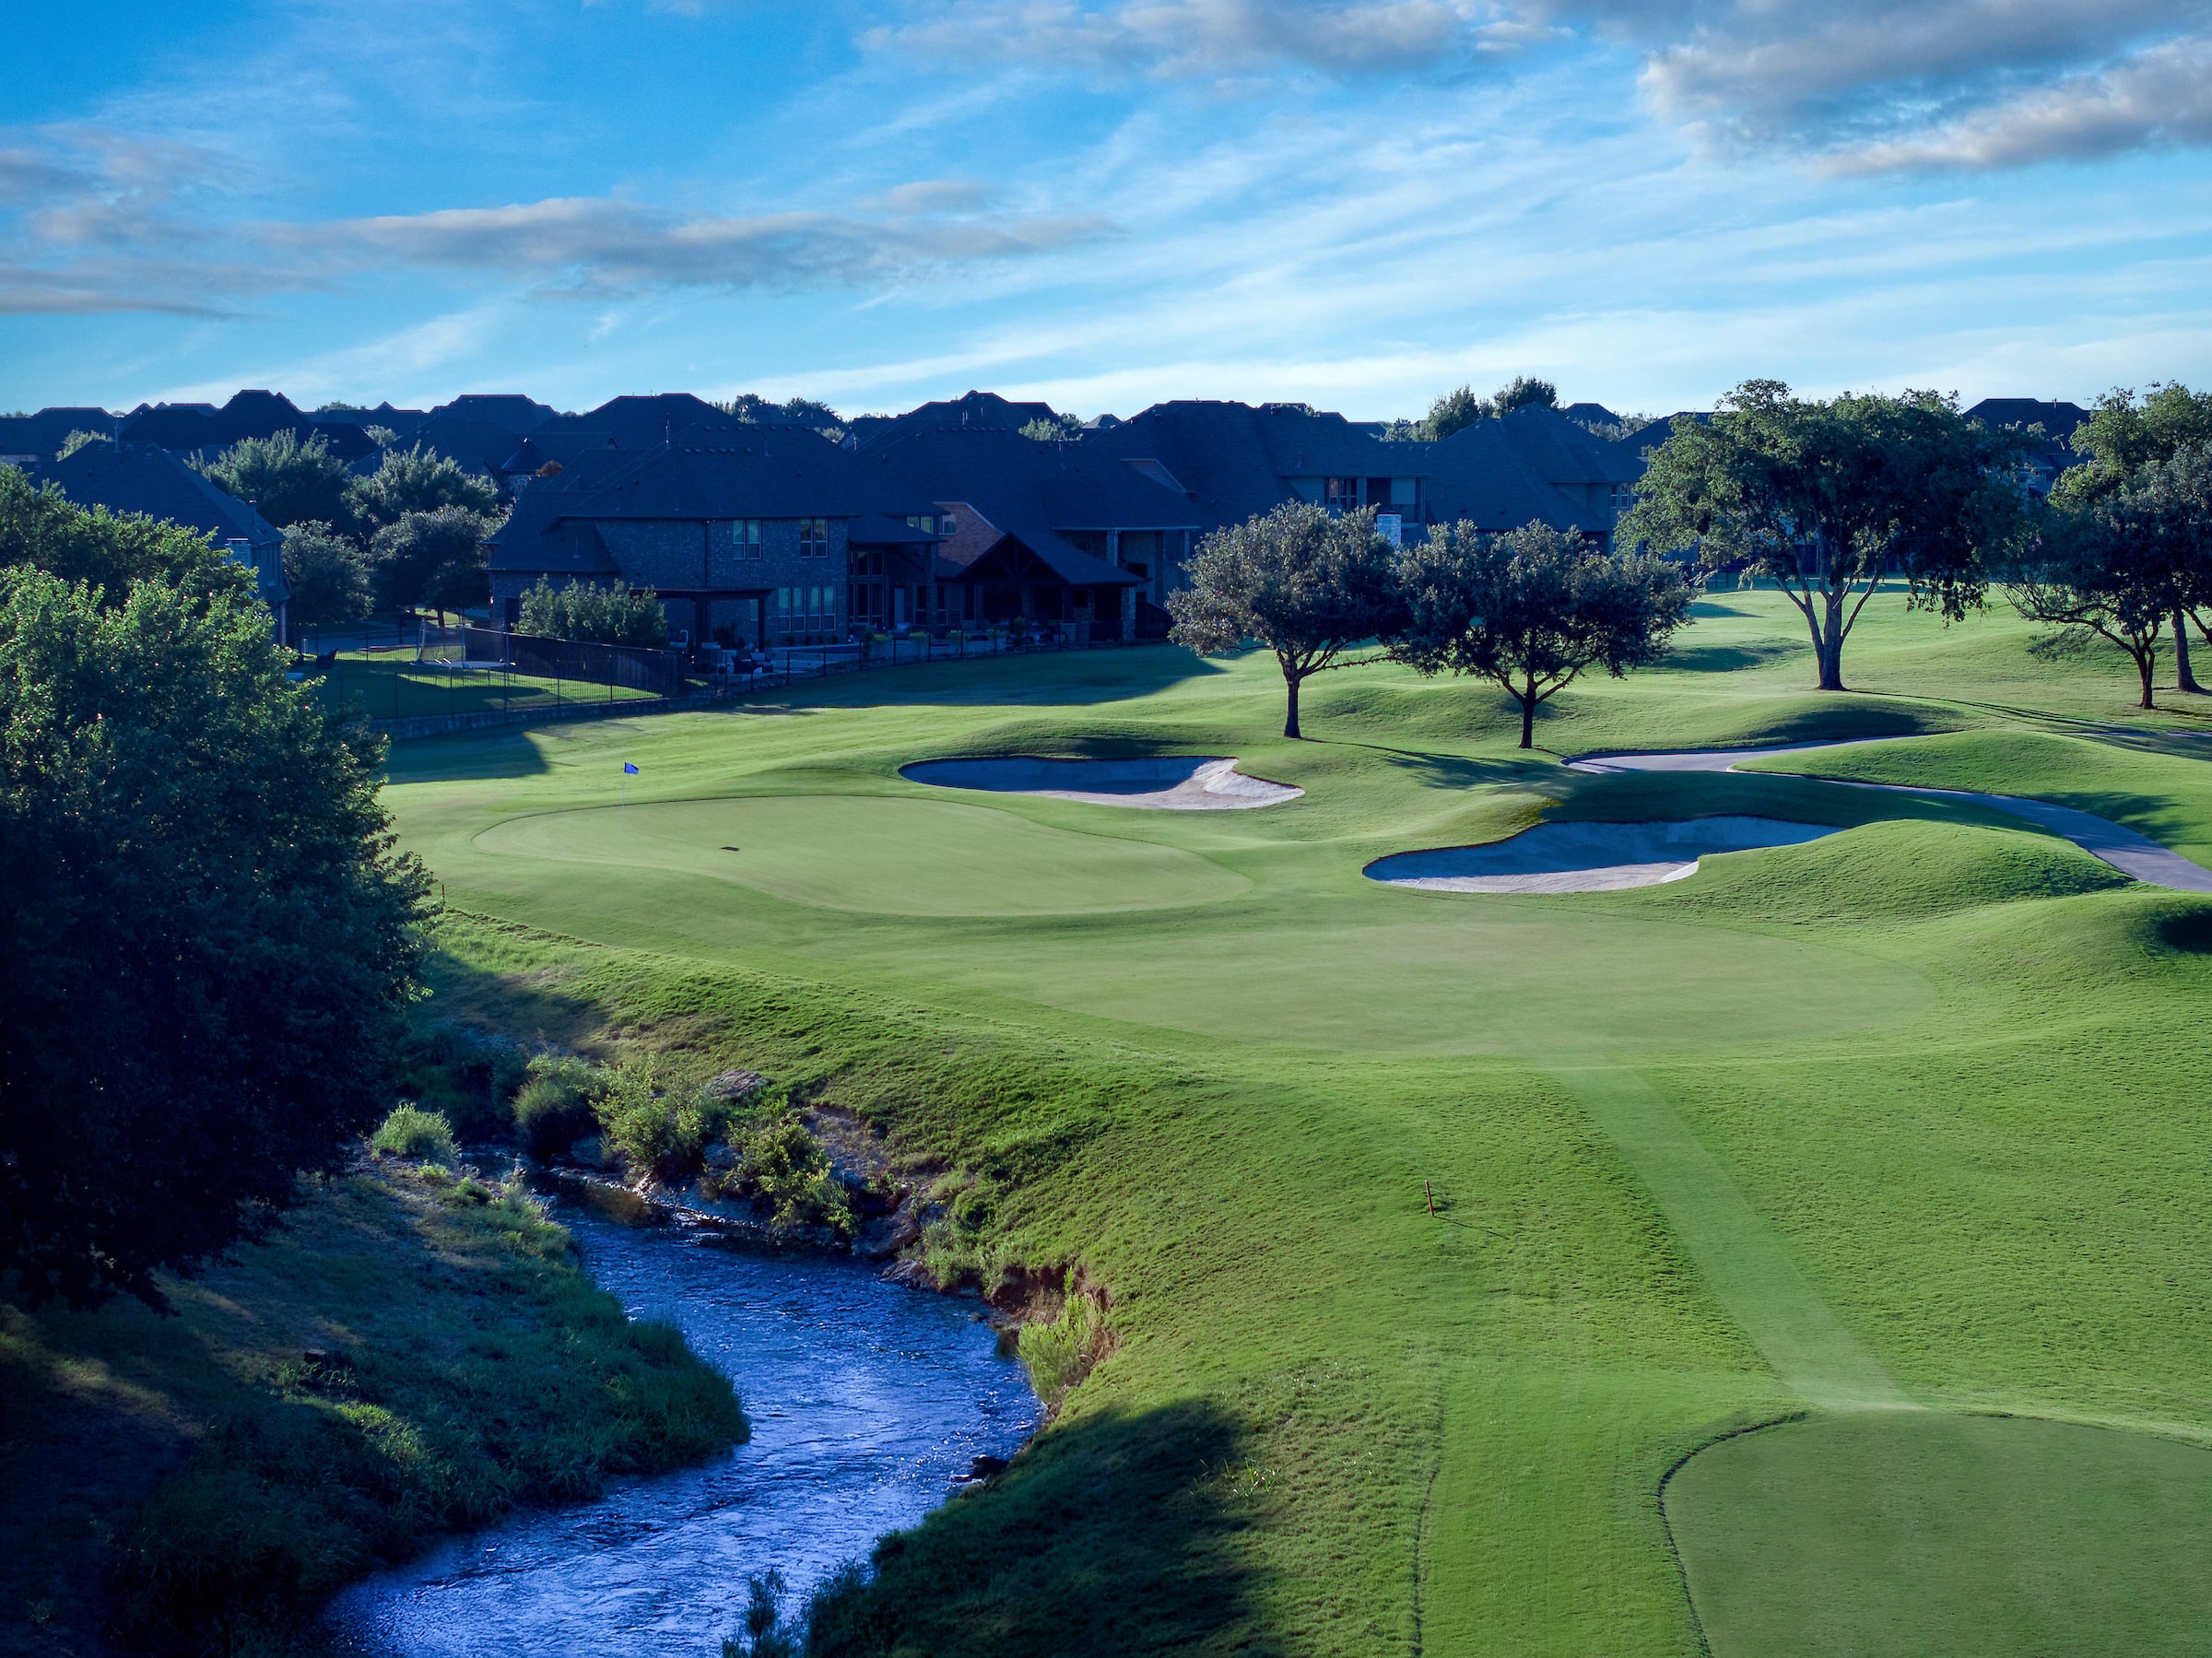
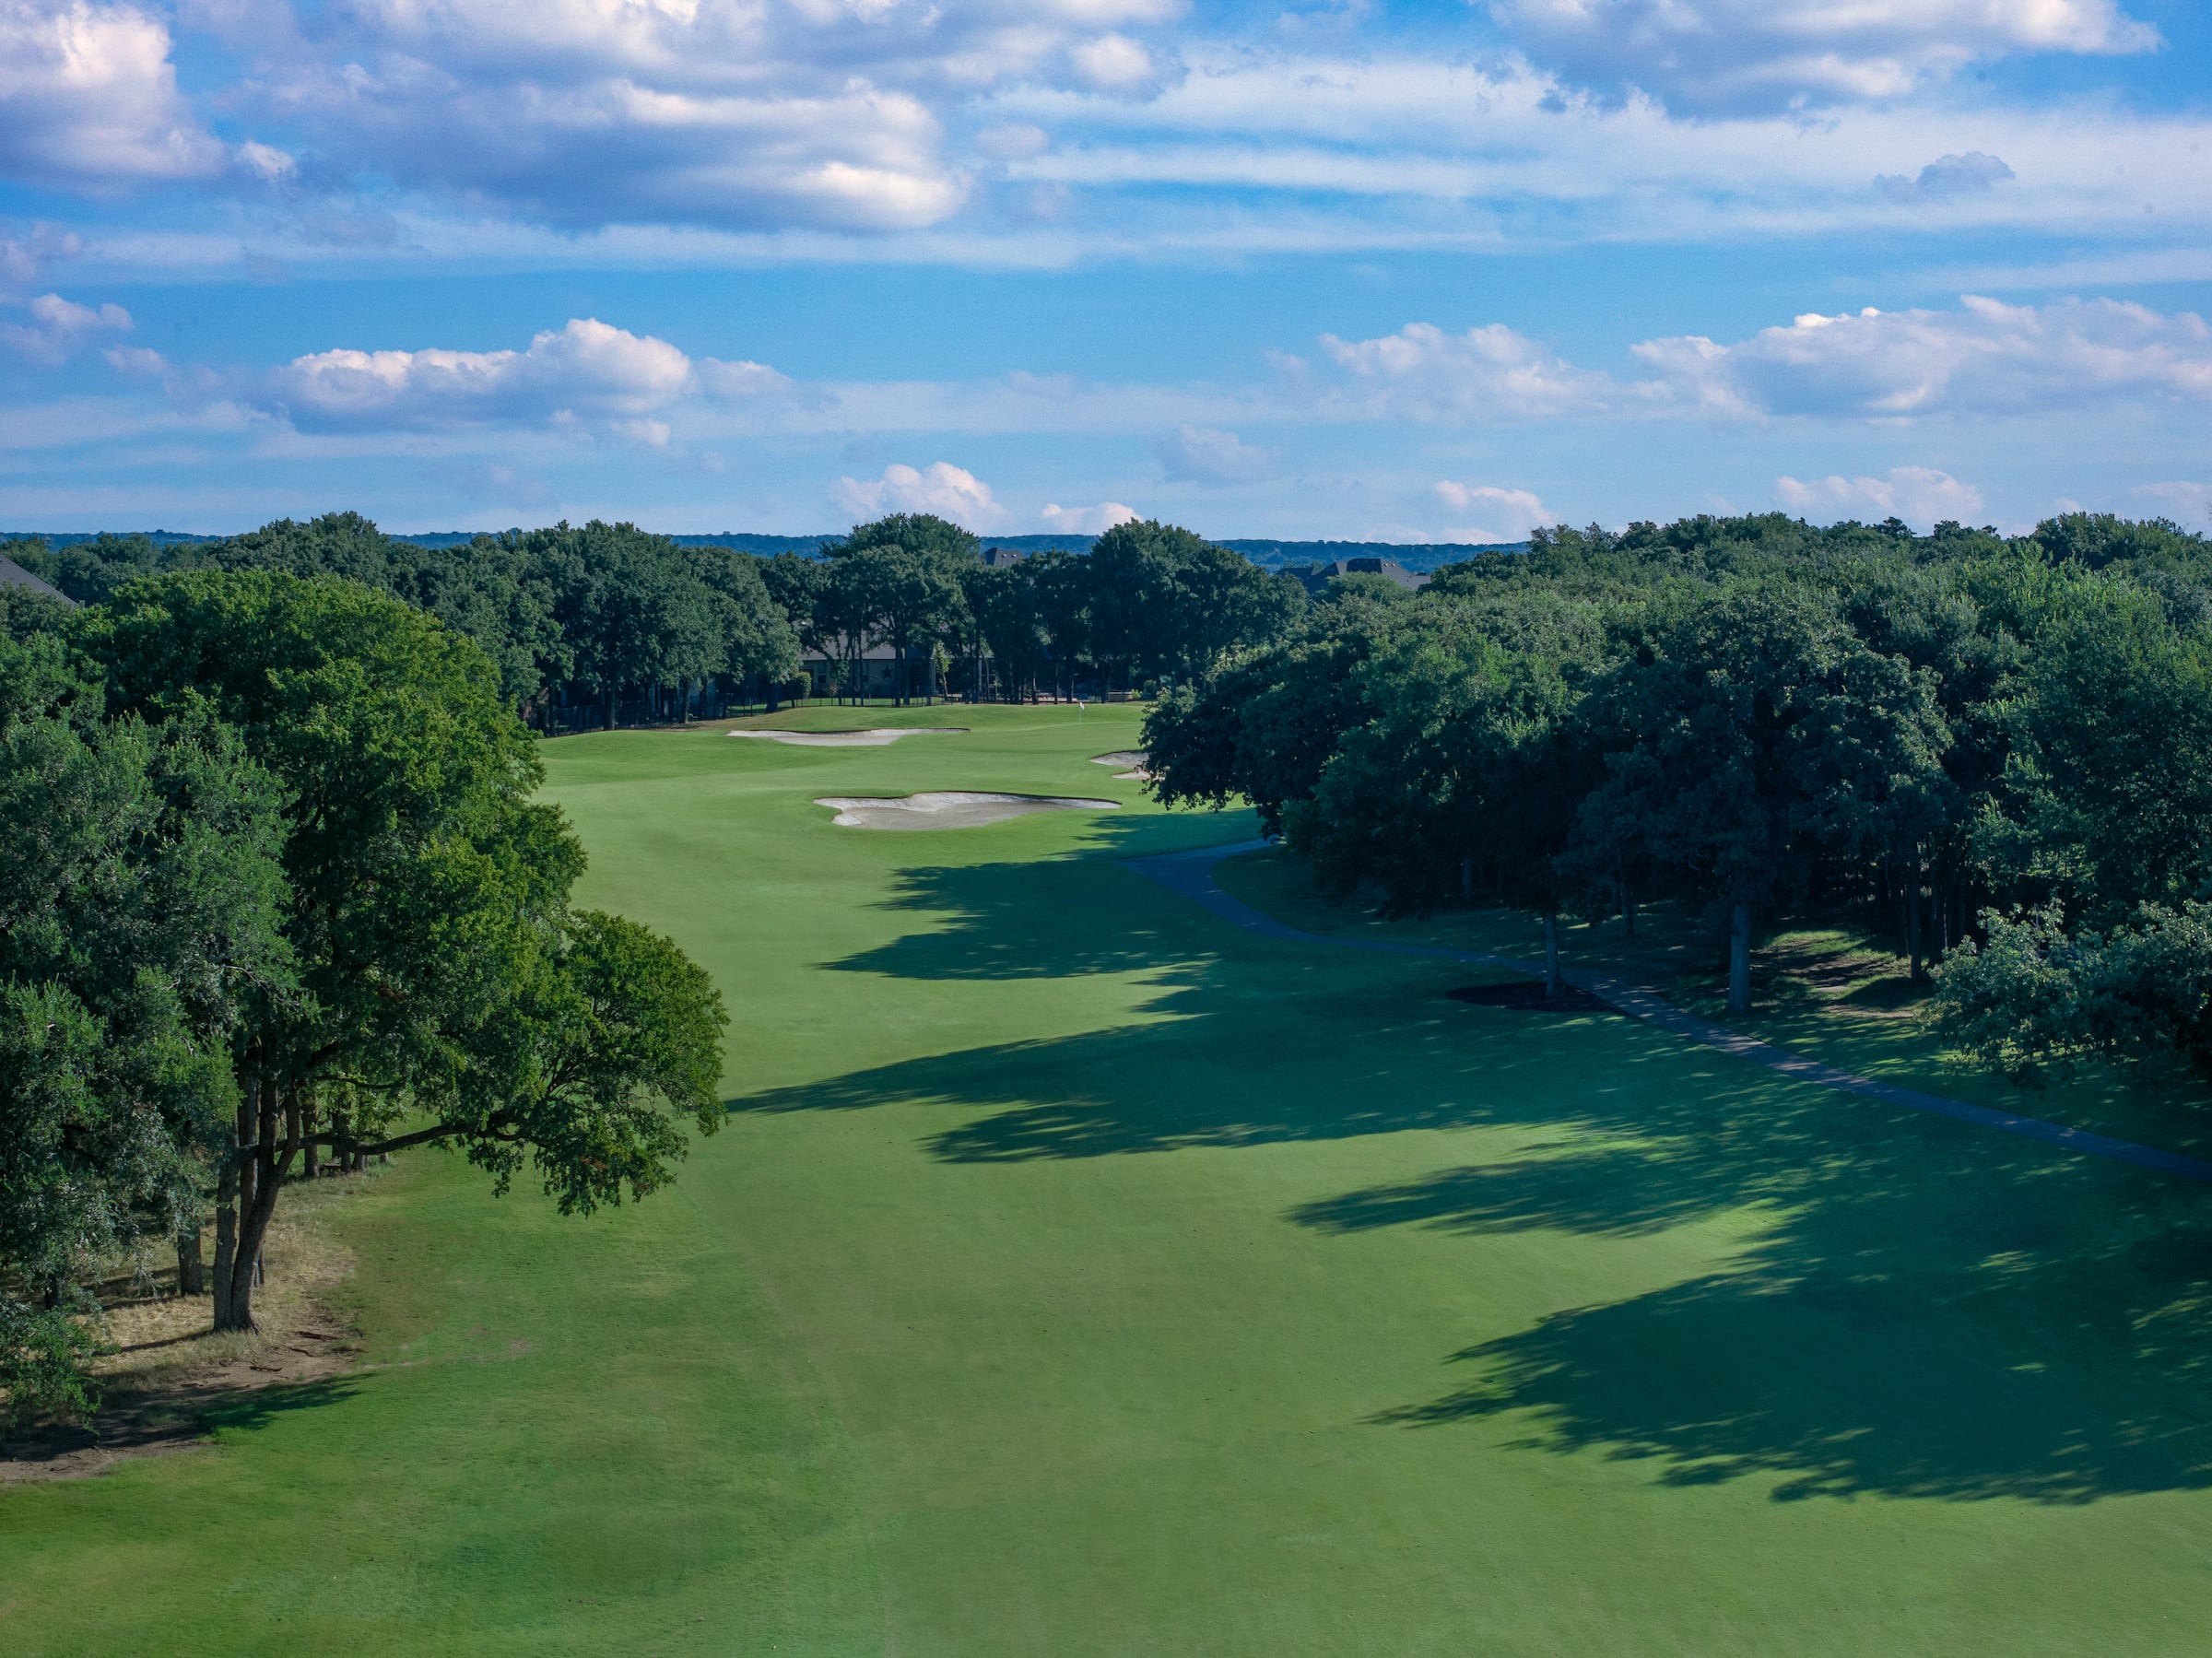
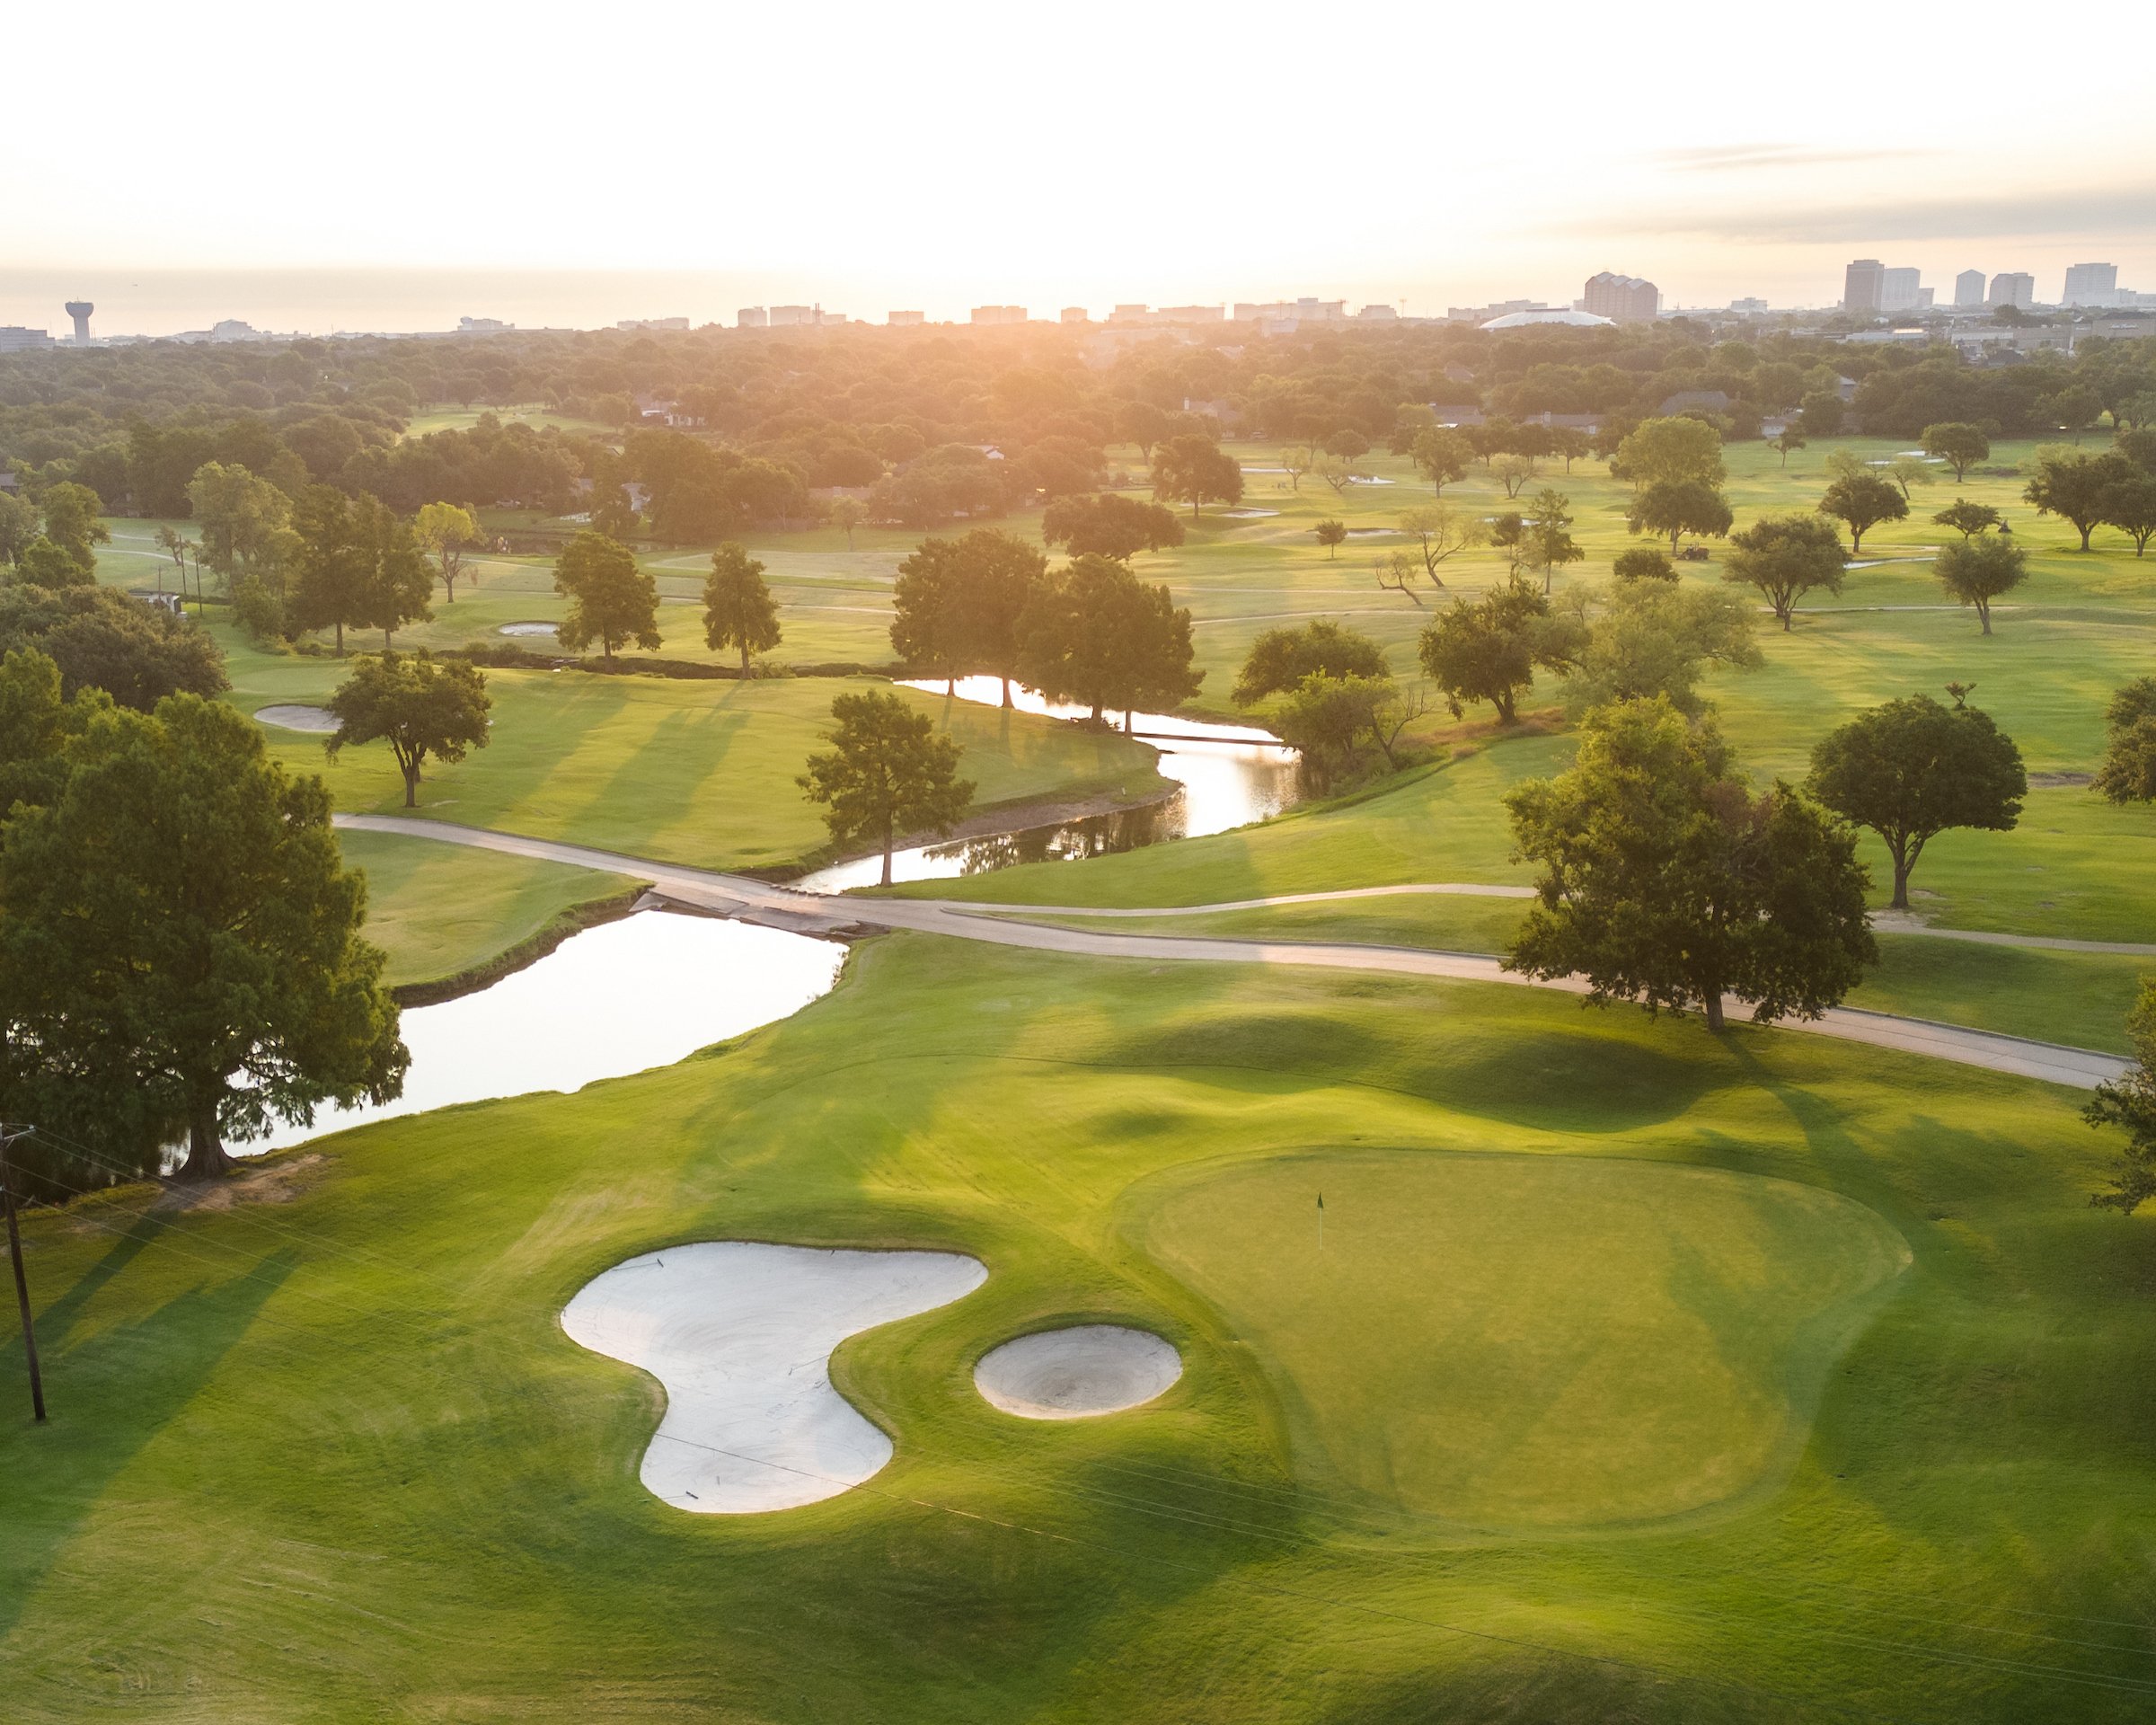
Explore the fairways, greens, and North Texas setting of the Whitworth Course. Each view captures the variety, challenge, and sense of legacy that make this Trophy Club course a memorable place to play.

Sharpen your game with individual and group lessons, clinics, beginner programs, junior development, and TrackMan-supported fitting. From first swings to fine-tuning, coaching feels clear, personal, and built around progress.
Turn the round into an occasion with tournament professionals, personalized service, customized menus, and golf experiences suited for outings, charity events, and business gatherings. Every detail helps the day feel organized and memorable.

Whether you're a serious golfer, fitness buff, world traveler or foodie, there's an XLife option to fuel your passion. It's a great way to explore even more of what the Invited network and our international roster of Alliance Clubs have to offer.

From golf access to club amenities, our team is available to answer questions and arrange a personal tour.

General Manager

Club Manager

Membership Director
Boasting three distinct 18-hole courses, this vibrant property offers an expansive variety of golf, from friendly resort-style loops to demanding championship tests.
A welcoming private club in Irving featuring championship golf, tennis, fitness, swimming, dining, and a close-knit community atmosphere. With year-round events and family-friendly amenities, Hackberry Creek is a place where connections are made and traditions take shape.
A spectacular Byron Nelson signature course that masterfully integrates natural creeks and wooded terrain into an elite, strategic golf adventure.