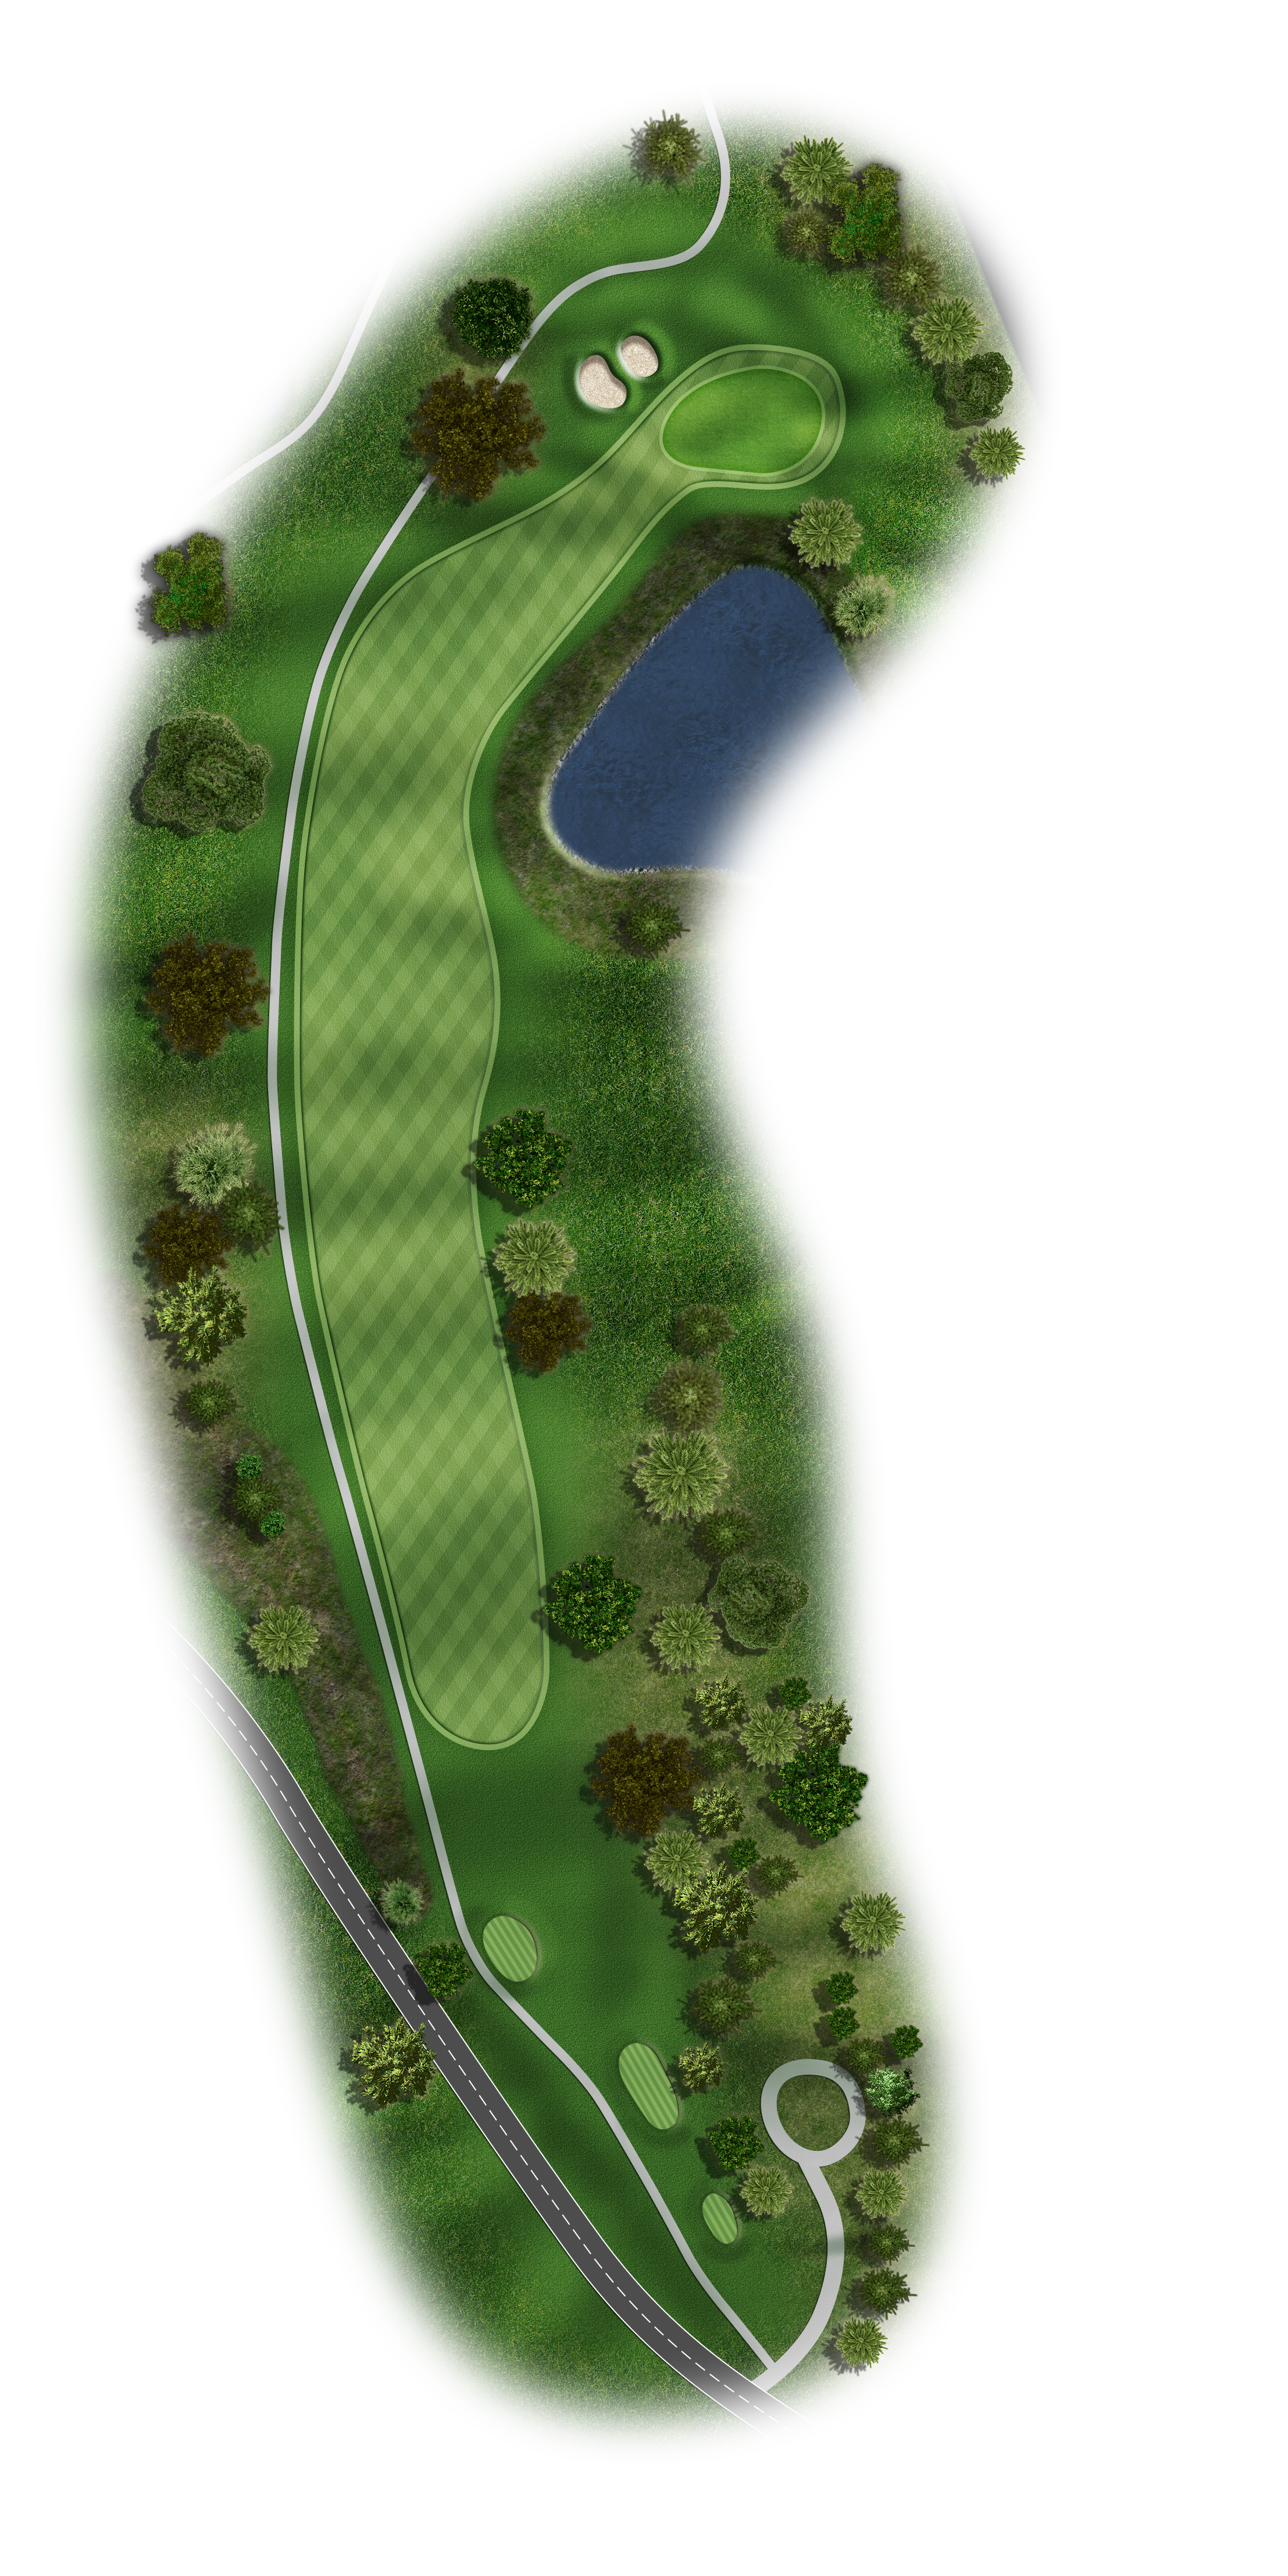
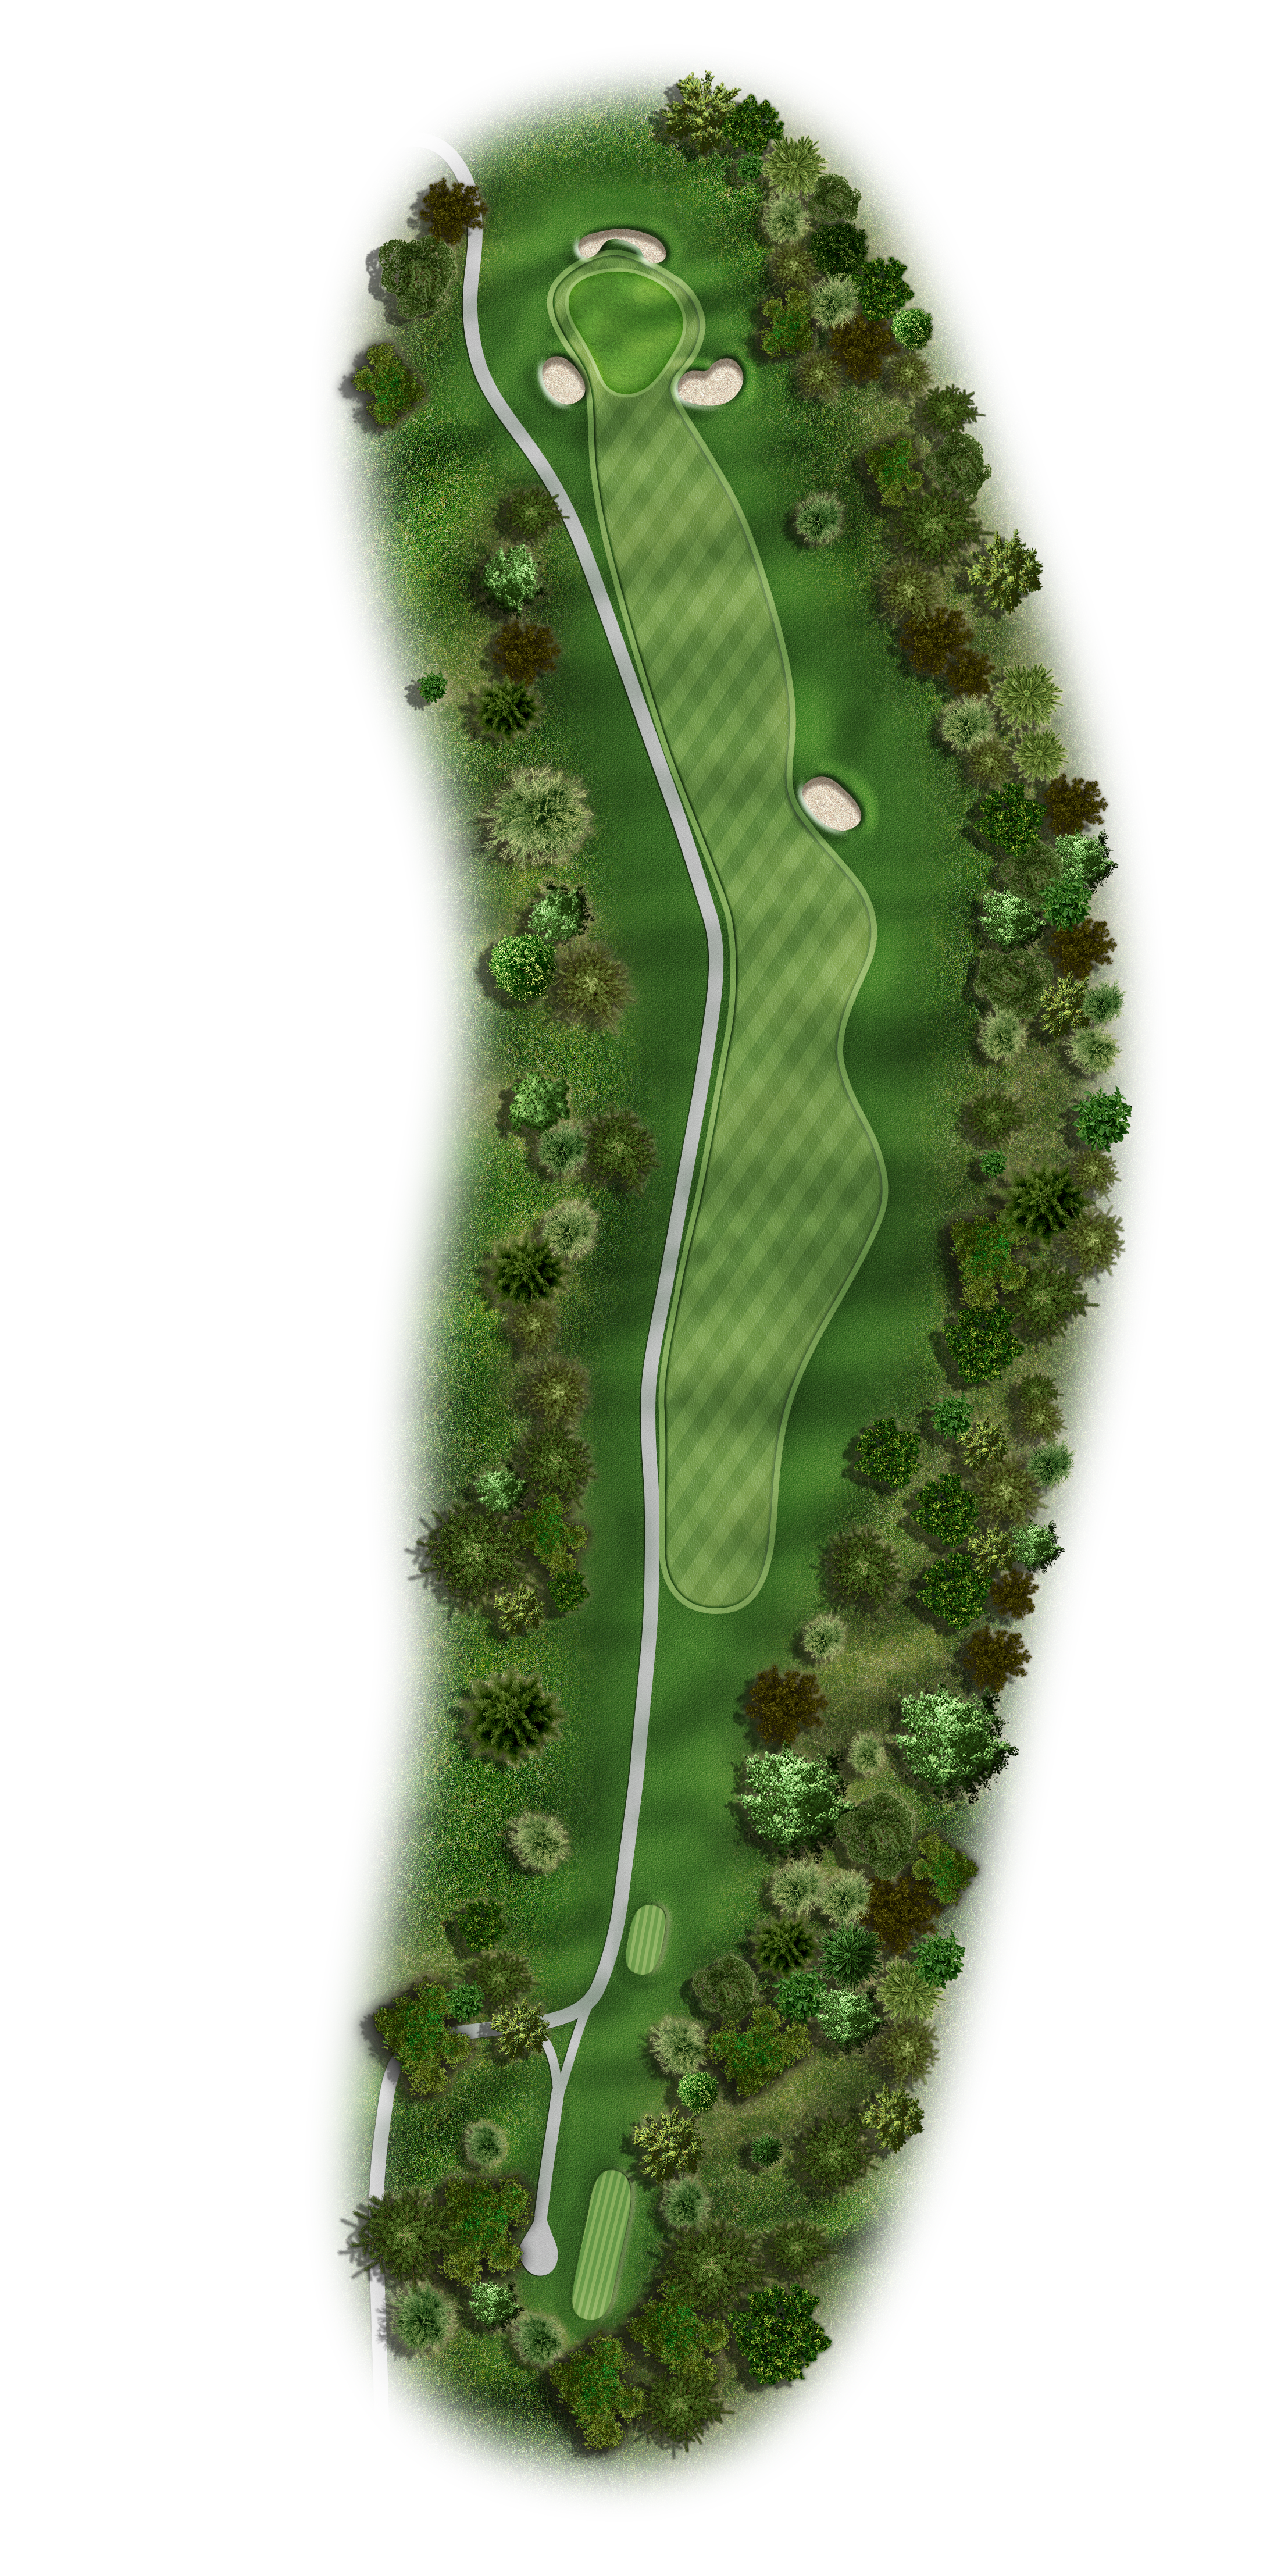
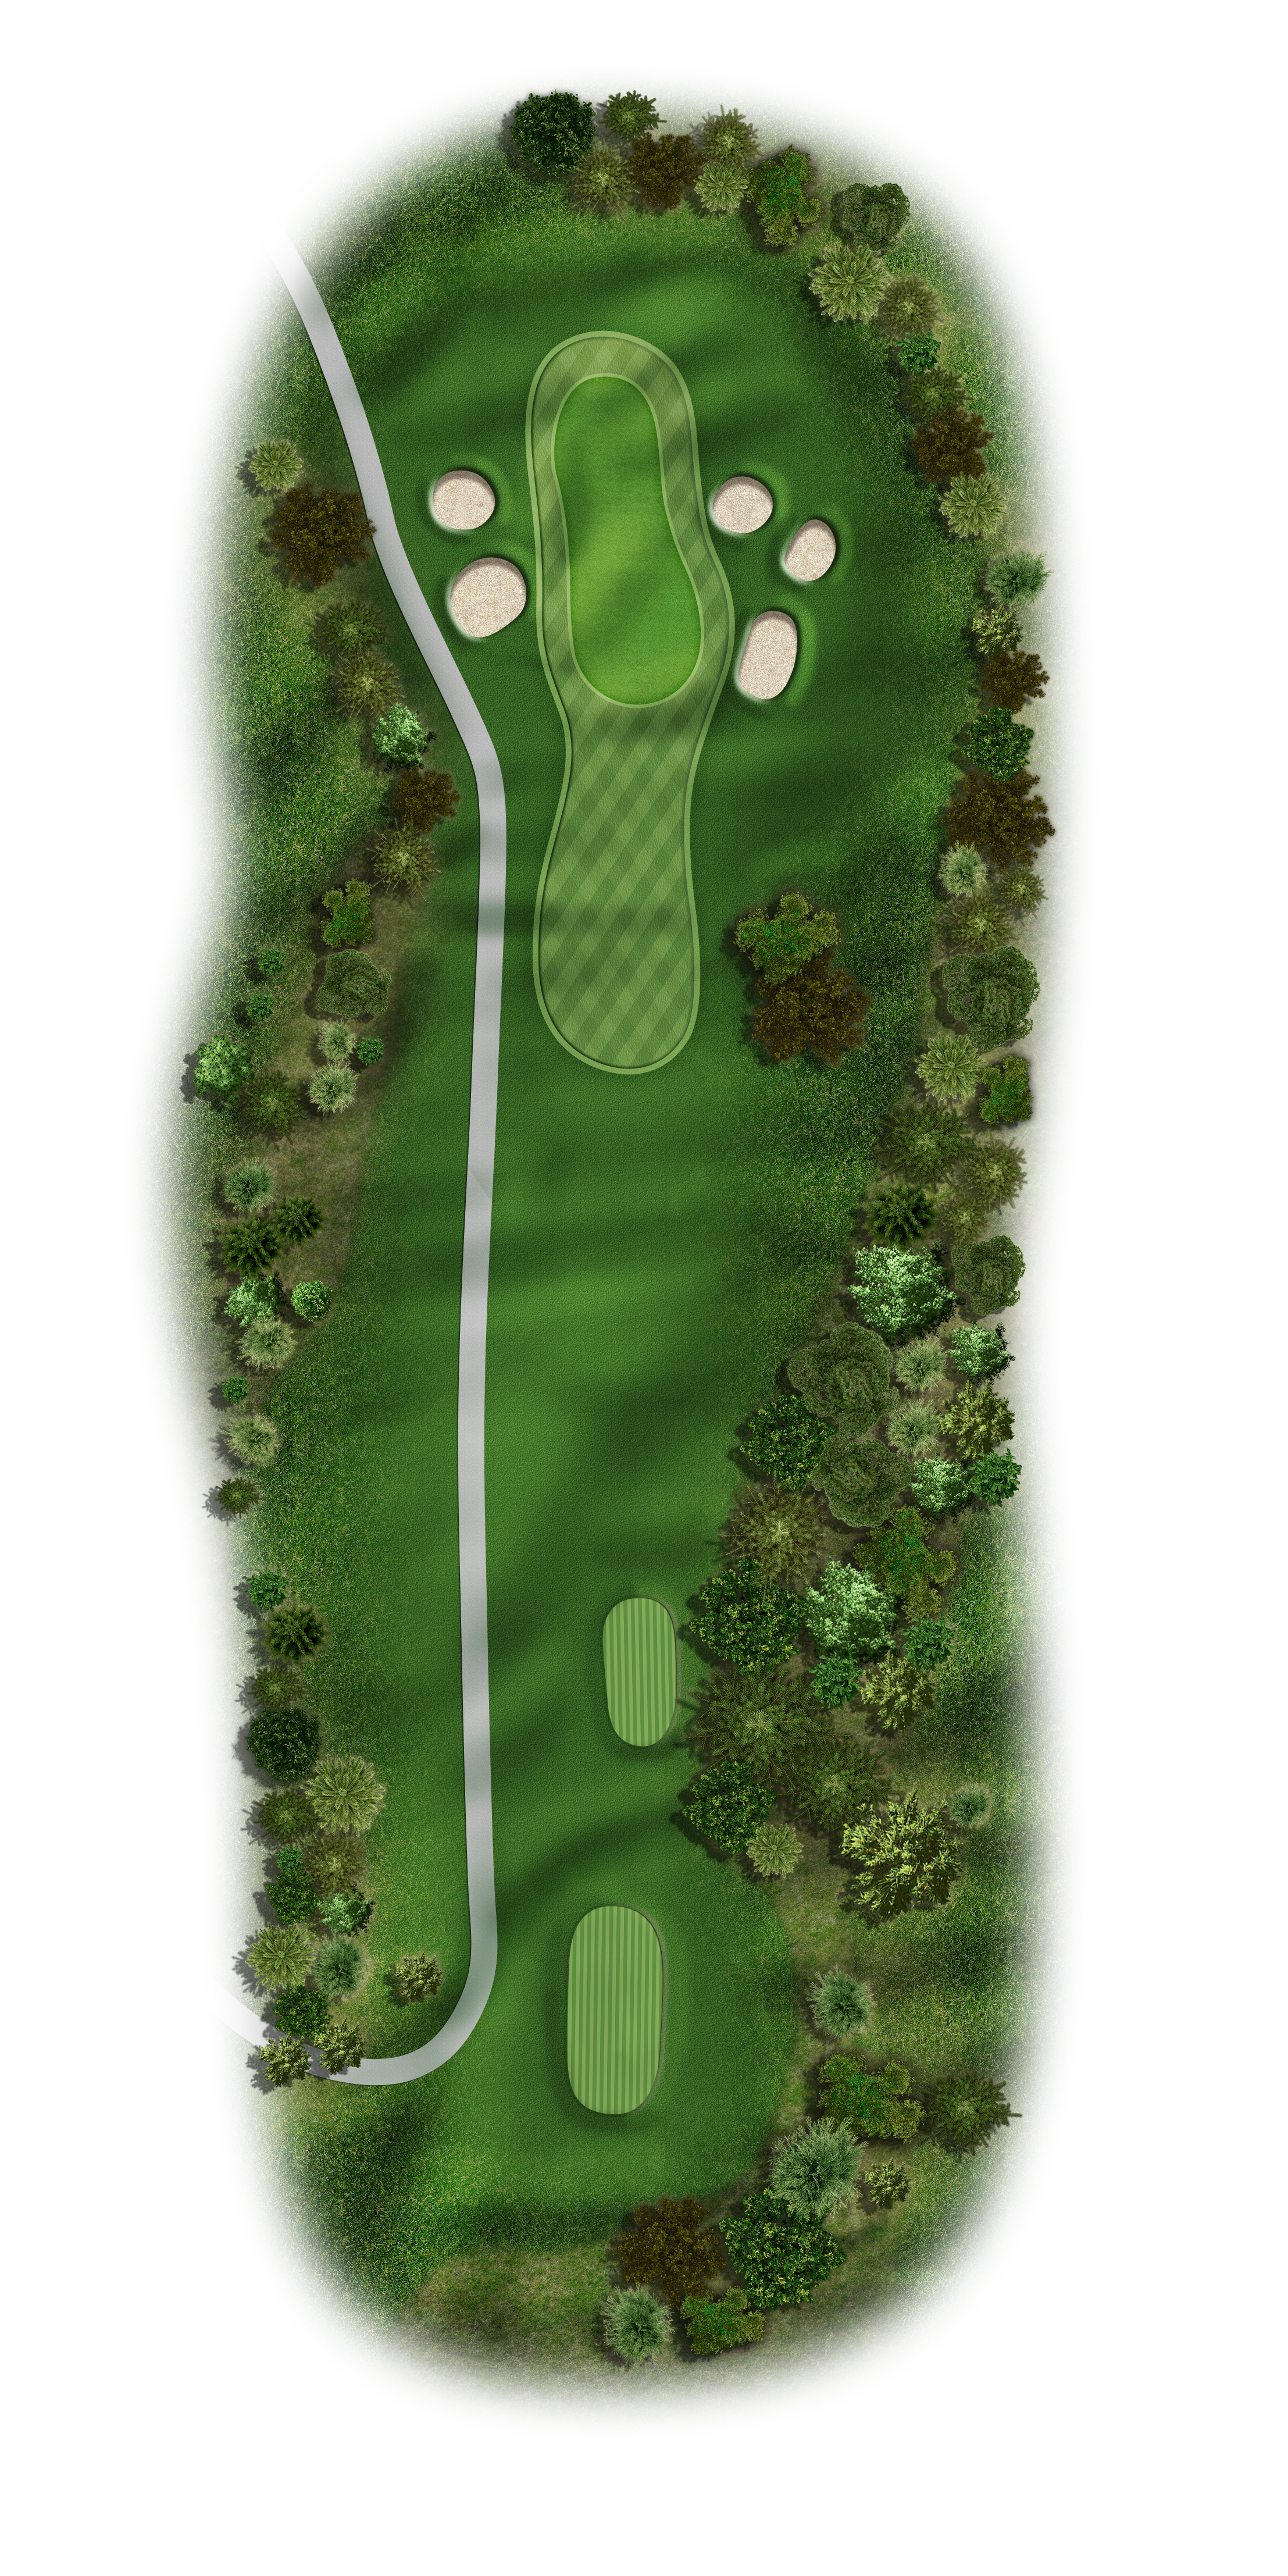
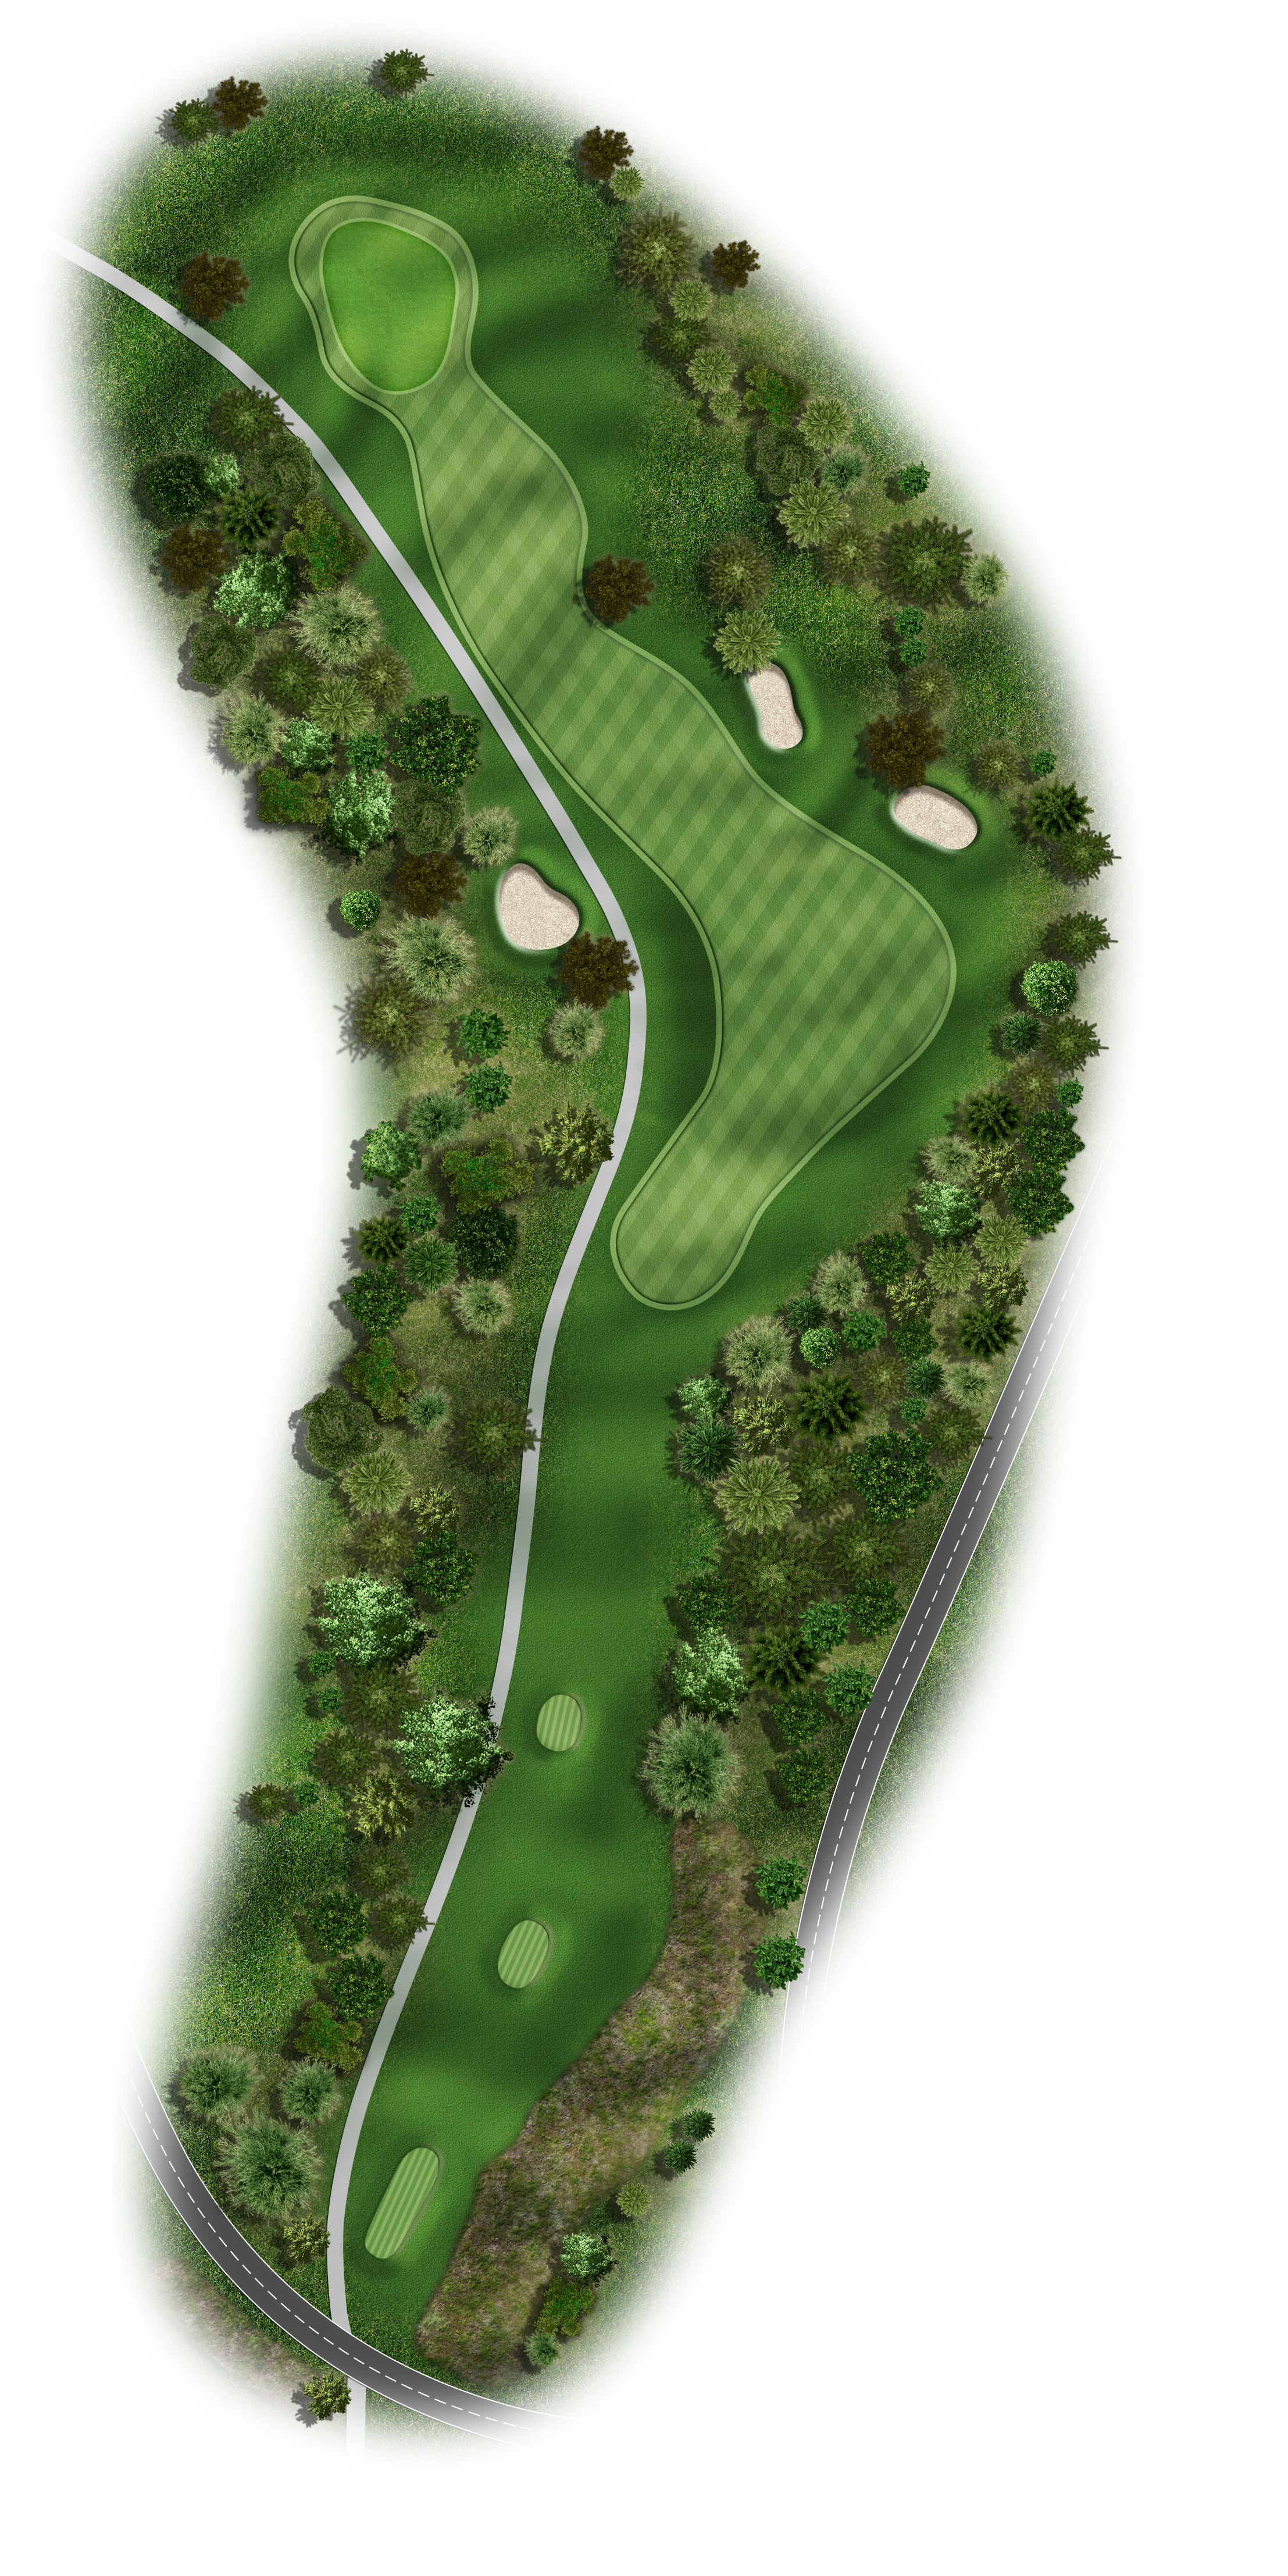
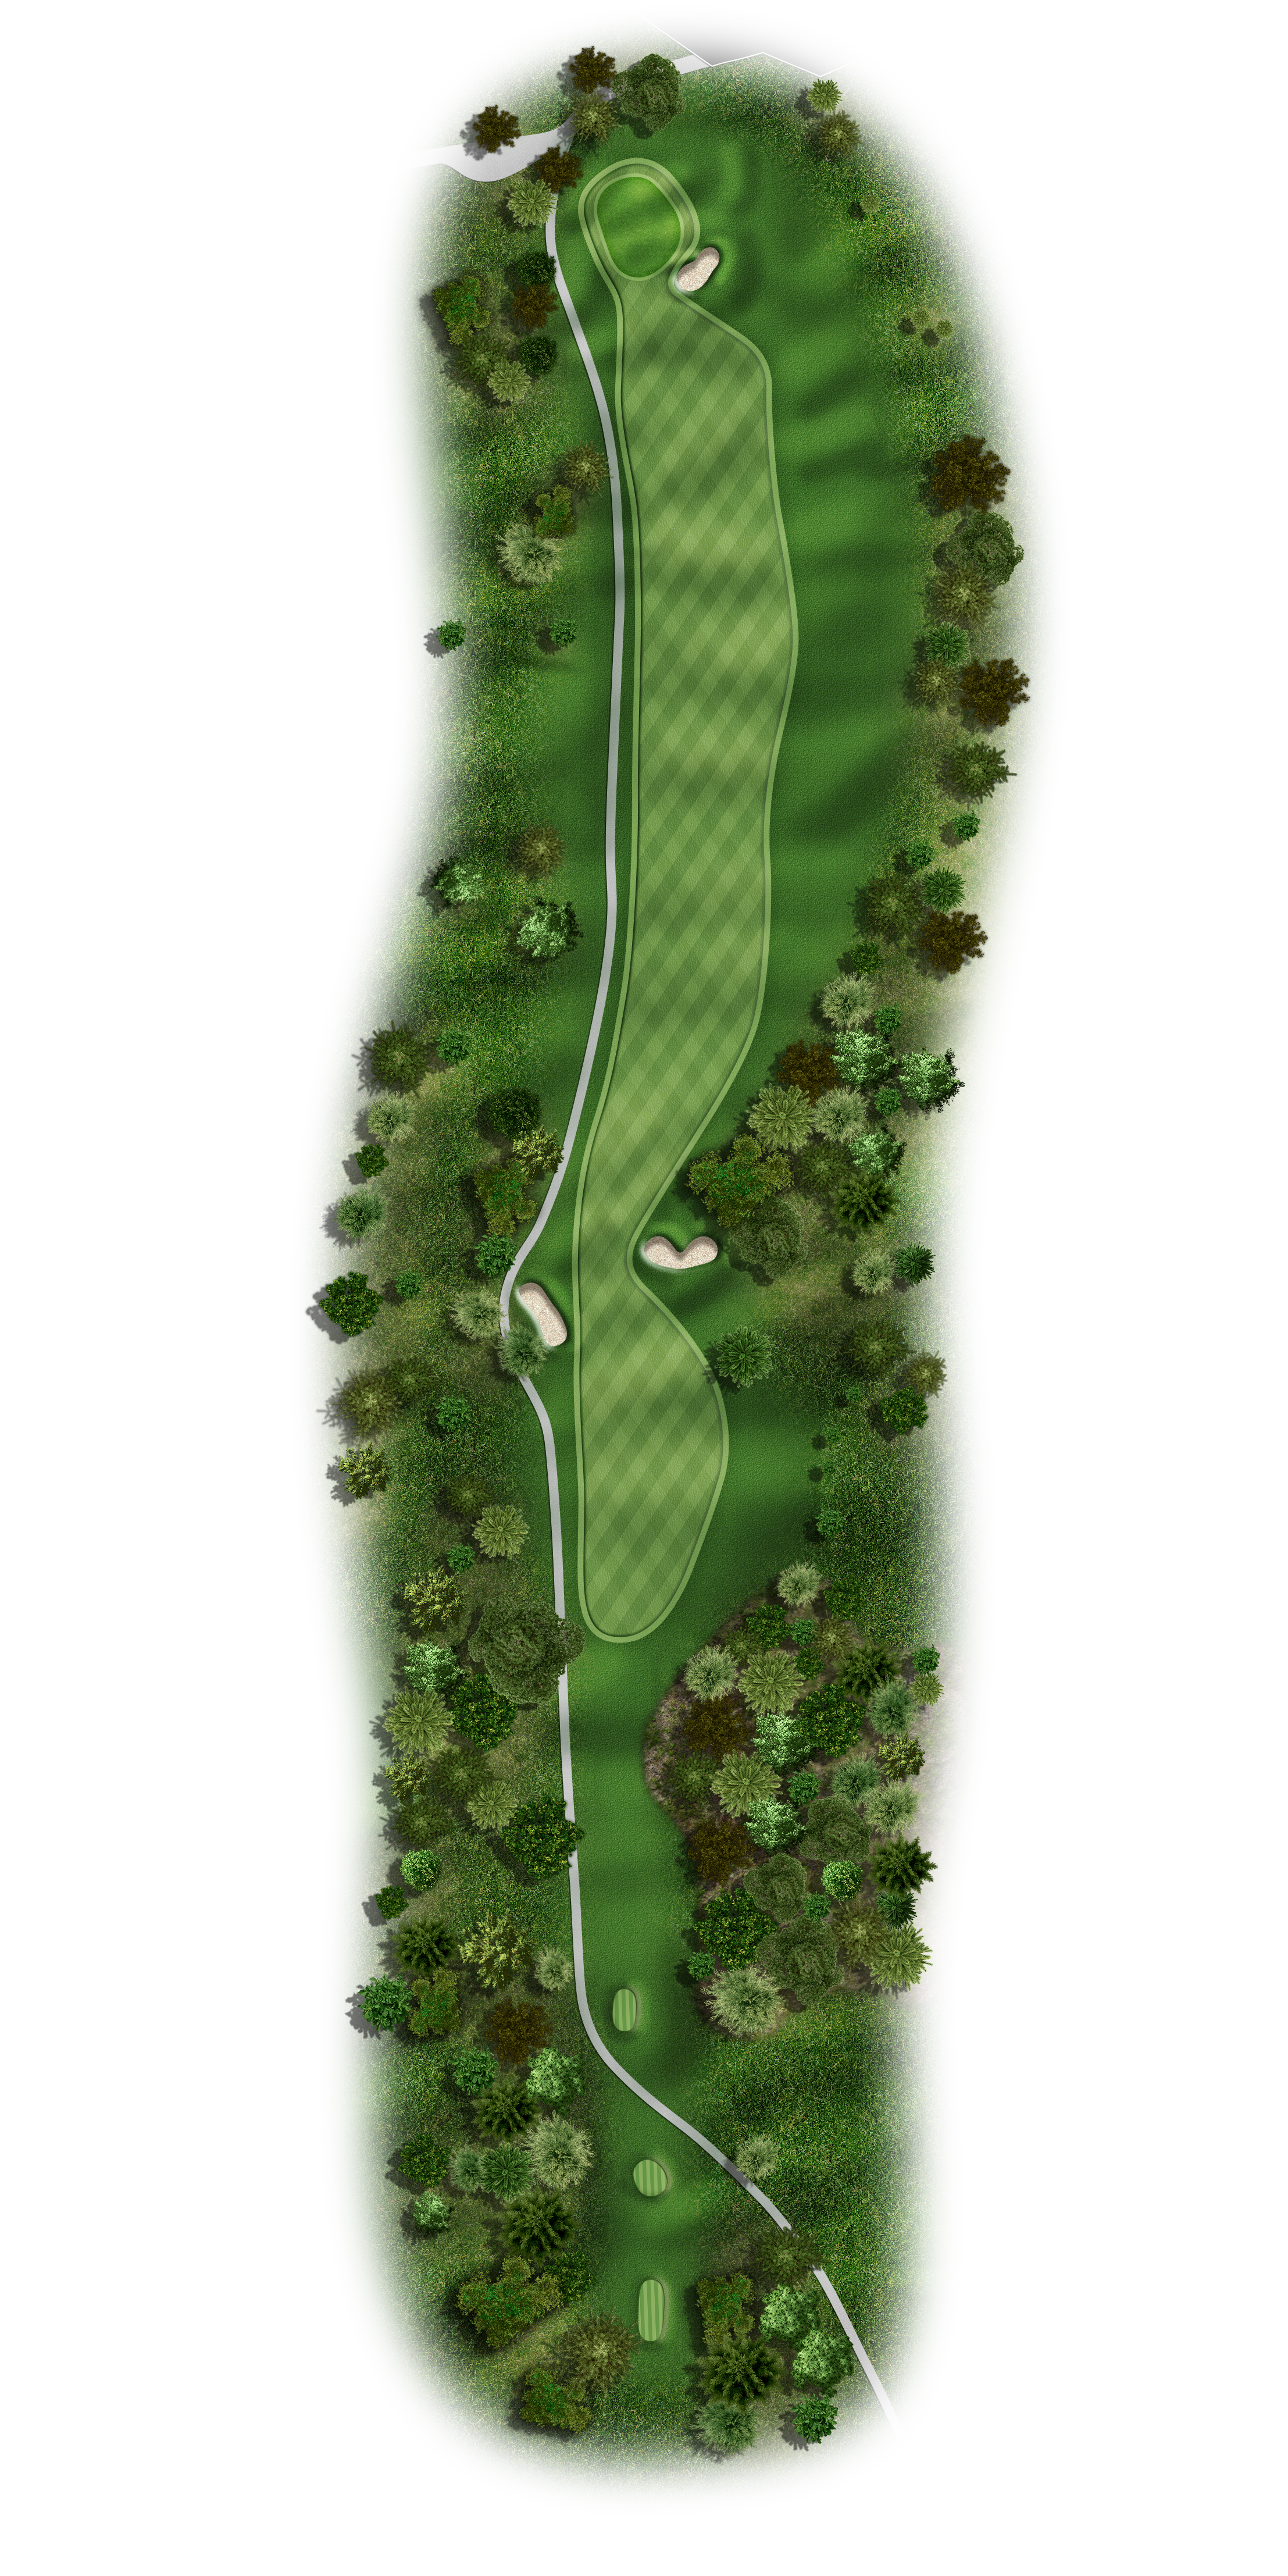
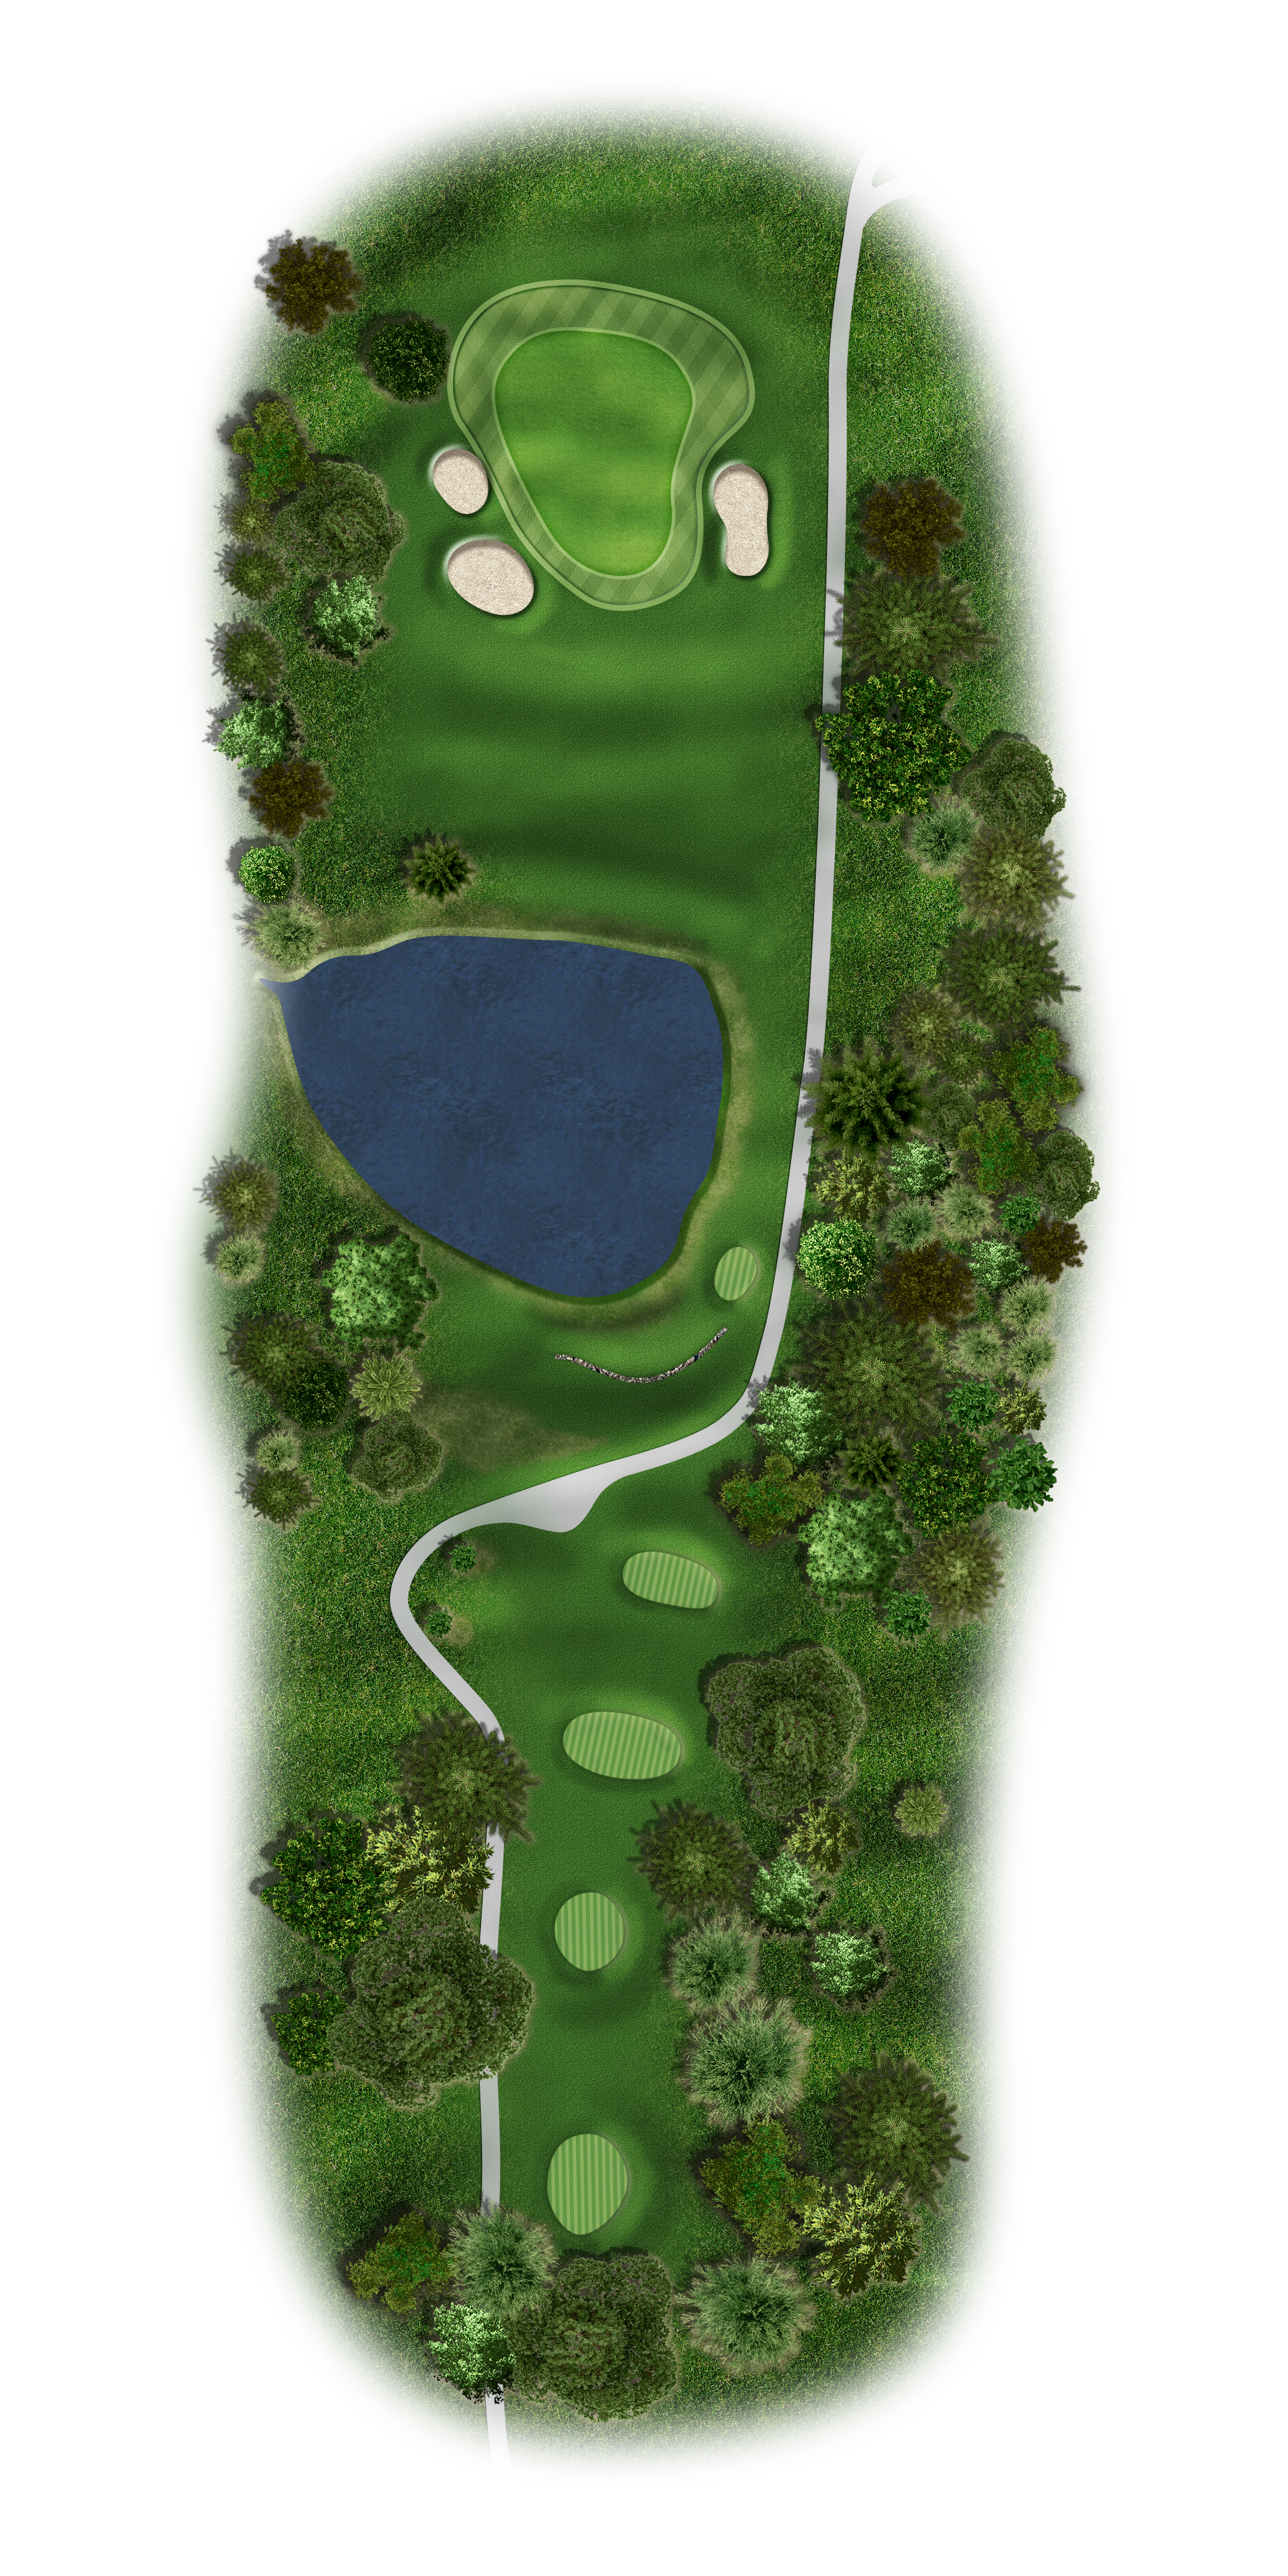
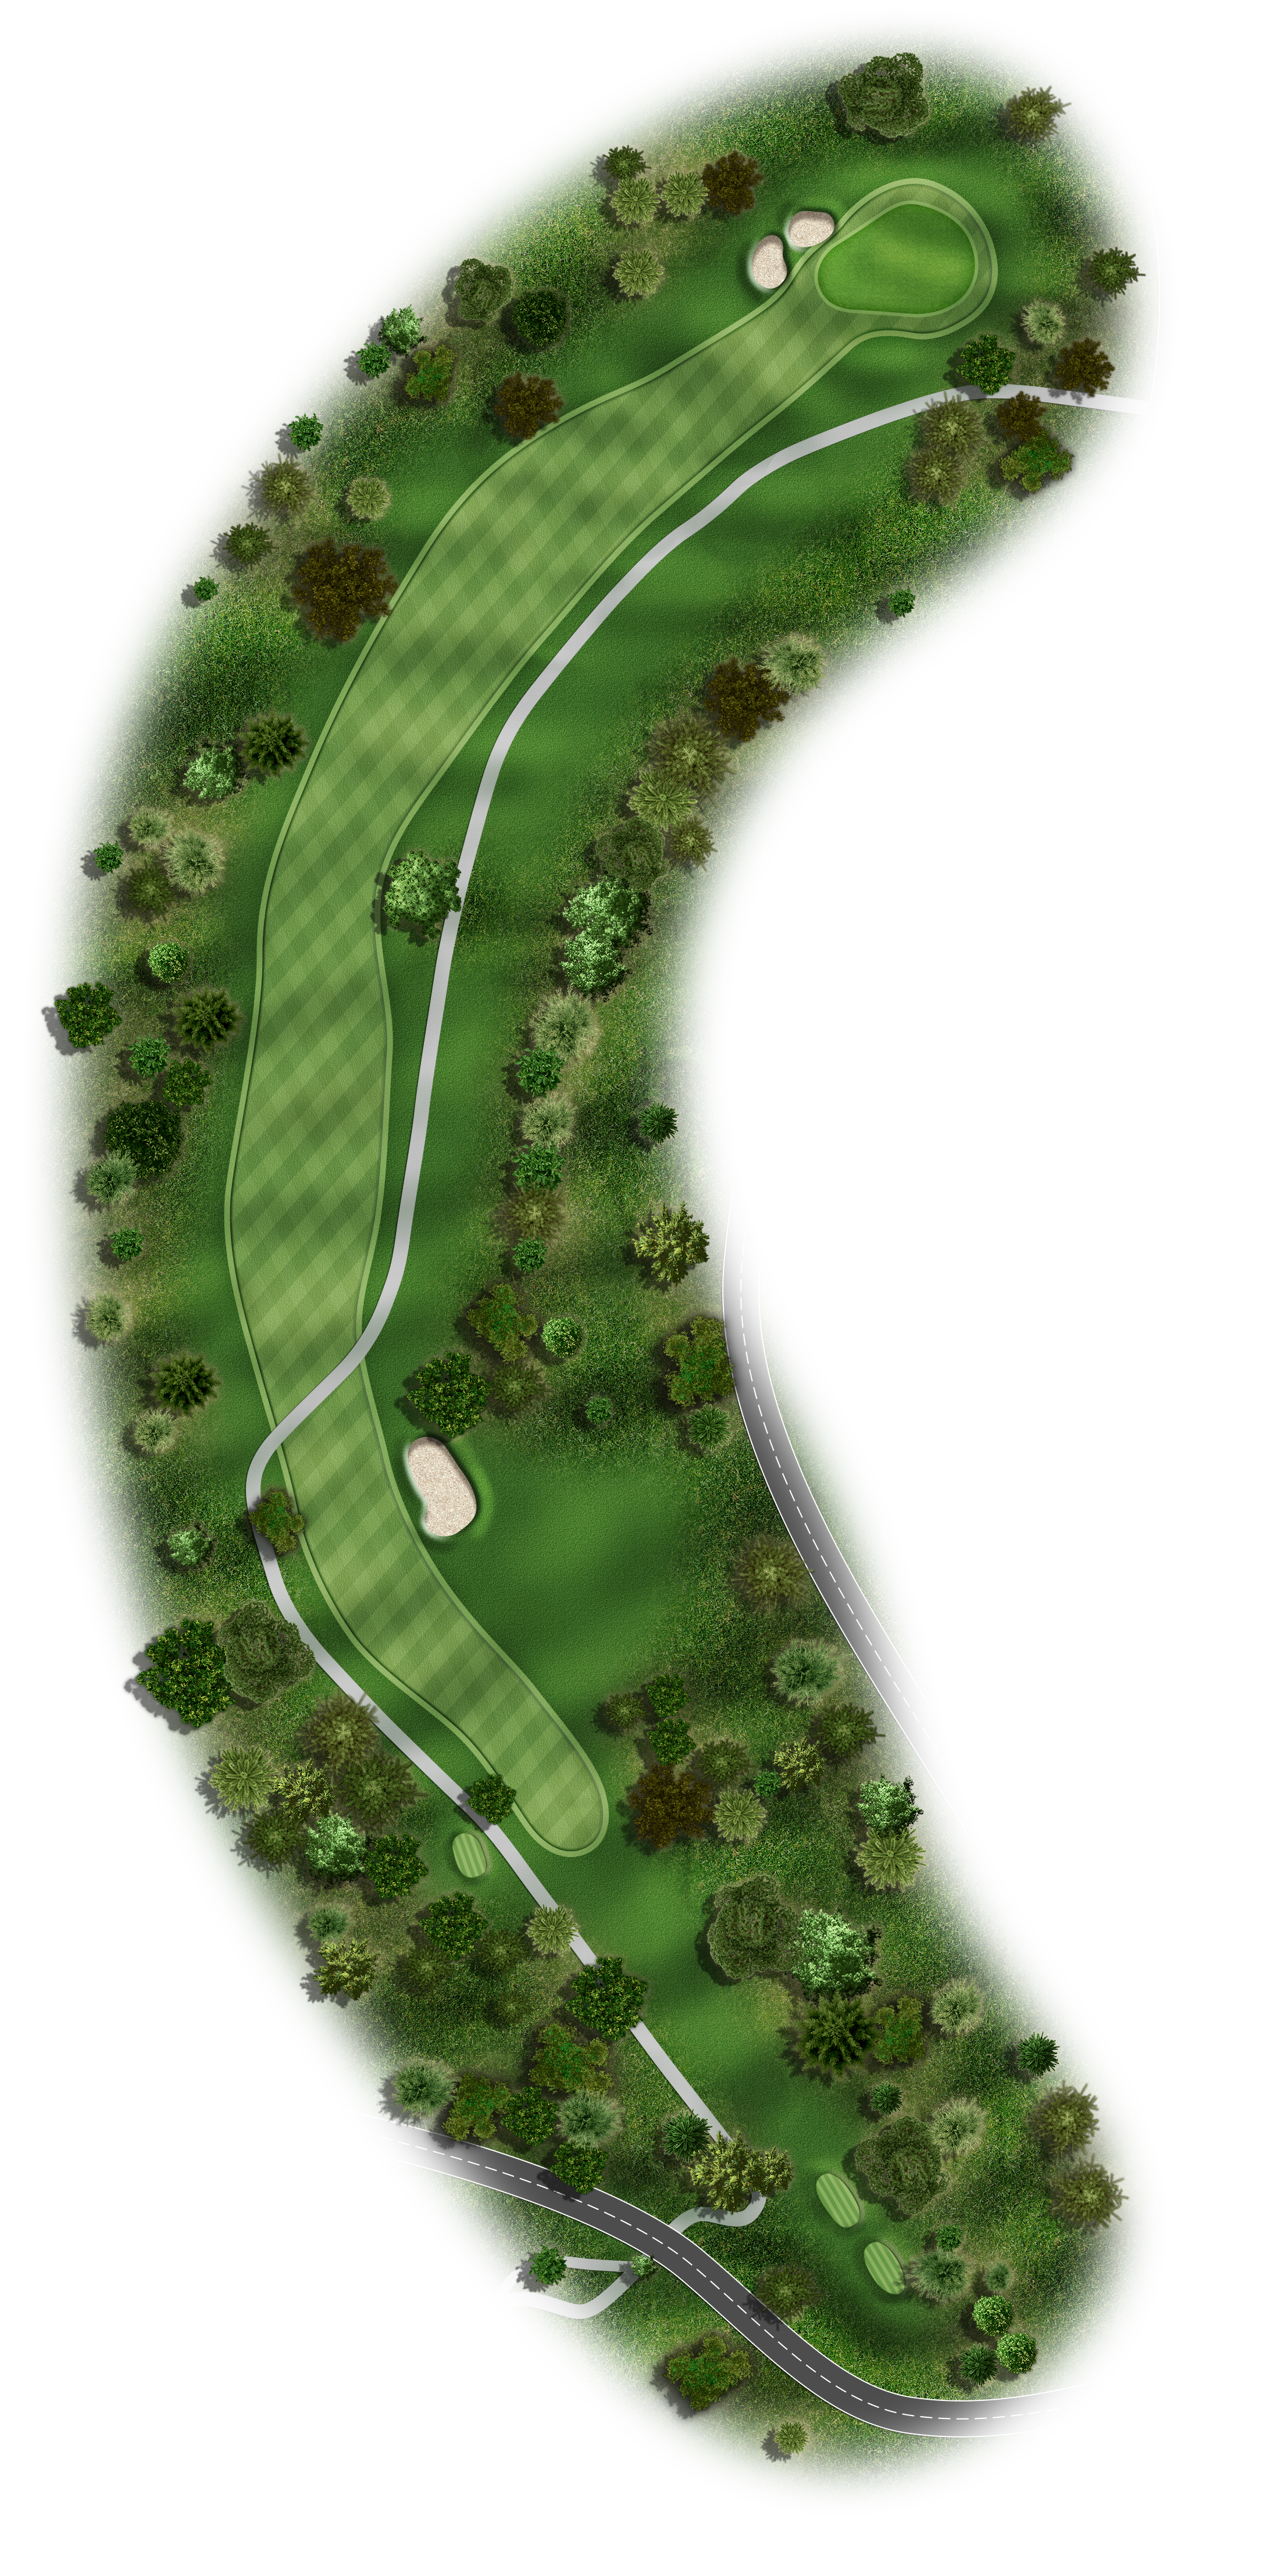
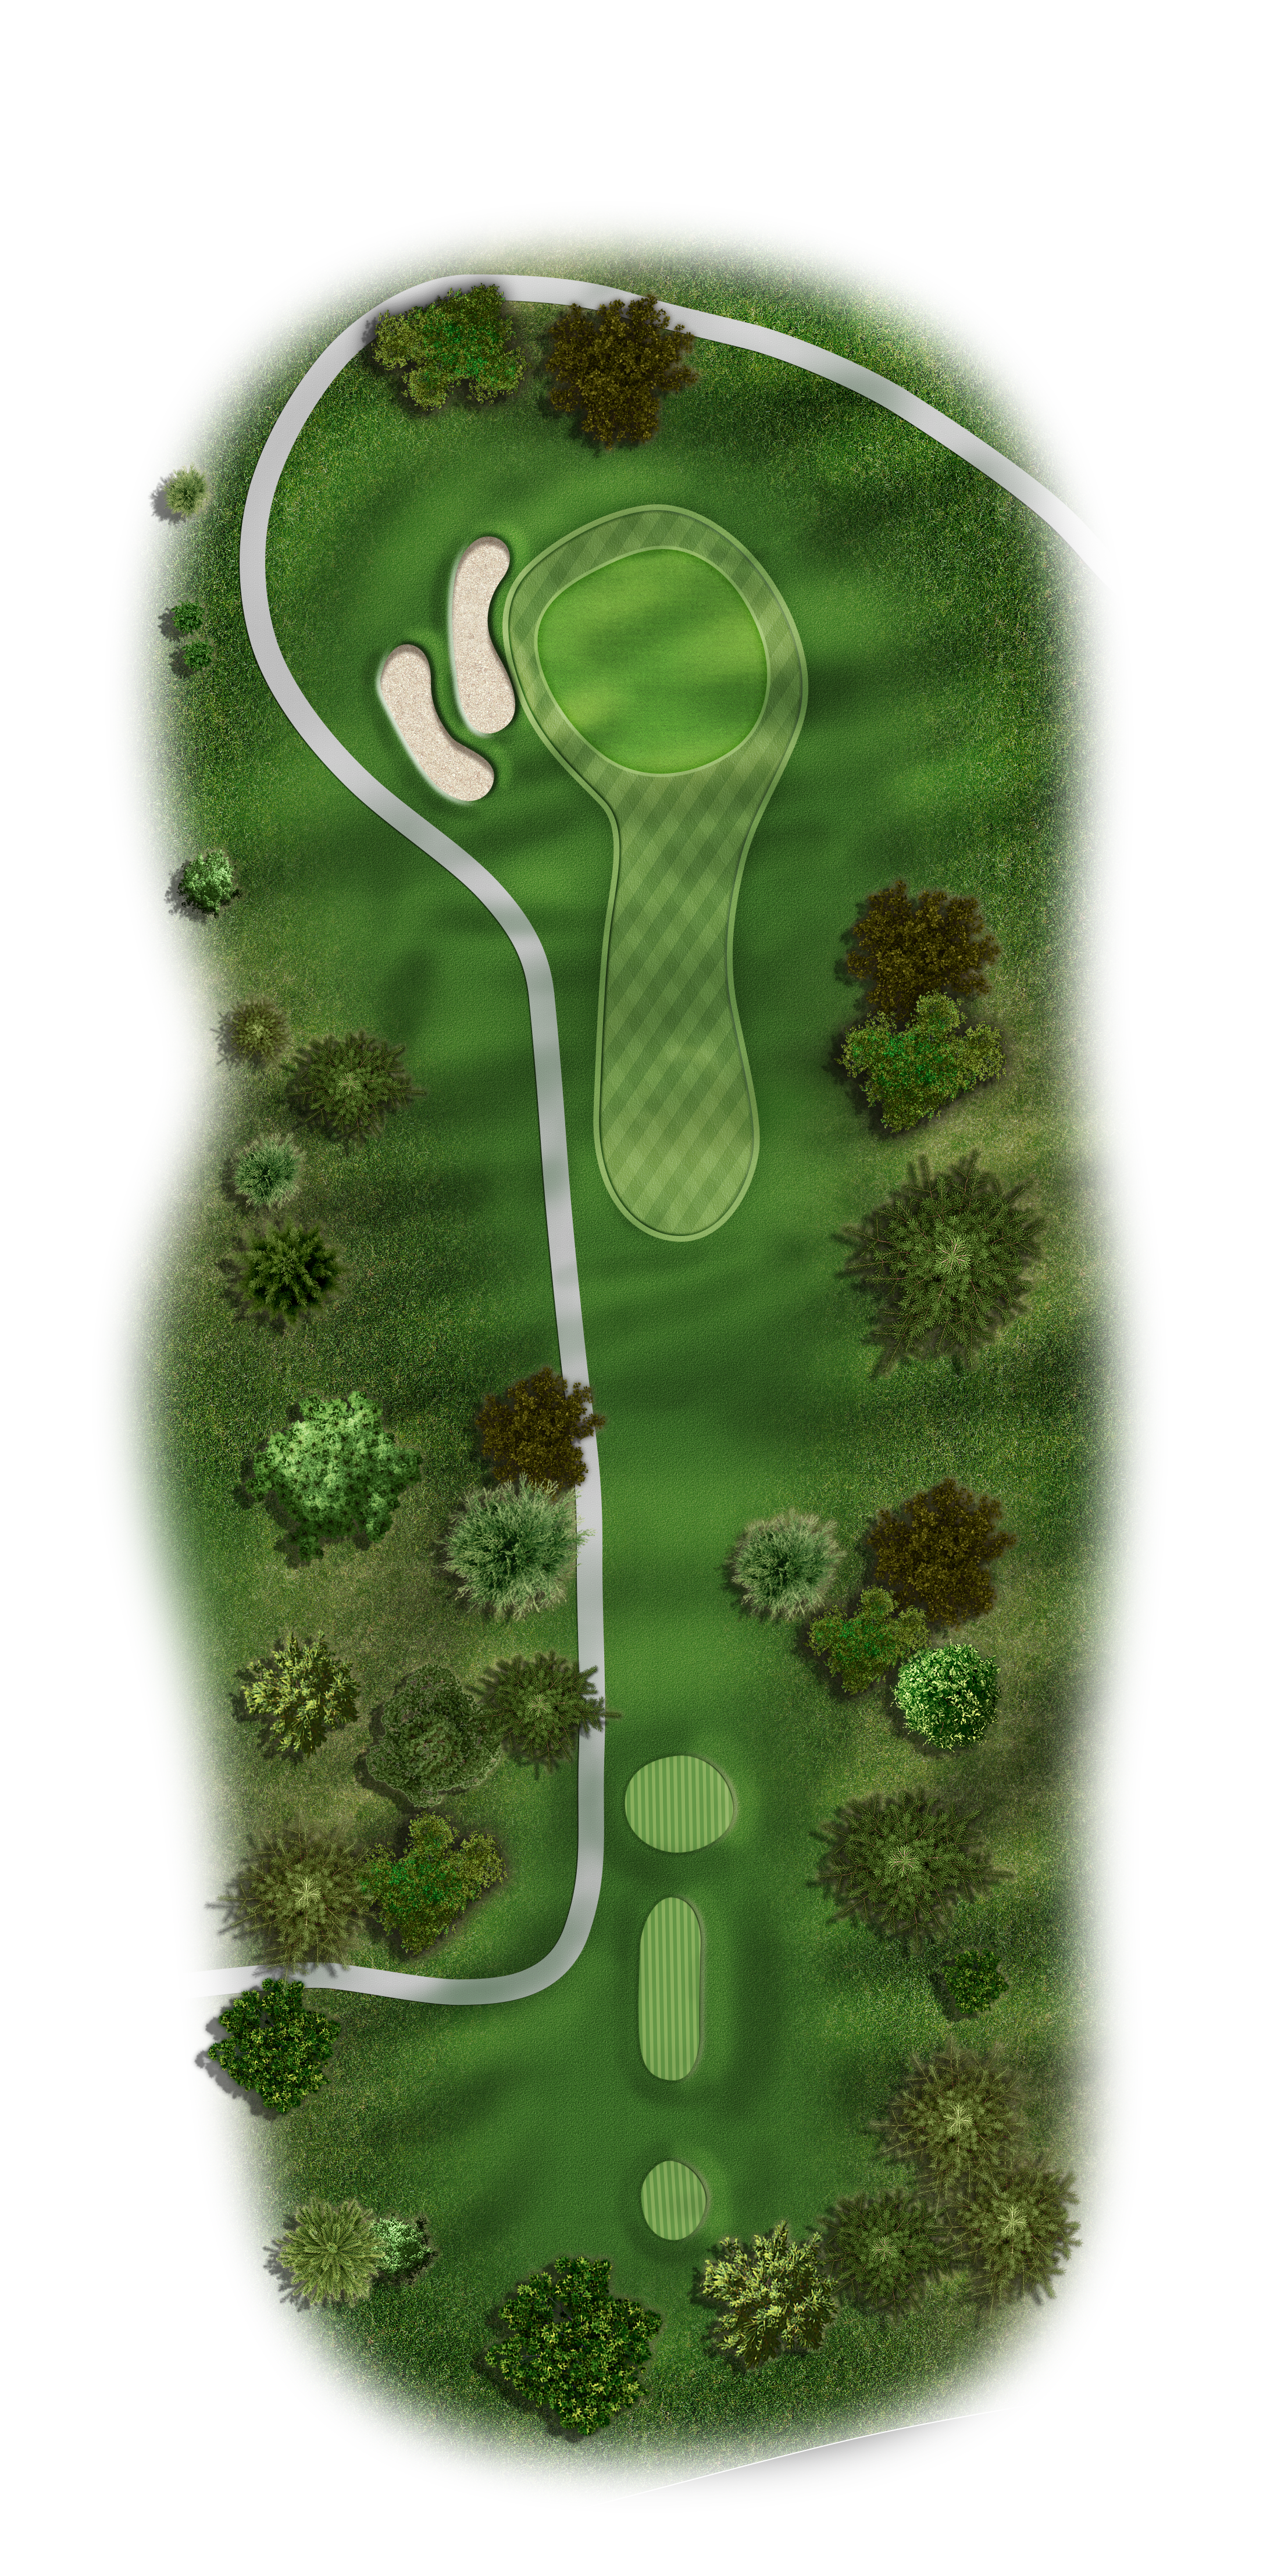
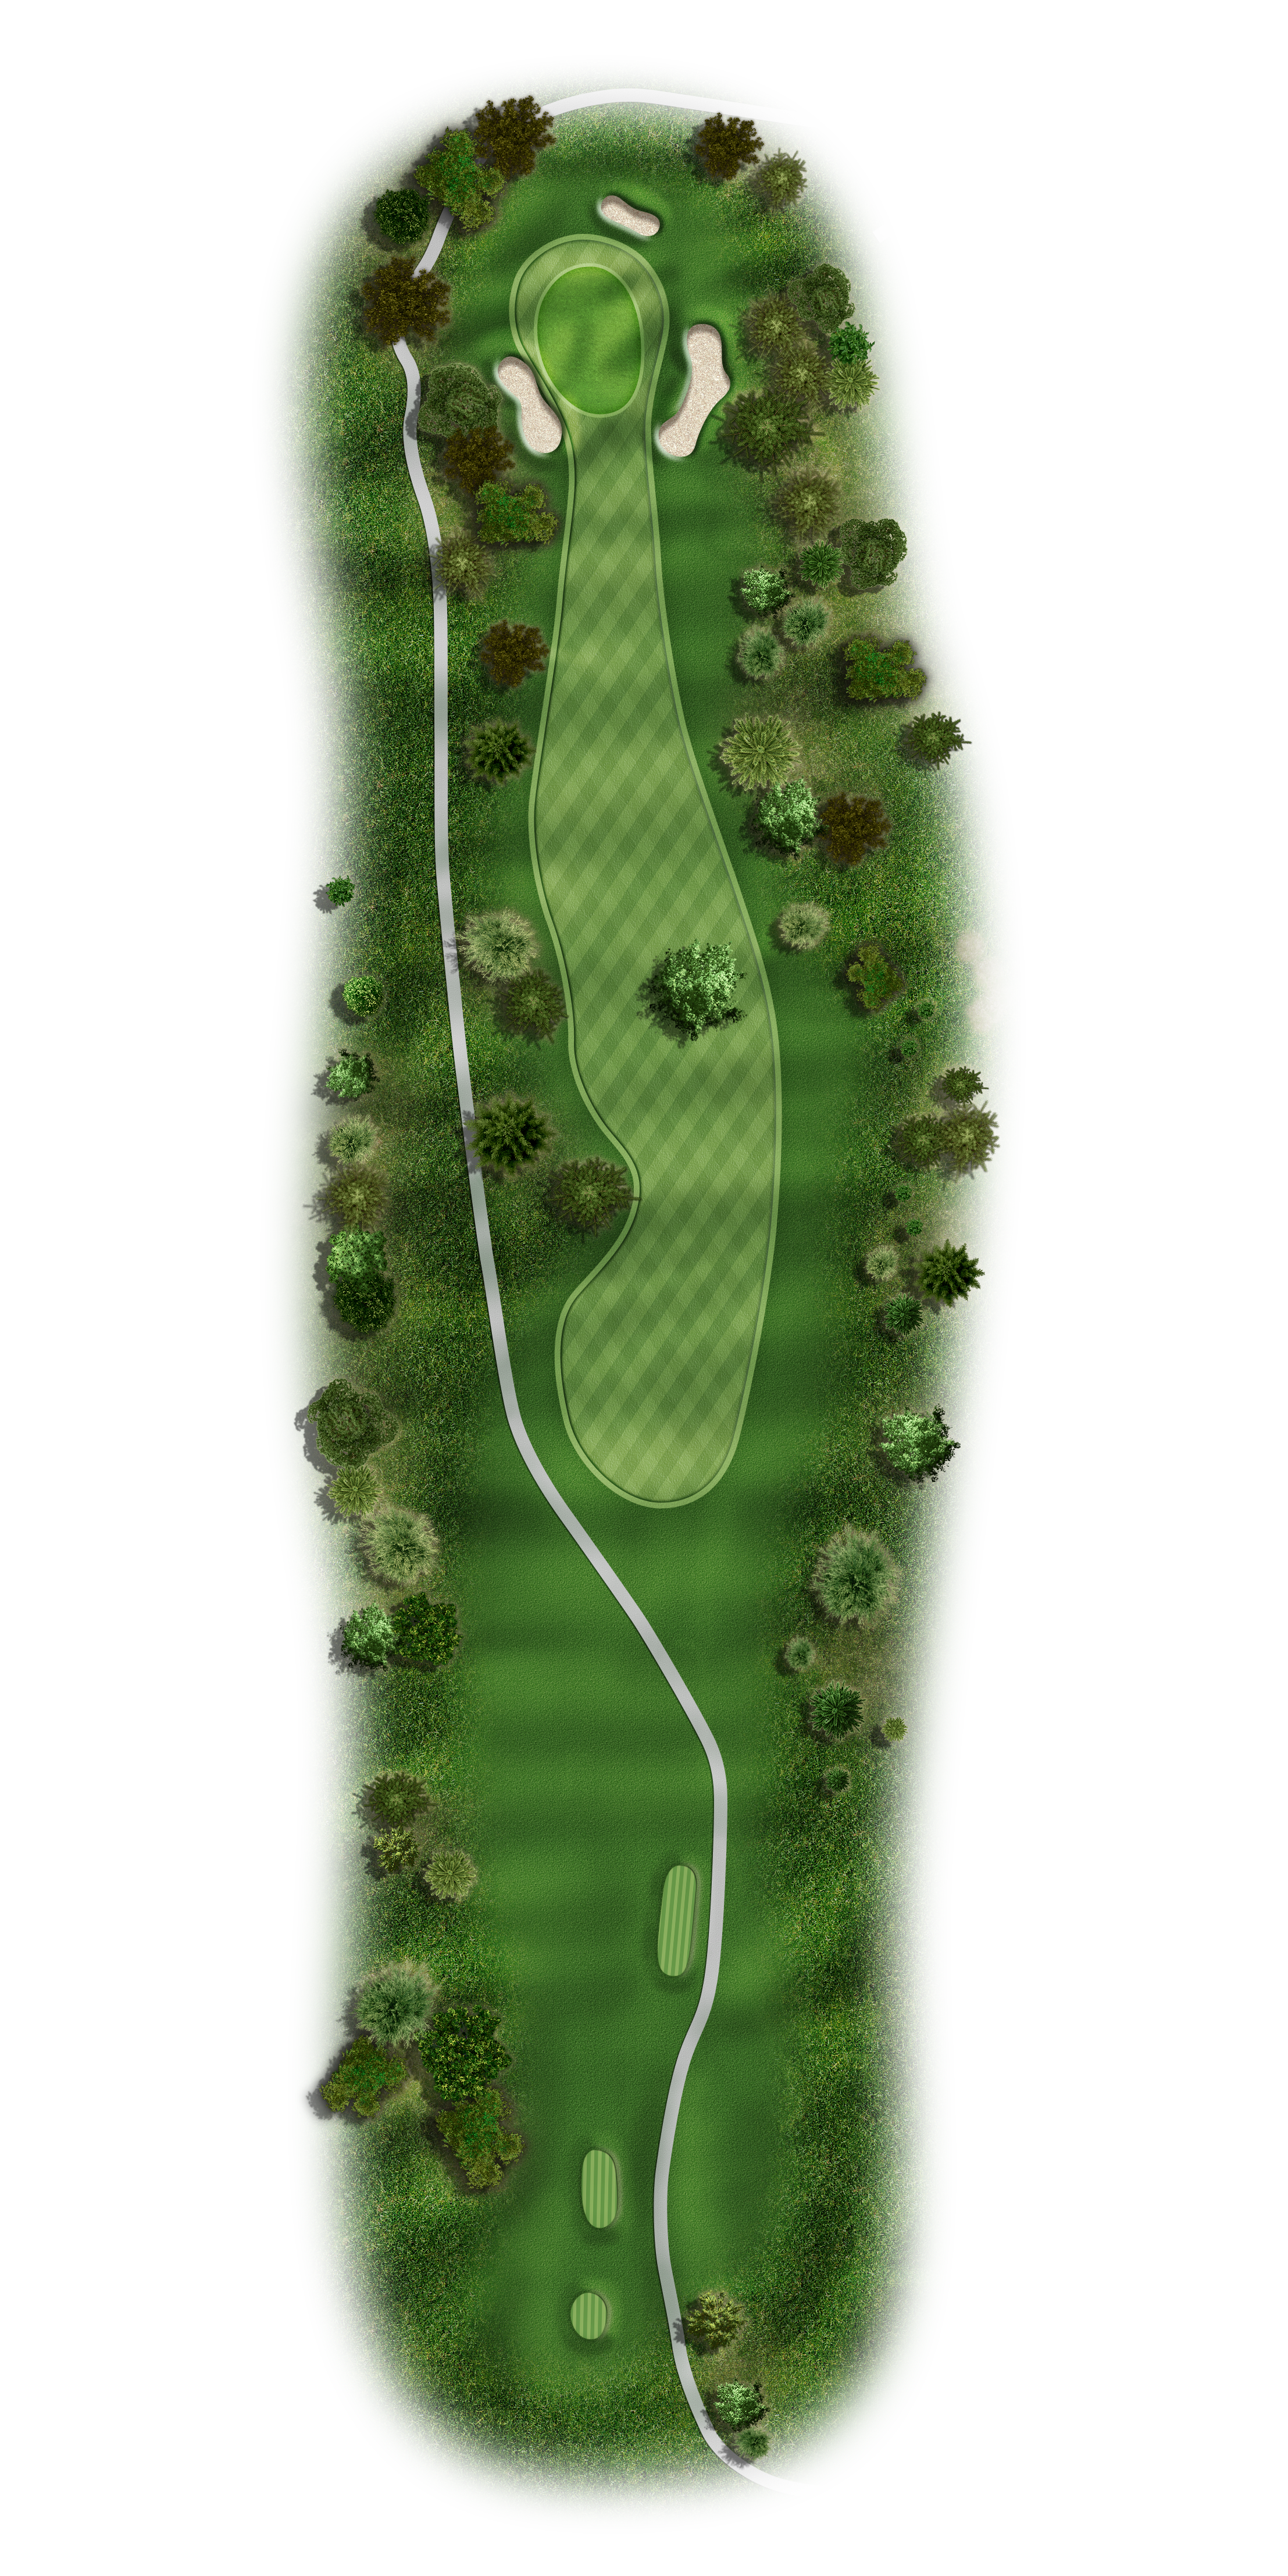
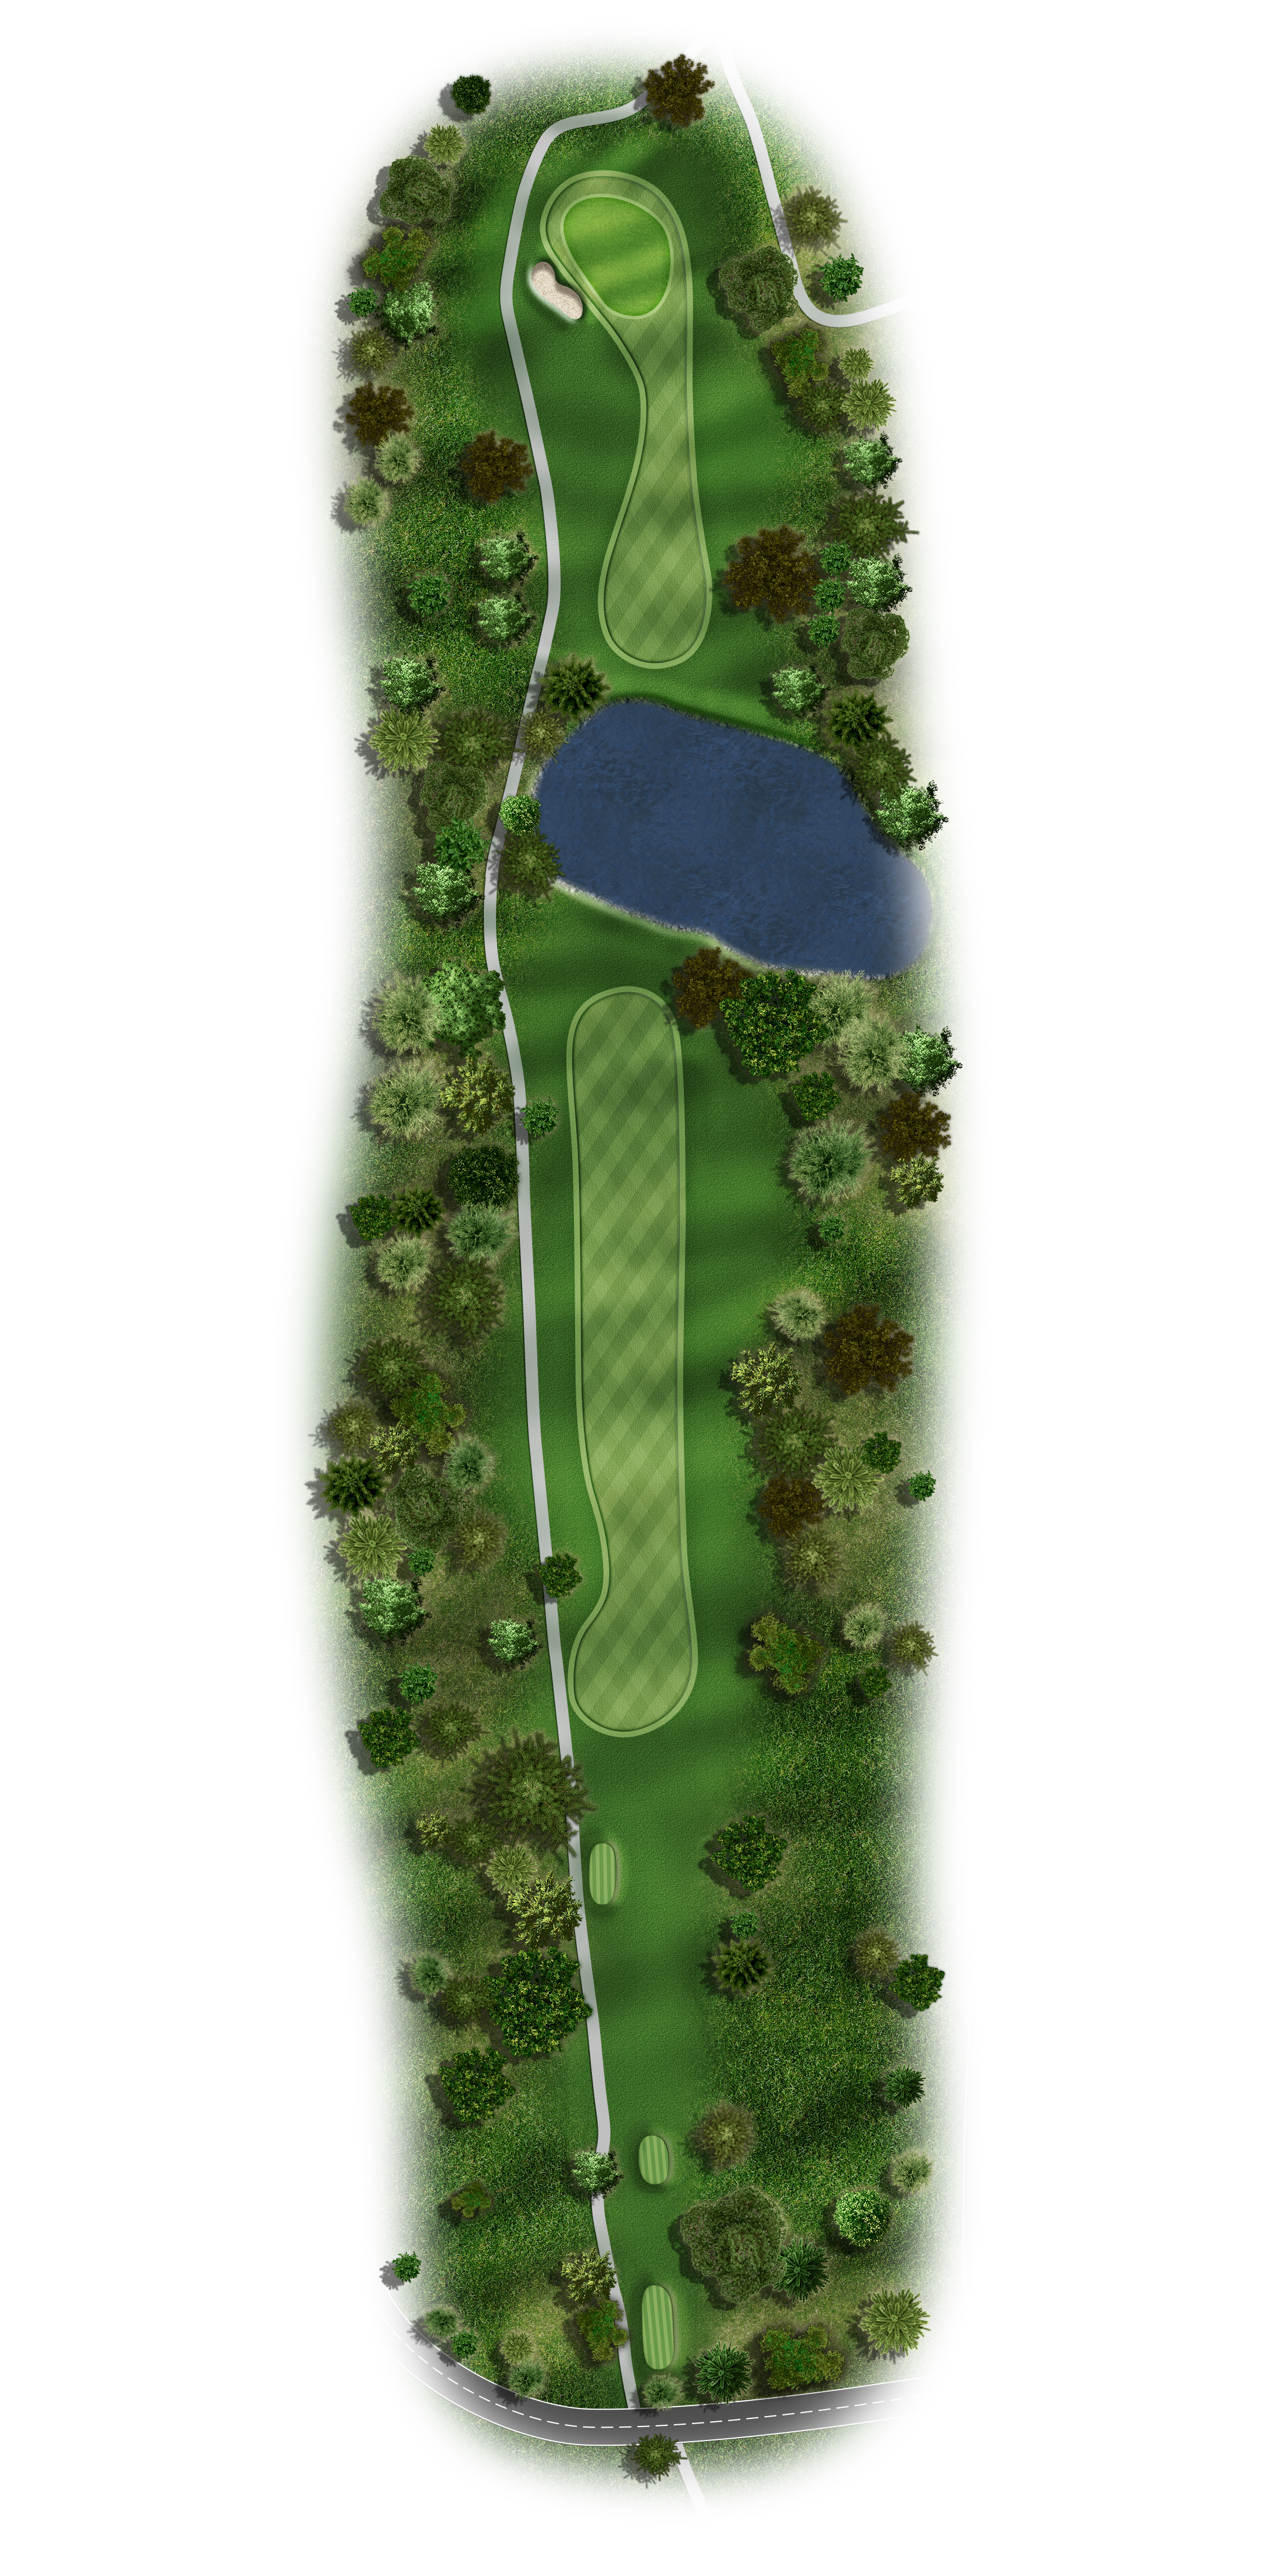
Yaupon Course

# 1 / Hole 1

Par: 5

Handicaps:
Men's Gold/Blue 3 Combo 3 White 3 Women's 5

Yardage by Tee:

Gold 572

Blue 554

Combo 454

White 454

Red 360

Slope:

Gold 72.5/135 | Blue 70.1/131 | Combo 67.6/126 | White 66.3/122 | Red 70.9/121

Pro Tips

Welcome, this long uphill Par 5 requires a 215 yards tee shot to carry bunker. From the bunker to the top of the hills is 215 yards. Aim your second shot left of the electrical pole. The ball will kick right and run across the fairway bringing trees and OB in play. The green slopes from left to right and front to back. Green depth is 32 paces.

# 2 / Hole 2

Par: 4

Handicaps:
Men's Gold/Blue 11 Combo 13 White 9 Women's 7

Yardage by Tee:

Gold 348

Blue 327

Combo 327

White 298

RED 291

Slope:

Gold 72.5/135 | Blue 70.1/131 | Combo 67.6/126 | White 66.3/122 | Red 70.9/121

Pro Tips

Position your 200 yard tee shot down the left hand side of the fairway into a generous landing area on this short Par 4. A shot played down the right side may kick right and reach the water. The approach can be tricky into this green that slopes left to right and front to back. Check the wind that swirls across the highway and plays trick with the approach shot. Green depth is 36 paces.

# 3 / Hole 3

Par: 3

Handicaps:
Men's Gold/Blue 15 Combo 15 White 15 Women's 15

Yardage by Tee:

Gold 172

Blue 134

Combo 134

White 96

Red 86

Slope:

Gold 72.5/135 | Blue 70.1/131 | Combo 67.6/126 | White 66.3/122 | Red 70.9/121

Pro Tips

Keep the ball below the hole on this short down hill Par 3. The green slopes severely from back to front and left to right. A shot played left of the hole will kick right down the hill and work its way towards the center of the green. An uphill putt is preferred on this small difficult green. Green depth is 25 paces.

# 4 / Hole 4

Par: 4

Handicaps:
Men's Gold/Blue 13 Combo 1 White 1 Women's 9

Yardage by Tee:

Gold 343

Blue 331

Combo 331

White 318

Red 313

Slope:

Gold 72.5/135 | Blue 70.1/131 | Combo 67.6/126 | White 66.3/122 | Red 70.9/121

Pro Tips

Please drive ahead to be sure the landing area is clear of other players. Aim your tee shot down the left side of the fairway along the rough cut, the ball will kick right and run down the hill. A fairway bunker is hidden on the right side of the landing area 220 yards from the tee. Four large bunkers guard the green with the front portion on the green narrowing to 10 yards across. Green depth is 33 paces.

# 5 / Hole 5

Par: 4

Handicaps:
Men's Gold/Blue 7 Combo 7 White 11 Women's 13

Yardage by Tee:

Gold 424

Blue 393

Combo 308

White 308

Red 301

Slope:

Gold 72.5/135 | Blue 70.1/131 | Combo 67.6/126 | White 66.3/122 | Red 70.9/121

Pro Tips

The right side fairway bunkers are 180 yards from the tee and a 230 yard shot is required to carry both bunkers. A tee shot right of the fairway bunkers will generally kick right OB. The left fairway bunker is - 245 yards from the tee. A tee shot up the left side of the fairway will give you a good angle to green with a large slope on the front left portion of the green. Green depth is 34 paces.

# 6 / Hole 6

Par: 4

Handicaps:
Men's Gold/Blue 1 Combo 9 White 7 Women's 3

Yardage by Tee:

Gold 402

Blue 377

Combo 332

White 332

Red 323

Slope:

Gold 72.5/135 | Blue 70.1/131 | Combo 67.6/126 | White 66.3/122 | Red 70.9/121

Pro Tips

Your target is the tall high-line tower in the distance. The fairway bunker is 275 yards from the tee. A ball played too far right can kick right and run out of bounds. The approach can be tricky because this green has a false front and a center ridge. Past the ridge the green slopes away from you with shots running through the green into the back bunker. Green depth is 25 paces.

# 7 / Hole 7

Par: 3

Handicaps:
Men's Gold/Blue 17 Combo 17 White 17 Women's 17

Yardage by Tee:

Gold 175

Blue 153

Combo 134

White 134

Red 124

Slope:

Gold 72.5/135 | Blue 70.1/131 | Combo 67.6/126 | White 66.3/122 | Red 70.9/121

Pro Tips

This “saddle” green feeds all tee shots to the middle. Bunkers guard both the left and right sides of the green making the center of the green very narrow. Check the pin position and wind direction on the flag on #6 green to help in selecting the correct club. Missing the green short will leave an easy pitch to the Par 3. Green depth is 38.

# 8 / Hole 8

Par: 4

Handicaps:
Men's Gold/Blue 9 Combo 11 White 13 Women's 11

Yardage by Tee:

Gold 389

Blue 336

Combo 336

White 298

Red 292

Slope:

Gold 72.5/135 | Blue 70.1/131 | Combo 67.6/126 | White 66.3/122 | Red 70.9/121

Pro Tips

Cut off as much as you think you can handle. The left fairway bunker is 220 yards from tee sign. The hardest part of this hole is hitting enough club on the approach. It may not appear to be that severe, but the hill going up to the green adds almost a full club to the shot.

# 9 / Hole 9

Par: 5

Handicaps:
Men's Gold/Blue 5 Combo 5 White 5 Women's 1

Yardage by Tee:

Gold 533

Blue 495

Combo 457

White 457

Red 454

Slope:

Gold 72.5/135 | Blue 70.1/131 | Combo 67.6/126 | White 66.3/122 | Red 70.9/121

Pro Tips

The fairway bunkers are reachable they are 220 yards from the blue tees. Advancing the ball up the hill is a little tricky, playing a second shot of 175 yards will get you inside the 100 yard marker. Your third shot to the green is deceiving. If the pin is in the back be careful because the green slopes a0way from you once you get past the middle.

# 10 / Hole 10

Par: 4

Handicaps:
Men's Gold/Blue 12 Combo 12 White 6 Women's 6

Yardage by Tee:

Gold 370

Blue 346

Combo 346

White 318

Red 310

Slope:

Gold 72.5/135 | Blue 70.1/131 | Combo 67.6/126 | White 66.3/122 | Red 70.9/121

Pro Tips

A straightaway par 4, this hole is not real tricky. The fairway slopes from left to right. Aim at the big oak tree on the left hand side of the fairway and your ball will roll to the middle. The green slopes from left to right more than it appears from the fairway!

# 11 / Hole 11

Par: 4

Handicaps:
Men's Gold/Blue 10 Combo 8 White 10 Women's 12

Yardage by Tee:

Gold 355

Blue 313

Combo 313

White 301

Red 280

Slope:

Gold 72.5/135 | Blue 70.1/131 | Combo 67.6/126 | White 66.3/122 | Red 70.9/121

Pro Tips

This tee shot is blind but the tree in the middle of the fairway provides and excellent target. Hit the ball over the center of this tree and your tee shot will be perfect. The approach requires a good shot to an undulating green.

# 12 / Hole 12

Par: 4

Handicaps:
Men's Gold/Blue 8 Combo 16 White 16 Women's 16

Yardage by Tee:

Gold 429

Blue 334

Combo 209

White 209

Red 204

Slope:

Gold 72.5/135 | Blue 70.1/131 | Combo 67.6/126 | White 66.3/122 | Red 70.9/121

Pro Tips

From the Gold Tees, this Par 4 is a good test requiring a long accurate tee shot. From the regular tees, the tee shot is again blind but the distance is considerably shorter. The green is protected by bunkers left and right that you may not be able to see from your approach.

# 13 / Hole 13

Par: 3

Handicaps:
Men's Gold/Blue 16 Combo 14 White 14 Women's 14

Yardage by Tee:

Gold 210

Blue 176

Combo 139

White 139

Red 107

Slope:

Gold 72.5/135 | Blue 70.1/131 | Combo 67.6/126 | White 66.3/122 | Red 70.9/121

Pro Tips

This is our most challenging Par 3. Several tee locations and pin locations can really make you think about your club selection. Even if you’re on this green with your tee ball, this split-level green can give you all sorts of trouble.

# 14 / Hole 14

Par: 5

Handicaps:
Men's Gold/Blue 6 Combo 6 White 12 Women's 10

Yardage by Tee:

Gold 556

Blue 541

Combo 541

White 431

Red 423

Slope:

Gold 72.5/135 | Blue 70.1/131 | Combo 67.6/126 | White 66.3/122 | Red 70.9/121

Pro Tips

This first Par 5 on the back nine offers the average golfer a good test of accuracy and position. On this long dogleg right you want to avoid the fairway bunker to the right of the tee strategically placed to penalize the errant tee shot. Remember, position is the key.

# 15 / Hole 15

Par: 3

Handicaps:
Men's Gold/Blue 18 Combo 18 White 18 Women's 18

Yardage by Tee:

Gold 185

Blue 174

Combo 174

White 136

Red 121

Slope:

Gold 72.5/135 | Blue 70.1/131 | Combo 67.6/126 | White 66.3/122 | Red 70.9/121

Pro Tips

This par 3 is a little deceiving from the tee. Be sure you hit enough club, at least a club up from the yardage you are teeing off from, but not too much because over the green is jail. The green slopes from back to front, so make sure you are below the hole.

# 16 / Hole 16

Par: 4

Handicaps:
Men's Gold/Blue 14 Combo 10 White 8 Women's 8

Yardage by Tee:

Gold 370

Blue 345

Combo 301

White 301

Red 292

Slope:

Gold 72.5/135 | Blue 70.1/131 | Combo 67.6/126 | White 66.3/122 | Red 70.9/121

Pro Tips

Watch out off the tee. The out of bounds on the right comes into play quickly. Play left of the tree on the right side of the fairway and you will be in good shape. A good tee shot here will only leave you a short iron into the green.

# 17 / Hole 17

Par: 4

Handicaps:
Men's Gold/Blue 2 Combo 2 White 2 Women's 2

Yardage by Tee:

Gold 392

Blue 367

Combo 303

White 303

Red 296

Slope:

Gold 72.5/135 | Blue 70.1/131 | Combo 67.6/126 | White 66.3/122 | Red 70.9/121

Pro Tips

A long straight forward par 4. The hardest thing on this hole is to hit enough club on the approach. The uphill approach requires almost 1 ½ clubs more. The green slopes from back right to front left more severely than you may first think.

# 18 / Hole 18

Par: 5

Handicaps:
Men's Gold/Blue 4 Combo 4 White 4 Women's 4

Yardage by Tee:

Gold 516

Blue 470

Combo 470

White 404

Red 397

Slope:

Gold 72.5/135 | Blue 70.1/131 | Combo 67.6/126 | White 66.3/122 | Red 70.9/121

Pro Tips

From the Blue tees its about 265 yards to the water hazard but because of the severe down-slope, the tee shot only requires a 200 yard shot to get into the correct position for the next shot. Your approach to this highly elevated green is critical to get the ball close. Be sure you use enough club and watch the pin placement.