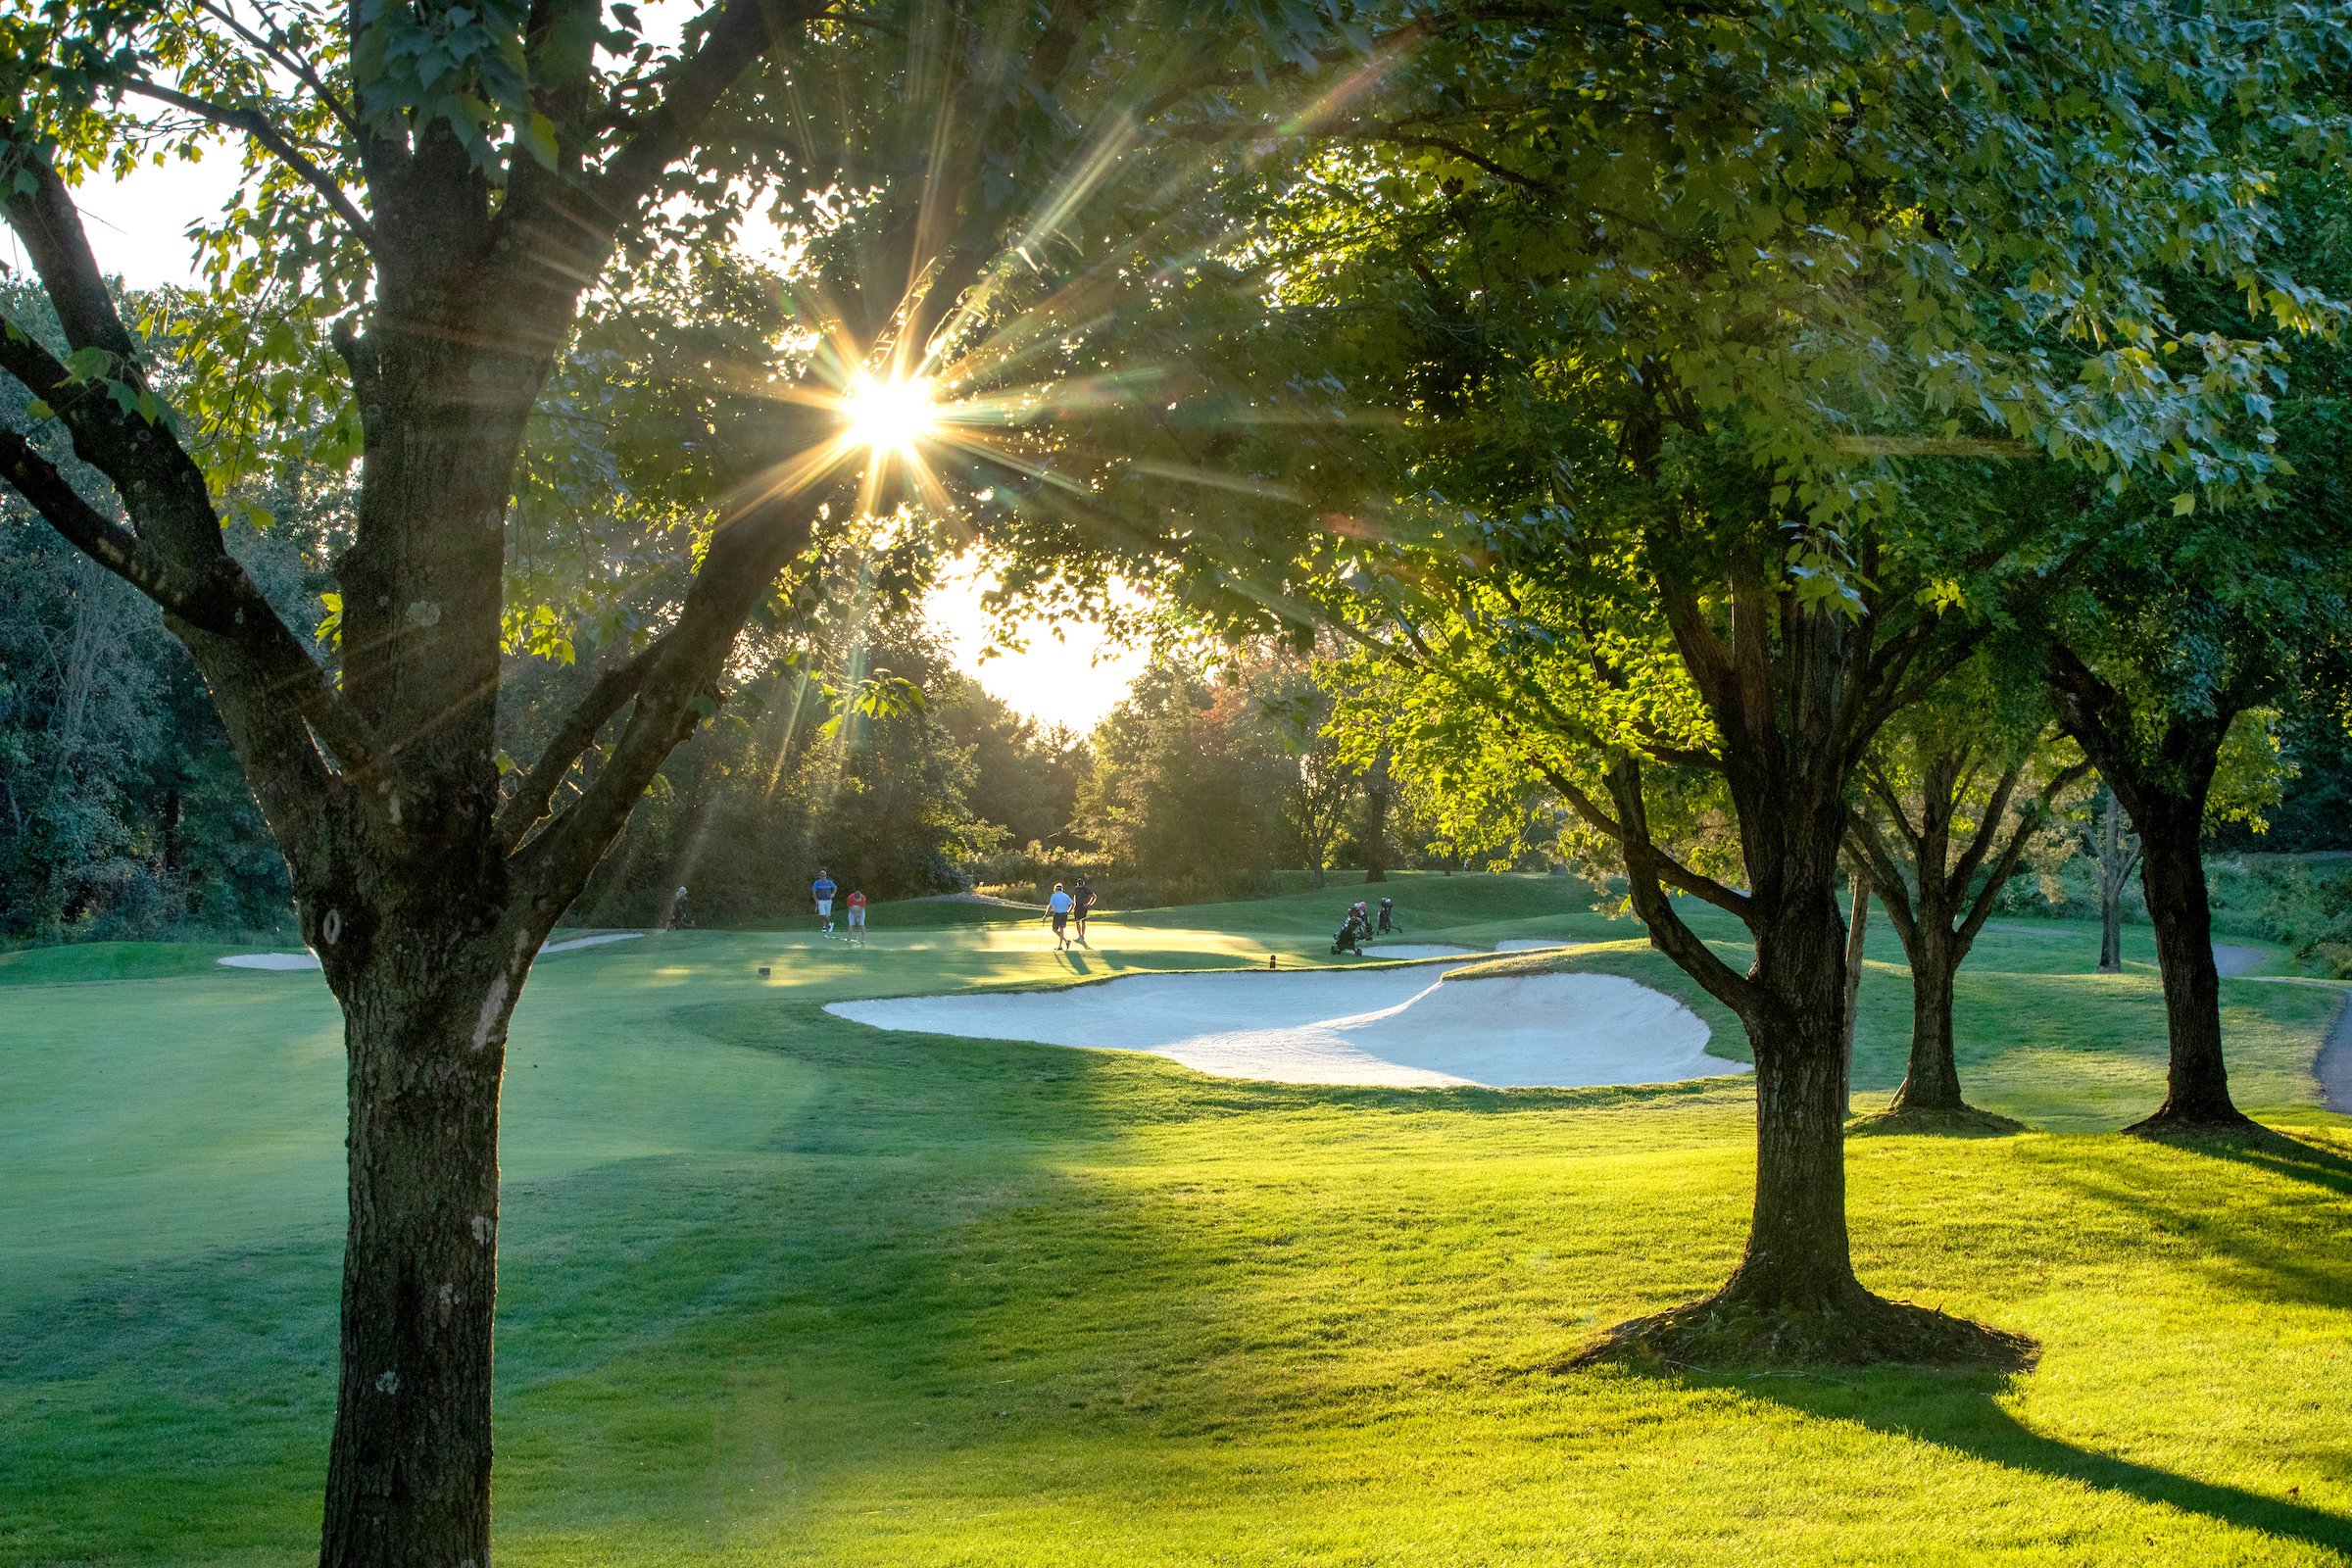
COURSE OVERVIEW
Designed by Arnold Palmer, the Dominion Valley Course blends strategic bunkering, wetland hazards, and impeccable greens into a championship-caliber layout set against the Bull Run Mountains. It features wide fairways and rewards thoughtful club selection and shot-making.
Holes: 18 Yards: 6,804 Par: 72 Rating: 74.2 Slope: 145
HOLE-BY-HOLE INFO
1st HOLE
Par 5 · 567 Yards
Pro’s Tip:
The first hole is a downhill dogleg par 5 that often plays into a prevailing west to east crosswind. A well-placed drive to a fairway plateau, guarded by stately oak trees to the left, will leave you with a fairway wood for your second shot. Keep the ball left to avoid the water hazard that hugs the right side of the fairway.
Tee 1: 567
Tee 2: 537
Tee 3: 483
Tee 4: 480
Tee 5: 443
Tee 6: 318
2nd HOLE
Par 3 · 191 Yards
Pro’s Tip:
This 200-yard downhill shot is made more difficult by the presence of a deep-faced bunker that runs parallel to a narrow but large green. The smart play is to favor the right or left side of the green, make your par, and get on your way!
Tee 1: 191
Tee 2: 175
Tee 3: 160
Tee 4: 142
Tee 5: 121
Tee 6: 121
3rd HOLE
Par 4 · 412 Yards
Pro’s Tip:
This double dogleg par 4 is an uphill, strategic golf hole requiring pinpoint accuracy off the tee to avoid four large fairway bunkers that guard both the left and right sides of the fairway. Two large bunkers flank either side of the green, and grassy swales behind the green should make for an interesting chip shot for the player who misjudges the distance.
Tee 1: 412
Tee 2: 387
Tee 3: 376
Tee 4: 342
Tee 5: 312
Tee 6: 251
4th HOLE
Par 4 · 382 Yards
Pro’s Tip:
A short par 4 for this course, the fourth hole is a slight downhill dogleg left, distinguished by wetlands that split the fairway. A second shot with a short iron should be the next play to a green that is guarded by two large bunkers on the right and a severe downhill slope to the left.
Tee 1: 382
Tee 2: 357
Tee 3: 346
Tee 4: 324
Tee 5: 278
Tee 6: 238
5th HOLE
Par 5 · 574 Yards
Pro’s Tip:
This double dogleg par 5 can be tamed by executing every shot with care; the drive over a ravine and pond to a plateau fairway is not difficult, but the fairway bunker lies only 226 yards off the tee. Avoid the left side of the fairway if you can, because the slope from right to left will entice the ball toward the deep rough and will bring the water surrounding the green into play. A wellplaced second shot will leave you a third shot of 120 -150 yards to a narrow but deep green surrounded by water on the left, a wetland area before the green, and a bunker that will swallow any shot hit to the right.
Tee 1: 574
Tee 2: 540
Tee 3: 500
Tee 4: 495
Tee 5: 450
Tee 6: 377
6th HOLE
Par 3 · 183 Yards
Pro’s Tip:
Facing a bunker to the right, water to the left, and a downhill pin position makes club selection on this par 3 critical. The smart play is to favor the left side of the green. If you haven't perfected a high fade yet, this hole is sure to add a few strokes to your game.
Tee 1: 183
Tee 2: 151
Tee 3: 137
Tee 4: 125
Tee 5: 123
Tee 6: 115
7th HOLE
Par 5 · 558 Yards
Pro’s Tip:
The third and final par 5 on the front nine holes is a straightforward hole that offers variable options for the gambler and conservative golfer alike. A lengthy drive will offer you two choices: try for a 220-yard (or more!) second shot to the green that is surrounded by three deep-faced bunkers behind it or a pond and wetland area just short of the putting surface; or, play it short and hope that your sand wedge gets you relatively close to birdie range.
Tee 1: 558
Tee 2: 516
Tee 3: 475
Tee 4: 445
Tee 5: 435
Tee 6: 344
8th HOLE
Par 4 · 390 Yards
Pro’s Tip:
The eighth hole is one of the shortest par 4s on the golf course. A tee shot of 225-245 yards down the center of this dogleg left will land you a short iron from par. If your second shot is long, be prepared for a difficult chip shot due to severe mounding behind the green.
Tee 1: 390
Tee 2: 388
Tee 3: 361
Tee 4: 332
Tee 5: 308
Tee 6: 255
9th HOLE
Par 3 · 165 Yards
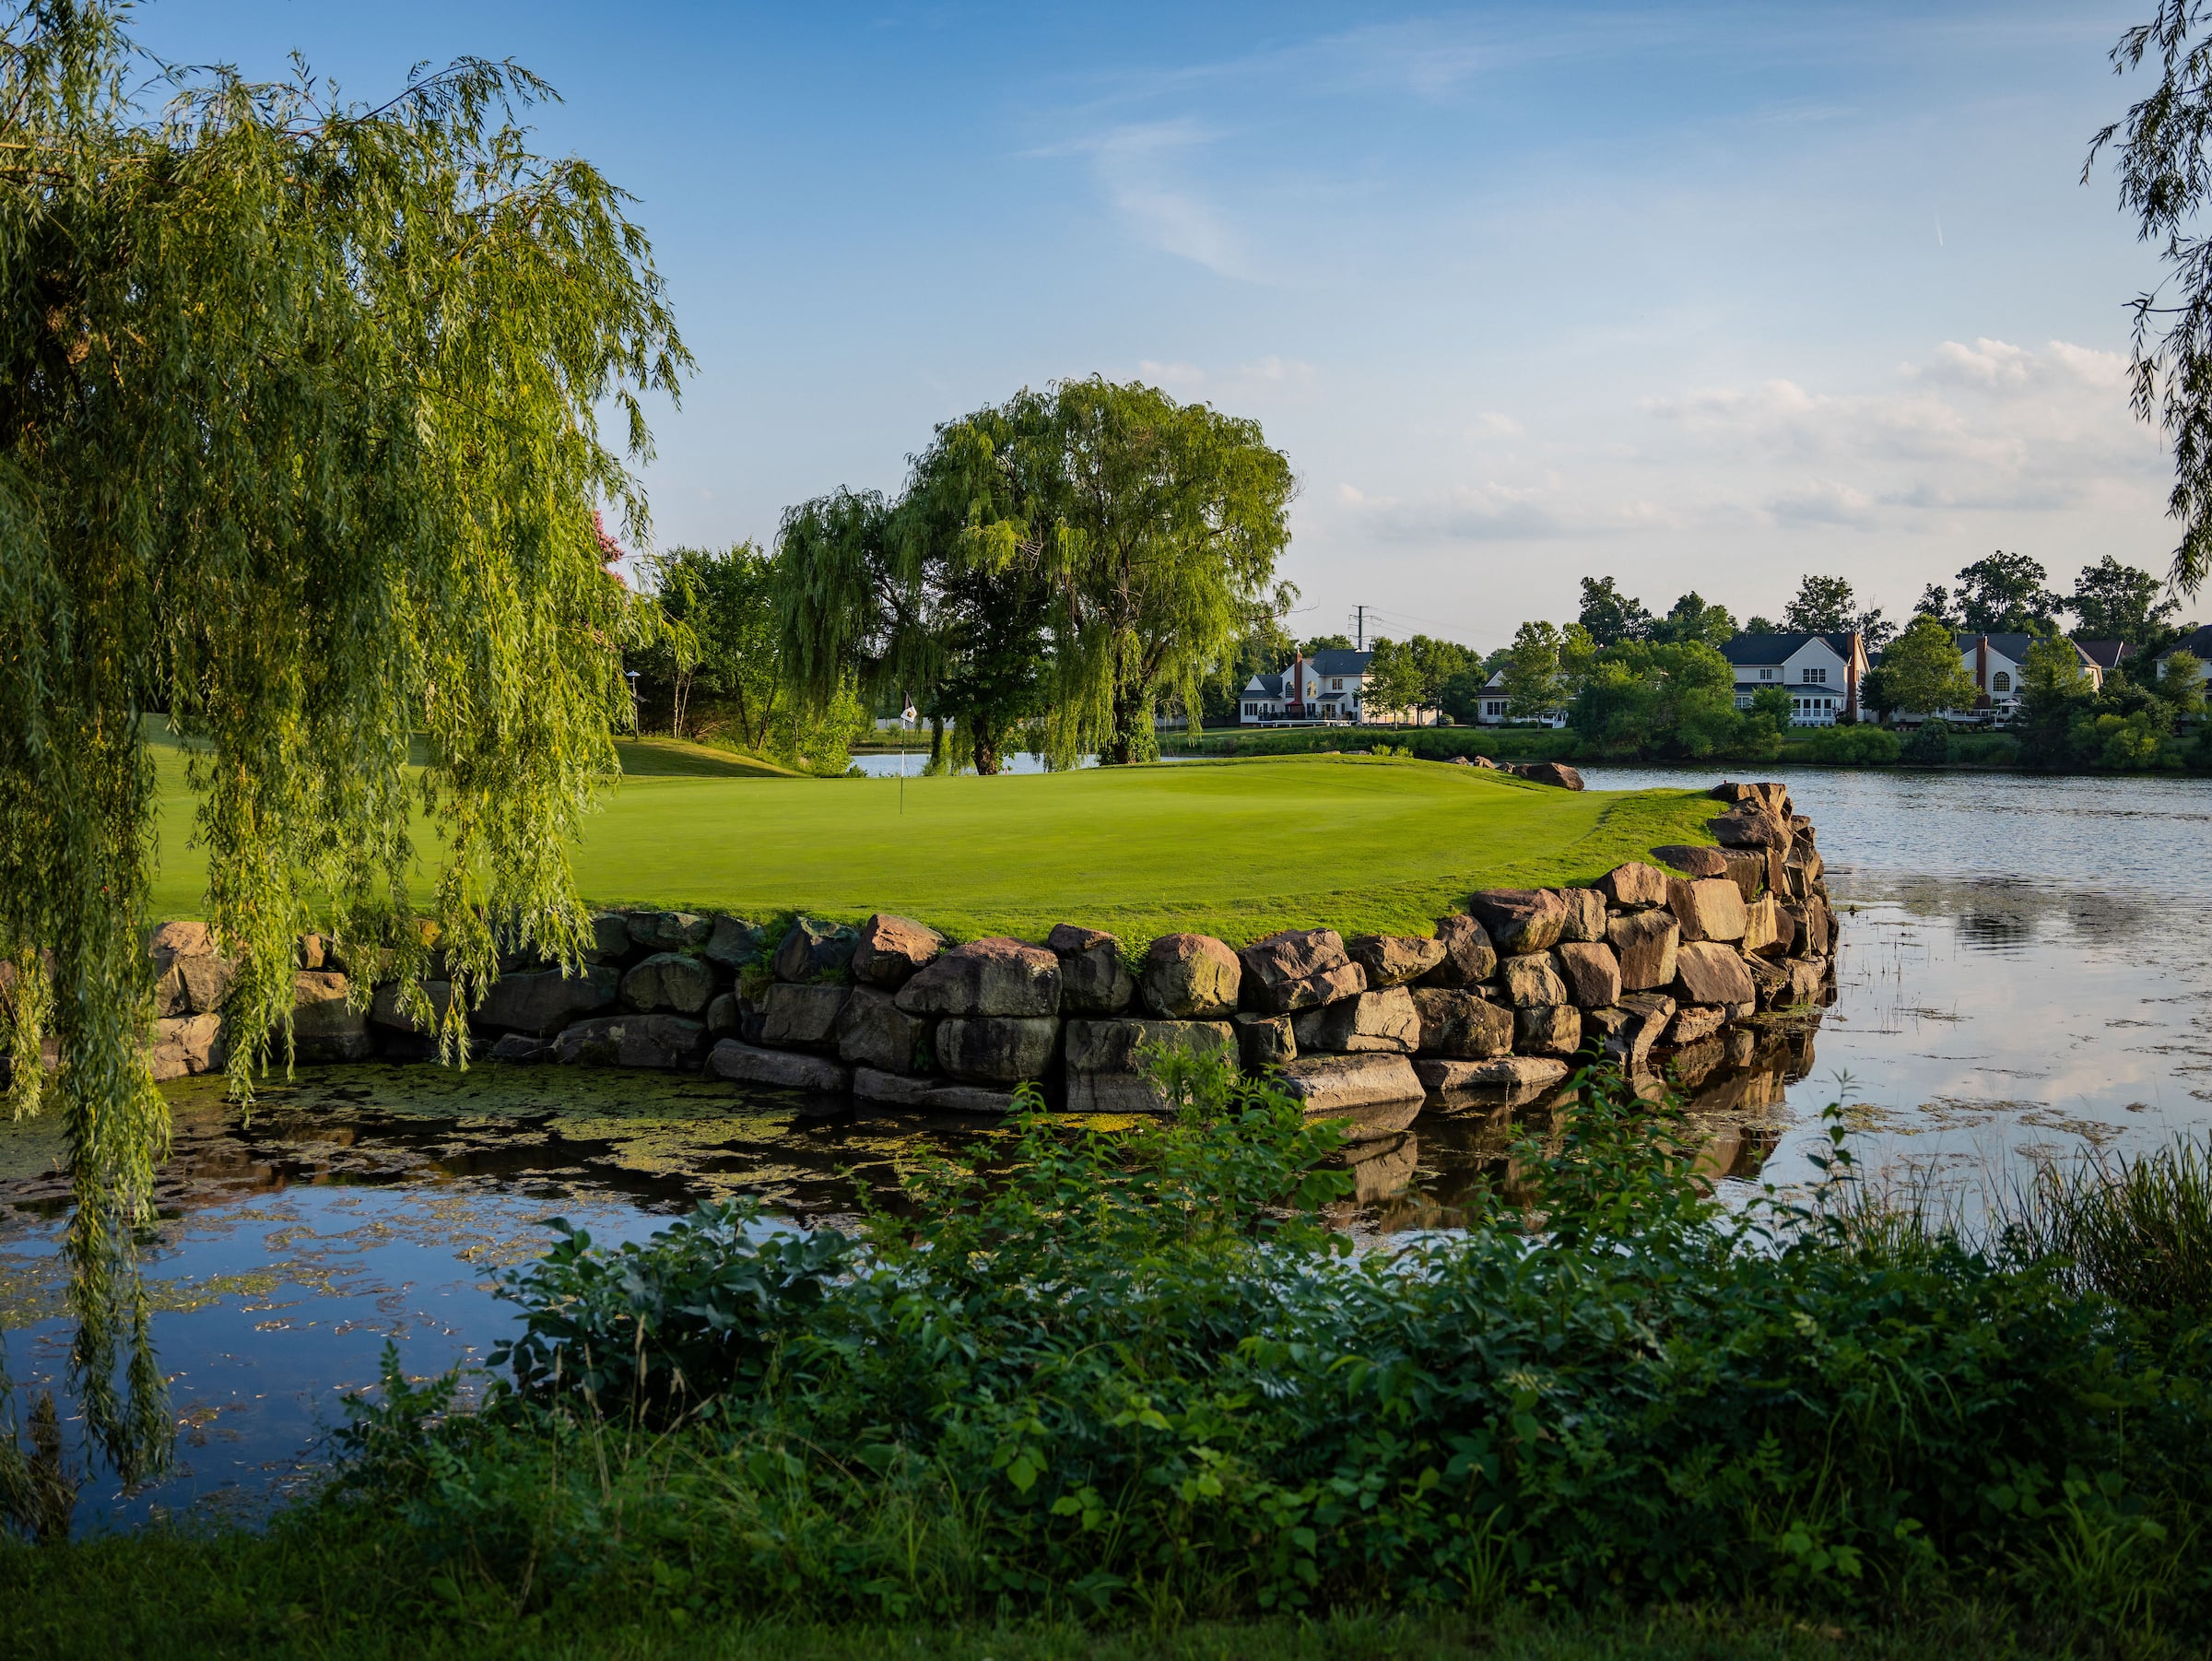
Pro’s Tip:
This difficult hole is your chance to see if you can navigate the island green. The tee shot should range from a five iron from the professional tee to a wedge from the member tee, depending on the amount of prevailing wind. The green itself is quite large, but surrounded by water. This challenging par 3 leaves very little room for error.
Tee 1: 165
Tee 2: 155
Tee 3: 123
Tee 4: 118
Tee 5: 76
Tee 6: 76
10th HOLE
Par 5 · 534 Yards
Pro’s Tip:
The tenth hole is a par 5 to a downhill, contouring fairway layout. A second shot requires that the ball hug the left side of the fairway to keep the water out of play to the right and requires an approach shot that neutralizes the large, left greenside bunker. A slight deviance to the right will cause the ball to trickle down near the water's edge. This is a hole that has definite birdie potential, so try not to pass up the opportunity!
Tee 1: 534
Tee 2: 488
Tee 3: 475
Tee 4: 450
Tee 5: 408
Tee 6: 408
11th HOLE
Par 4 · 390 Yards
Pro’s Tip:
With a slight dogleg left, hole 11 appears deceptively easy from the tee because of its large landing area, but don't underestimate the fairway bunker to the left that narrows the fairway from 245 yards off the tee. The green is flanked by a deep bunker to the left and another bunker that lies to the right of the putting surface.
Tee 1: 390
Tee 2: 370
Tee 3: 353
Tee 4: 336
Tee 5: 284
Tee 6: 279
12th HOLE
Par 4 · 437 Yards
Pro’s Tip:
This dogleg hole is one of the longest par 4s on the course. A tee shot of 280 yards or more will most likely funnel toward the water, so it would be wise to keep your drive 260 to 275 yards from the tee. Your approach shot should be 170 to 190 yards to carry it over the water to a tiered green surrounded by bunkers on the left and right.
Tee 1: 437
Tee 2: 412
Tee 3: 365
Tee 4: 331
Tee 5: 305
Tee 6: 260
13th HOLE
Par 4 · 407 Yards
Pro’s Tip:
From the tee to the green is an elevation change of nearly 40 feet, so be prepared to use one more club than is normal here. A tee shot with ample draw must carry a large fairway bunker to the right about 245 yards out, but not to worry — there is plenty of room to the left for your next shot. You will leave yourself with a shot of about 130 to 150 yards into a green flanked by a small pot bunker to the left and a much larger bunker behind it. A fade for the approach shot is a wise choice to reach the green.
Tee 1: 407
Tee 2: 367
Tee 3: 355
Tee 4: 322
Tee 5: 291
Tee 6: 288
14th HOLE
Par 3 · 138 Yards
Pro’s Tip:
An uphill par 3, this hole includes a green that is well-guarded on the left by a berm. The right side is flanked by two deep bunkers, and the back by native oaks. Use one more club on this hole to compensate for the elevation change. A shot short in the approach will leave you with an uphill chip shot to a green that severely slopes from the left to the right.
Tee 1: 138
Tee 2: 126
Tee 3: 115
Tee 4: 110
Tee 5: 94
Tee 6: 92
15th HOLE
Par 4 · 395 Yards
Pro’s Tip:
This short par 4 hole is a downhill dogleg right that slopes from the left to the right. The golf hole is not difficult to navigate, but the side hills will need to be considered for your approach shot. A pin located on the right of the green will bring the green’s side and back bunkers into play; a shot to the left will require a dramatic flop shot from a downhill ball position if the green is missed.
Tee 1: 395
Tee 2: 360
Tee 3: 355
Tee 4: 325
Tee 5: 292
Tee 6: 247
16th HOLE
Par 5 · 540 Yards
Pro’s Tip:
This downhill par 5 may be reachable in two shots due to the drop in elevation of nearly 20 feet from the tee to the green and with the prevailing wind at your back. A second shot, if hit square, must land in the left approach and trickle toward the green; any shot hit right of the green will land in grassy swales and collection areas that may be too severe to make birdie.
Tee 1: 540
Tee 2: 518
Tee 3: 492
Tee 4: 450
Tee 5: 399
Tee 6: 310
17th HOLE
Par 3 · 198 Yards
Pro’s Tip:
This uphill par 3 requires careful club selection due to a narrow and well-protected green. A tee shot to the center of the green is recommended to avoid the cavernous bunker to the left of the green and a grassy swale to the right.
Tee 1: 198
Tee 2: 172
Tee 3: 148
Tee 4: 148
Tee 5: 119
Tee 6: 115
18th HOLE
Par 4 · 430 Yards
Pro’s Tip:
The finishing hole is one of the longest par 4s at Dominion Valley Country Club, and the most scenic! The landing area is quite large with only a single fairway bunker to the left about 260 yards from the tee. If your approach shot lands short, you'll have two additional landing areas from which to choose, both separated by another series of wetlands.
Tee 1: 430
Tee 2: 410
Tee 3: 400
Tee 4: 366
Tee 5: 319
Tee 6: 265
Best Golf Course in Prince William County
Top three in Northern Virginia for the last three years by Virginia Living Magazine


Host Your Tournament in Style
Dominion Valley Country Club provides a memorable setting for every occasion. With Arnold Palmer designed golf, elegant indoor and outdoor venues, and attentive event professionals, the club hosts everything from casual outings and wedding celebrations to corporate tournaments and charity events. Exceptional service, well kept facilities, and the scenic Northern Virginia landscape come together to create events that feel special and unforgettable.