

ELEVATE YOUR GAME
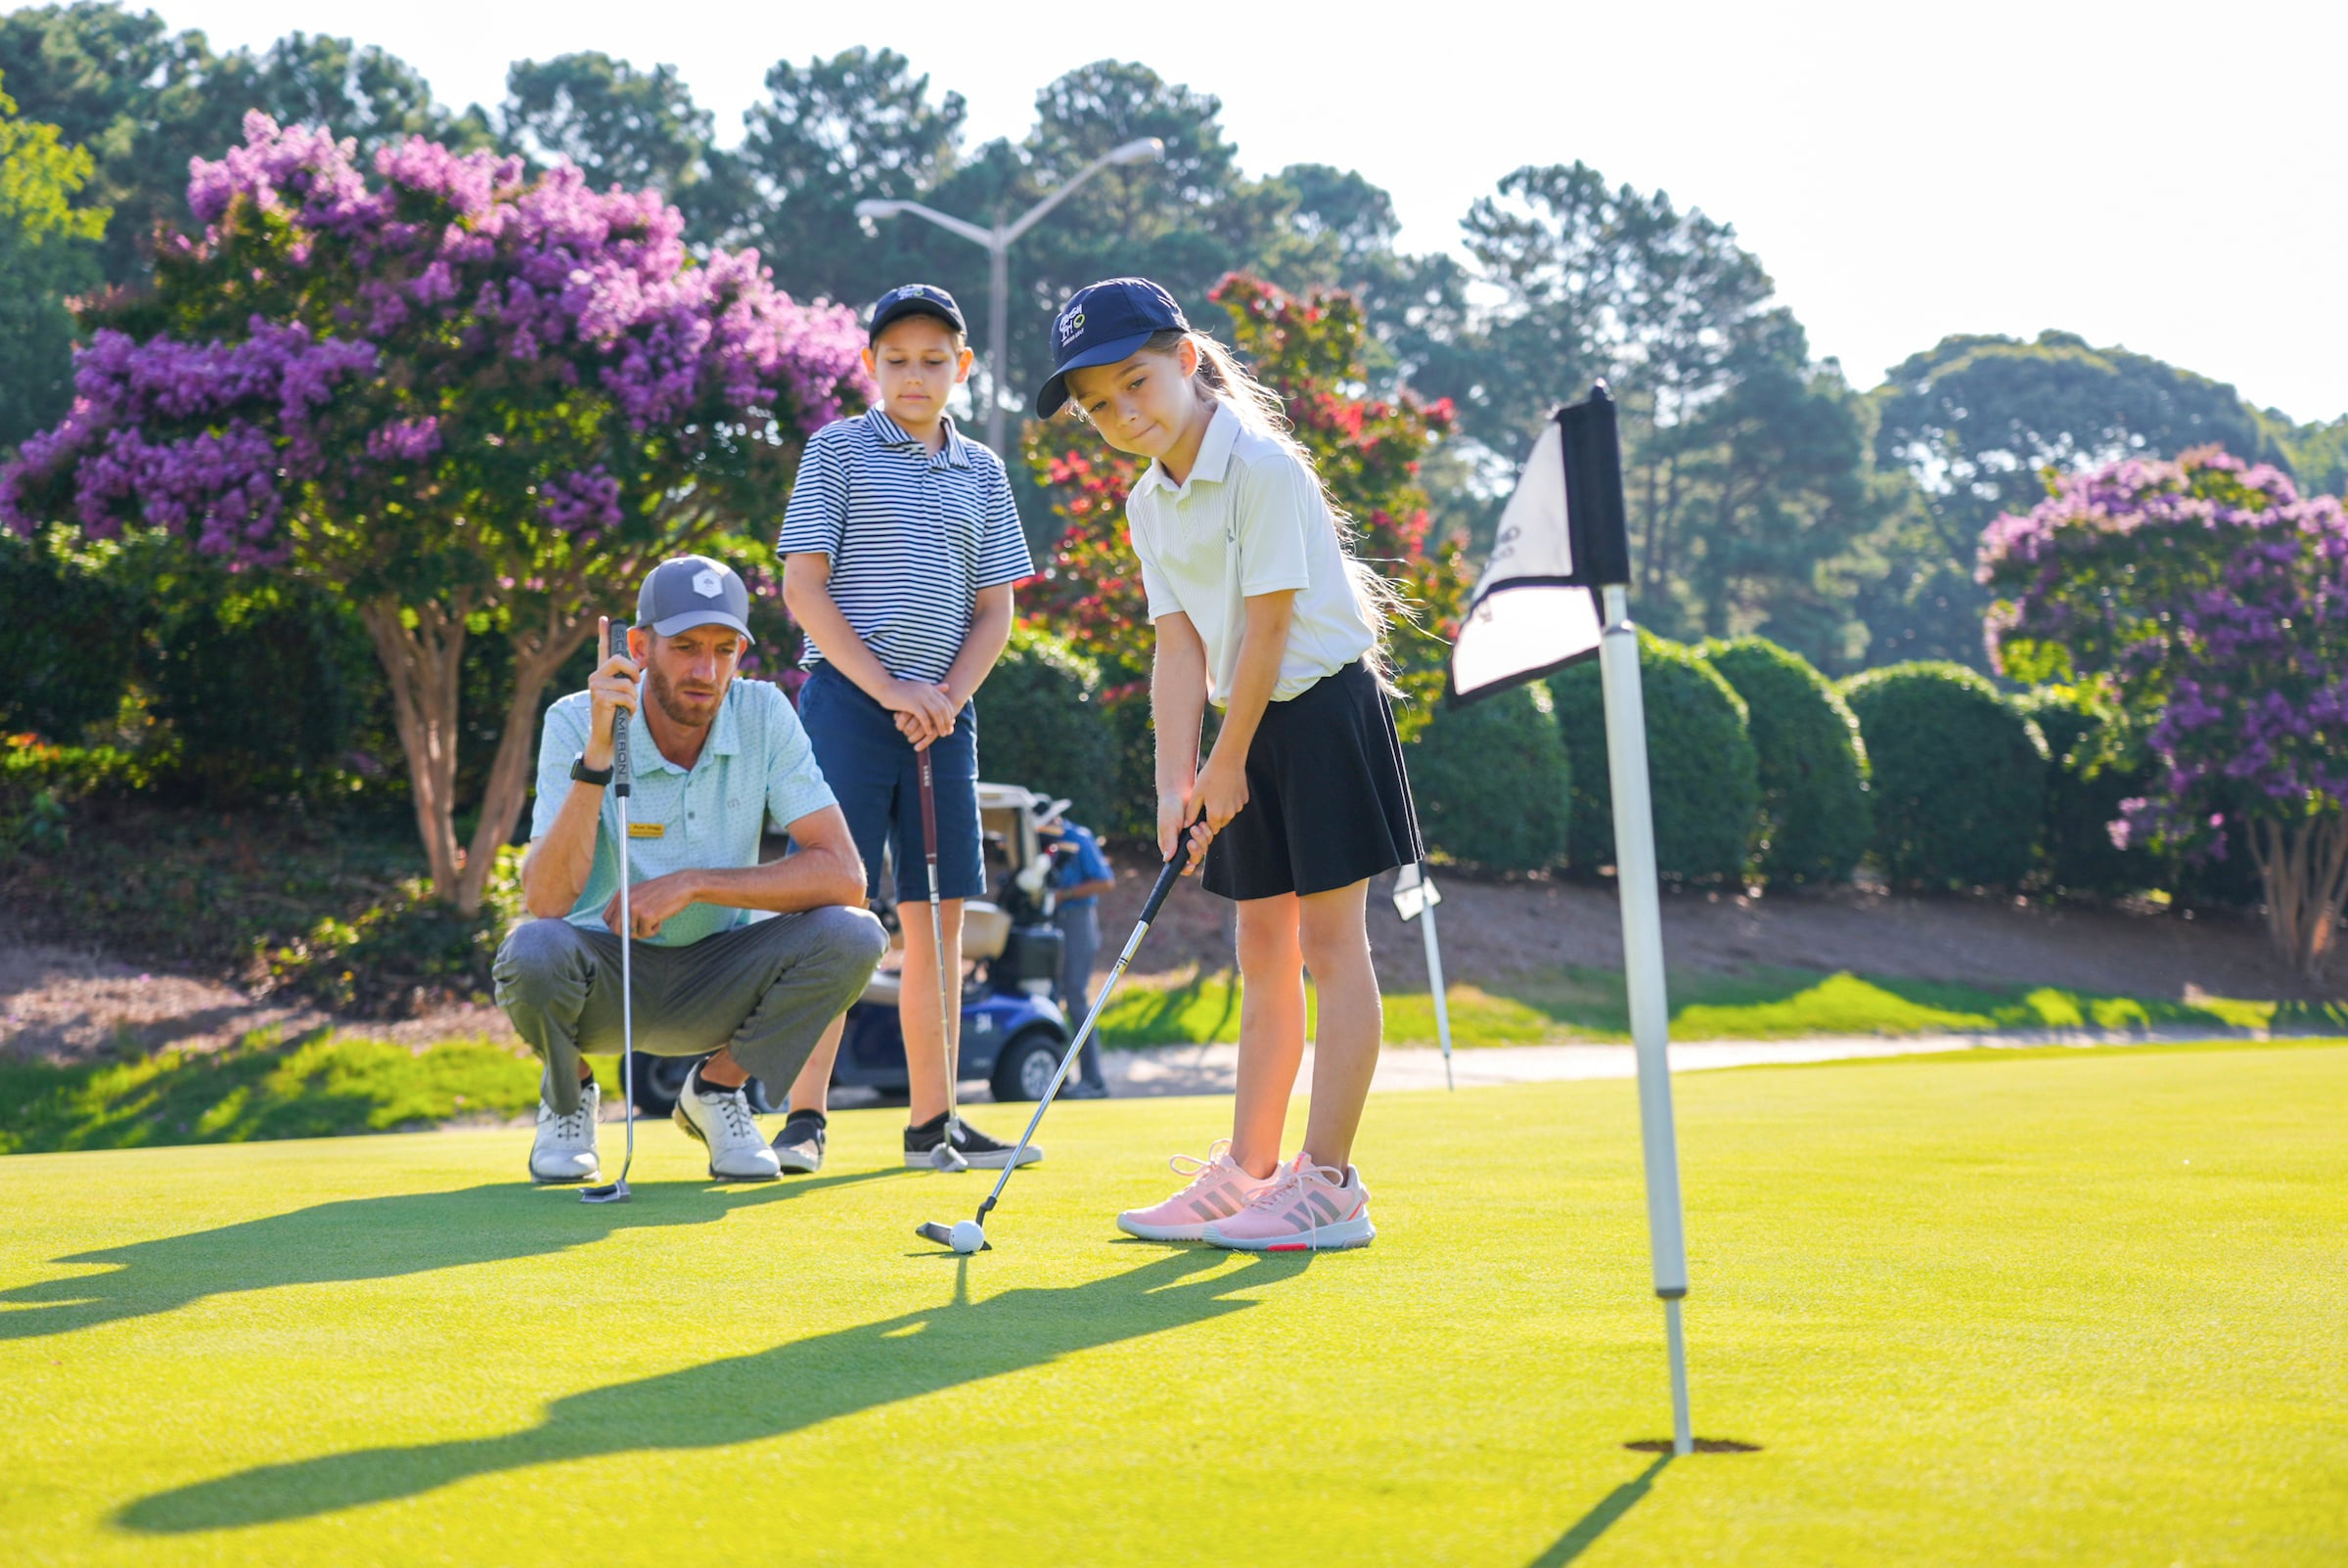
Build confidence one swing at a time with professional coaching, clinics, junior development and practice support. Whether you are new to the game or ready to refine your approach, Greenbrier gives progress a clear path.
Experience championship golf in Chesapeake, Virginia, on Greenbrier Country Club’s 18-hole Rees Jones-designed course. Set in the heart of Hampton Roads, the course pairs strategic play with full practice facilities and memorable holes, including the signature fourth played over water.
Holes: 18 Yards: 0 Par: 0 Rating: 0 Slope: 0
Par 5 · 533
Start the round with a smart target. Position your tee shot to the right of the bunkers on the left and give yourself a comfortable second shot rather than trying to reach the green in two.
Tee 1: 533
Tee 2: 509
Tee 3: 485
Tee 4: 453
Tee 5: 453
Tee 6: 353
Par 4 · 415
Favor the right side of the bunkers unless you can carry them. The second shot plays uphill, so make sure you have enough club to reach the green.
Tee 1: 415
Tee 2: 394
Tee 3: 363
Tee 4: 363
Tee 5: 269
Tee 6: 240
Par 4 · 461
From the back tees, this is one of the more demanding holes on the course. Prioritize getting the ball in position rather than forcing distance. From the forward tees, a good tee shot is still required. Finding the middle of the fairway sets up a short second shot into the green.
Tee 1: 461
Tee 2: 443
Tee 3: 340
Tee 4: 340
Tee 5: 272
Tee 6: 242
Par 3 · 153
Pick your yardage carefully and commit to the club. Don't let the pin location convince you to take less club than the shot requires.
Tee 1: 153
Tee 2: 152
Tee 3: 134
Tee 4: 134
Tee 5: 119
Tee 6: 119
Par 4 · 395
Think position first off the tee. A controlled tee shot can leave you with a much easier approach and a good opportunity to score.
Tee 1: 395
Tee 2: 372
Tee 3: 352
Tee 4: 352
Tee 5: 312
Tee 6: 292
Par 5 · 540
This is a hole where course management can make a big difference. Decide before you tee off whether you're trying to reach the green in two or setting yourself up for a comfortable third shot.
Tee 1: 540
Tee 2: 519
Tee 3: 491
Tee 4: 456
Tee 5: 456
Tee 6: 355
Par 4 · 433
Don't automatically reach for the longest club in the bag. Aim left of the bunker on the right to give yourself a clear view of the green for your second shot. Choose the tee-shot club that leaves you with an approach distance you are comfortable hitting.
Tee 1: 433
Tee 2: 409
Tee 3: 376
Tee 4: 350
Tee 5: 350
Tee 6: 365
Par 4 · 452
This is a demanding par 4. Finding the fairway is only half the battle, as most players will be left with a long second shot into the green. If you find one of the fairway bunkers, you'll need to lay up and hit your third shot from the fairway. This green is one of the largest on the course, so club selection will be important on the second shot.
Tee 1: 452
Tee 2: 431
Tee 3: 406
Tee 4: 360
Tee 5: 360
Tee 6: 260
Par 3 · 215
Take your time with club selection on this longer par 3. This is one of the only greens where you can run the ball onto the putting surface, so consider that option when selecting your shot.
Tee 1: 215
Tee 2: 196
Tee 3: 178
Tee 4: 120
Tee 5: 120
Tee 6: 120
Par 4 · 341
Starting the back nine with this short par 4 gives you an opportunity to leave yourself a wedge for the second shot. However, miss the fairway and you will struggle to make par.
Tee 1: 341
Tee 2: 320
Tee 3: 277
Tee 4: 277
Tee 5: 245
Tee 6: 220
Par 4 · 417
Commit to your tee shot and remember that position matters. Getting aggressive on this hole can lead to double and triple bogeys. The green has two levels, so make sure you get your ball on the correct level to leave yourself an easier putt.
Tee 1: 417
Tee 2: 390
Tee 3: 363
Tee 4: 326
Tee 5: 326
Tee 6: 245
Par 3 · 183
Check the wind on this par 3. The wind can play tricks with your club selection. Long is the best miss on this hole to avoid the water short of the green.
Tee 1: 183
Tee 2: 172
Tee 3: 148
Tee 4: 124
Tee 5: 106
Tee 6: 106
Par 4 · 393
A good tee shot is a must on this hole. The bunker and water are on the right, while the trees are on the left, making this one of the hardest driving holes on the course. Once you find the fairway, you still have work to do to find the green. Two bunkers protect the green—short right and long left. Making par on this hole feels like a birdie.
Tee 1: 393
Tee 2: 375
Tee 3: 335
Tee 4: 335
Tee 5: 288
Tee 6: 246
Par 4 · 370
Don't let the relatively moderate yardage encourage you to get aggressive. A good tee shot should leave you with a short second shot. This green is one of the flattest on the course but tends to be tricky for all golfers.
Tee 1: 370
Tee 2: 351
Tee 3: 325
Tee 4: 292
Tee 5: 292
Tee 6: 240
Par 5 · 477
The trend of difficult tee shots continues this short par 5. Bunkers line the fairway. Hitting the fairway will give you a great chance at birdie, but if you miss, you'll be working hard to make par.
Tee 1: 477
Tee 2: 458
Tee 3: 436
Tee 4: 436
Tee 5: 399
Tee 6: 355
Par 3 · 138
This is the last par 3 on the course and the shortest. The green slopes hard from right to left, so getting the ball below the hole is key to playing this hole well.
Tee 1: 138
Tee 2: 138
Tee 3: 128
Tee 4: 117
Tee 5: 123
Tee 6: 100
Par 4 · 448
The longest par 4 on the back nine requires two very good shots to get on the green. Bunkers run down the left side of a fairway that slopes to the right. The second shot requires you to hit it high and straight. This green requires a nice touch to two-putt.
Tee 1: 448
Tee 2: 420
Tee 3: 391
Tee 4: 332
Tee 5: 332
Tee 6: 332
Par 5 · 584
The final hole is a long one, and most players will not reach this green in two shots. After your tee ball, your second shot needs to carry past the bunkers on the right. Deep bunkers guard the green and require skill to get the ball close if you find them. Making par on 18 always feels good, and on this hole, you should be proud to make par.
Tee 1: 584
Tee 2: 555
Tee 3: 535
Tee 4: 498
Tee 5: 498
Tee 6: 380
Golf at Greenbrier is about more than the game—it’s a community. Members can get involved through our Men’s Golf Association, Ladies’ 9-Hole and 18-Hole Leagues, adult beginner clinics, and junior golf programming, with opportunities for every generation and experience level to play, connect, and enjoy the game.
Our Rees Jones-designed course has hosted the LPGA Crestar Classic and is recognized as one of the premier golf course designs in Hampton Roads. With a driving range, complete practice facilities, and instruction from our experienced golf professional staff, Greenbrier offers a welcoming place to learn, improve, and enjoy the game.
Explore the course and get a closer look at Greenbrier’s fairways, greens and signature golf experience.

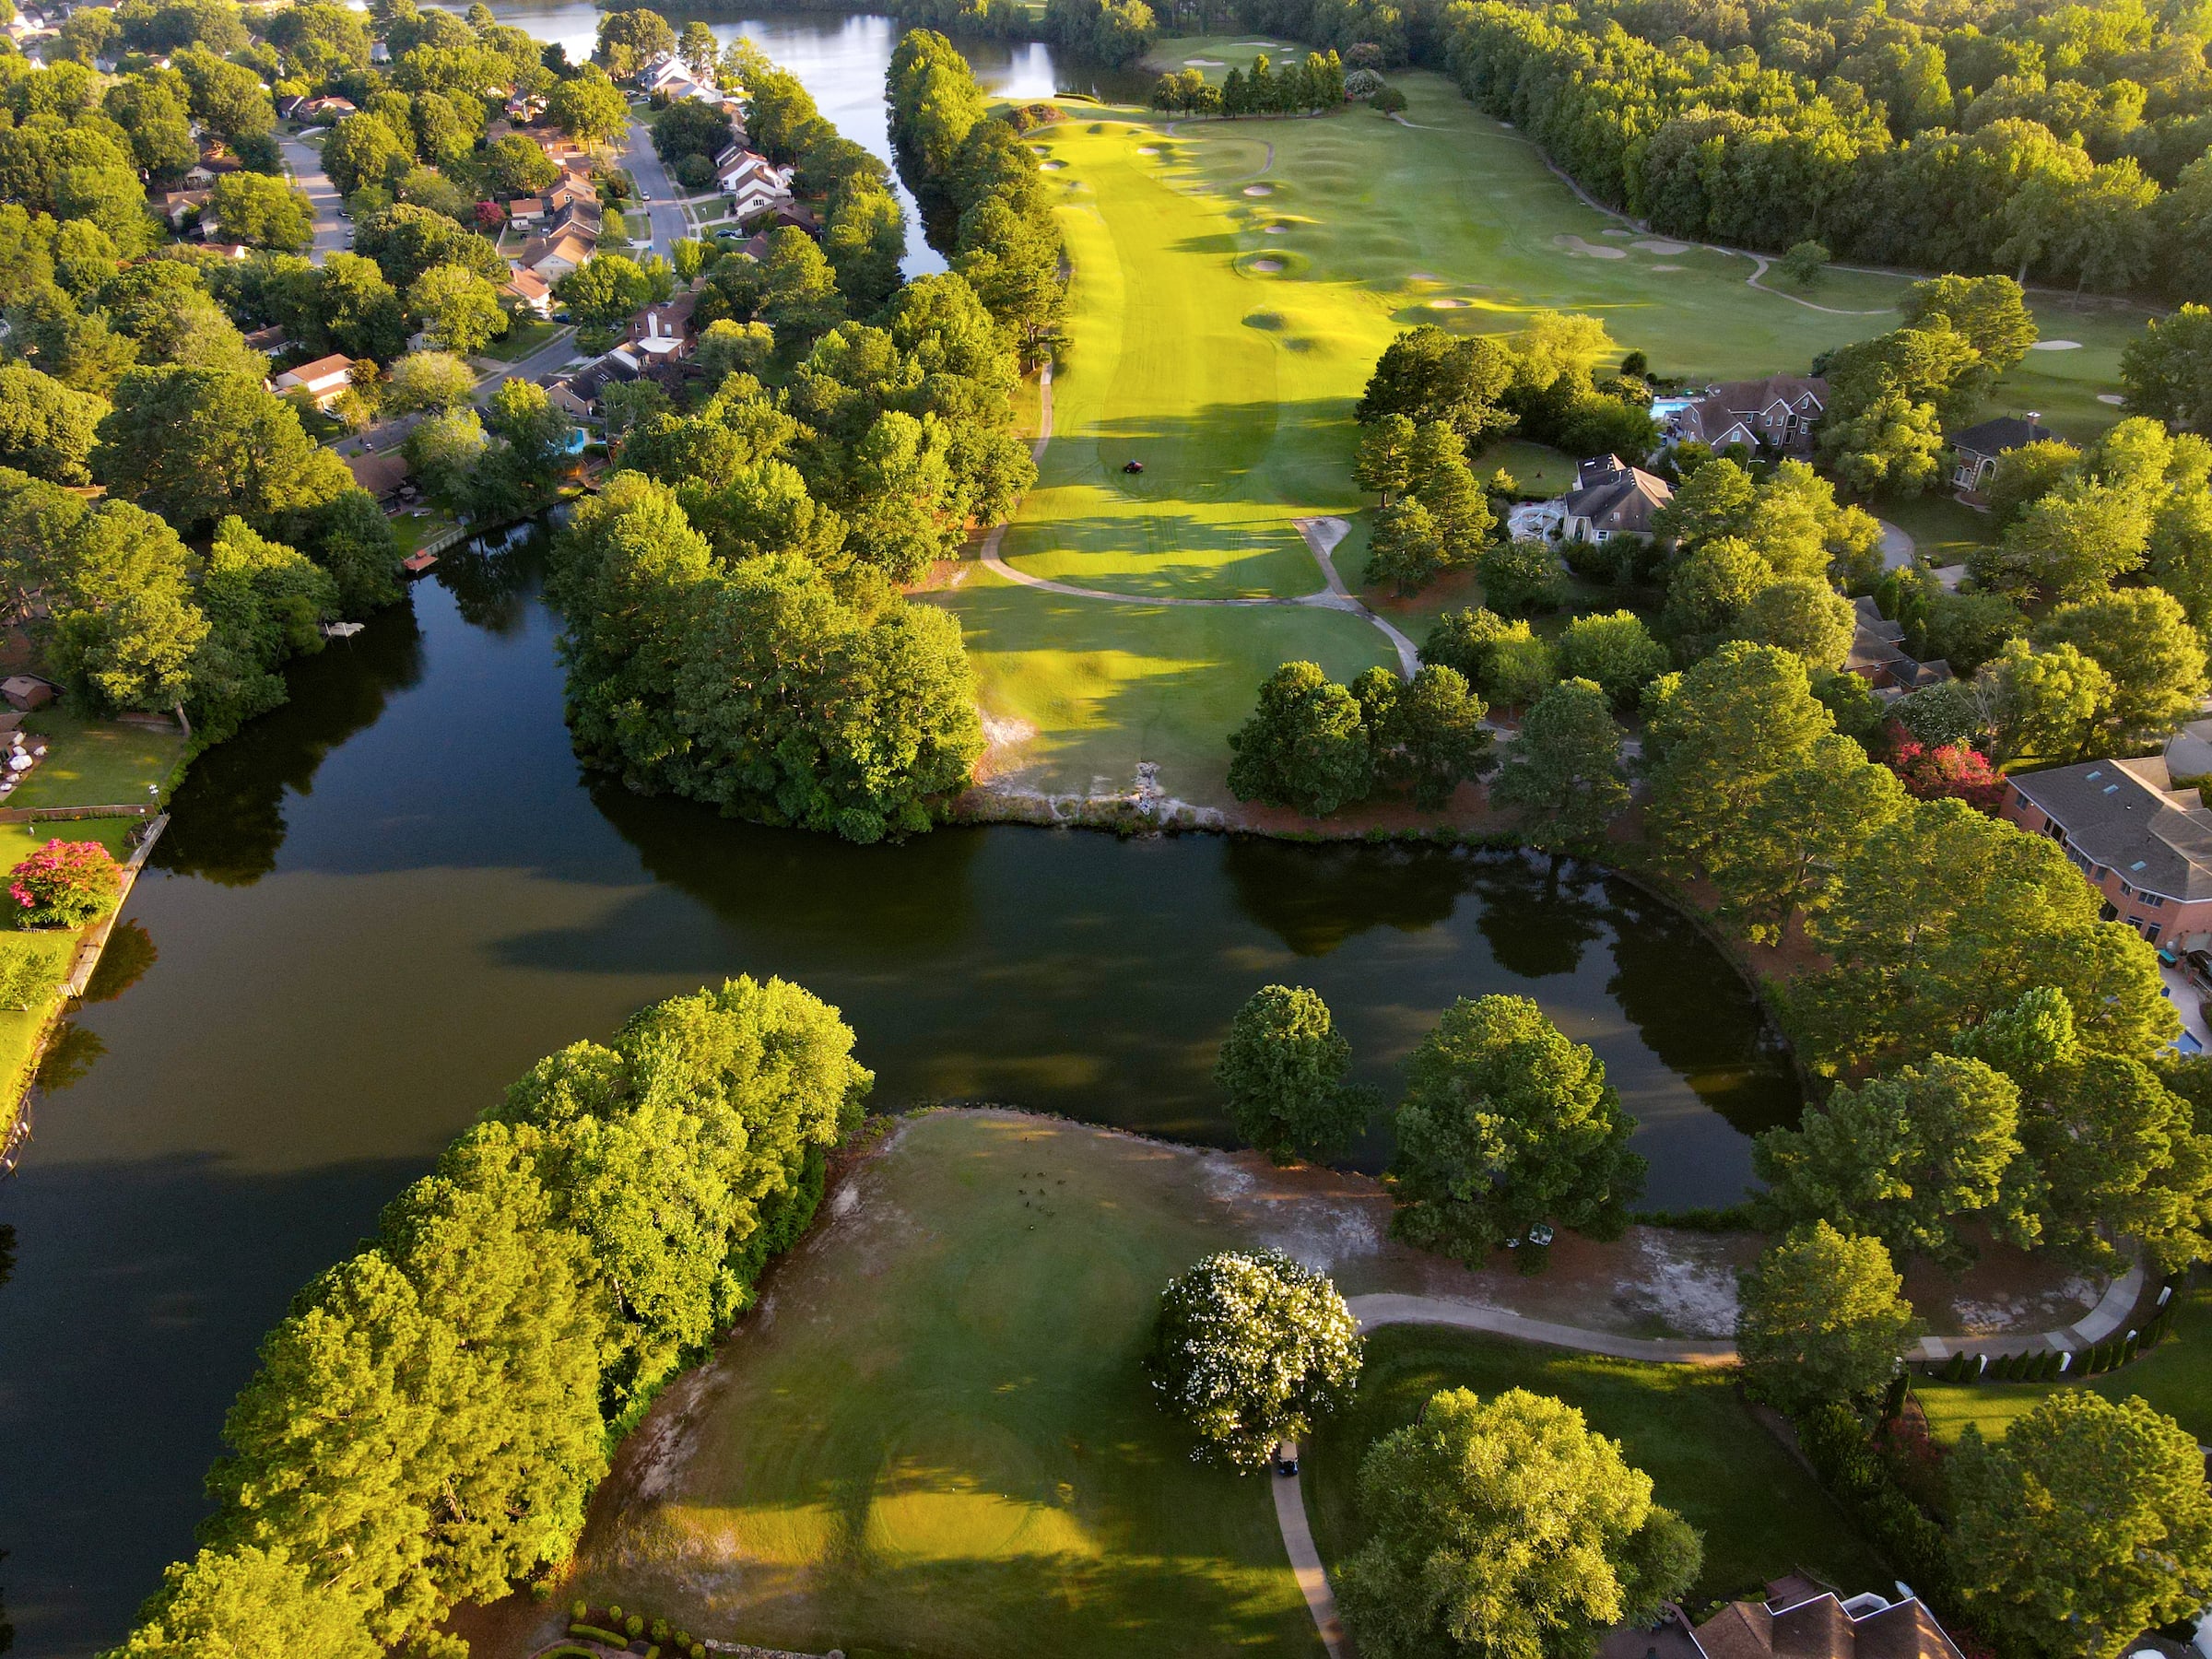


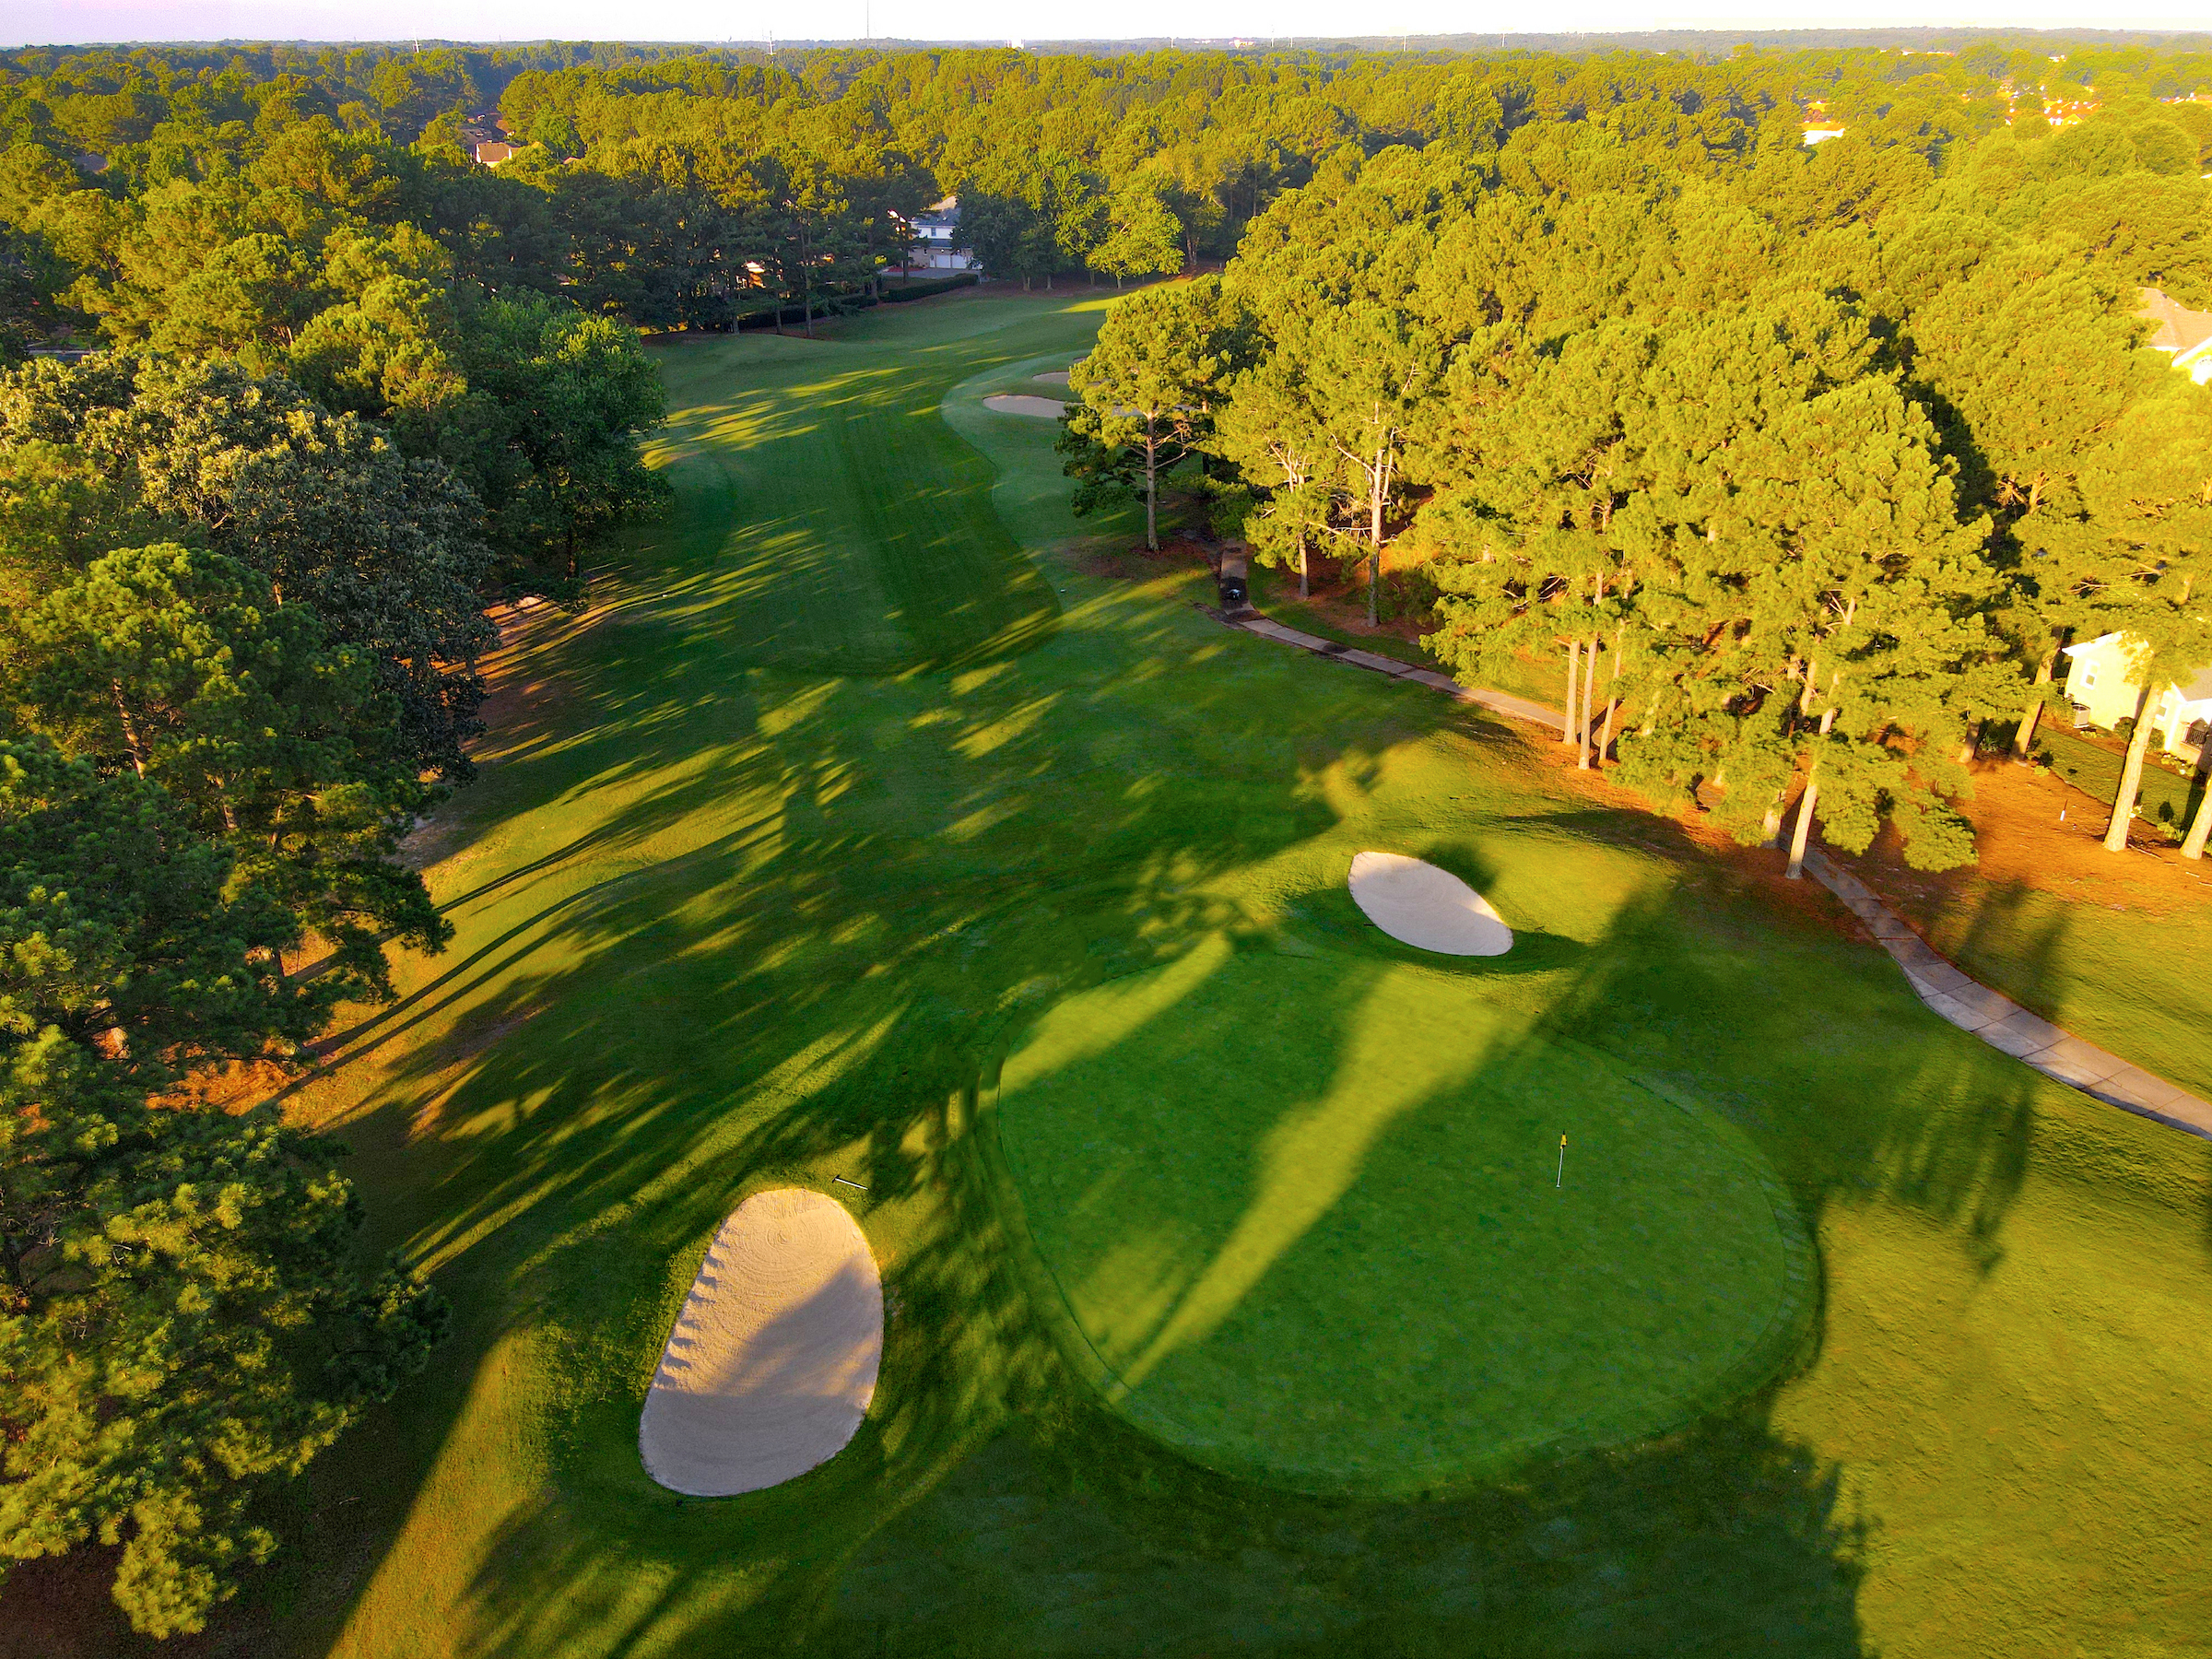

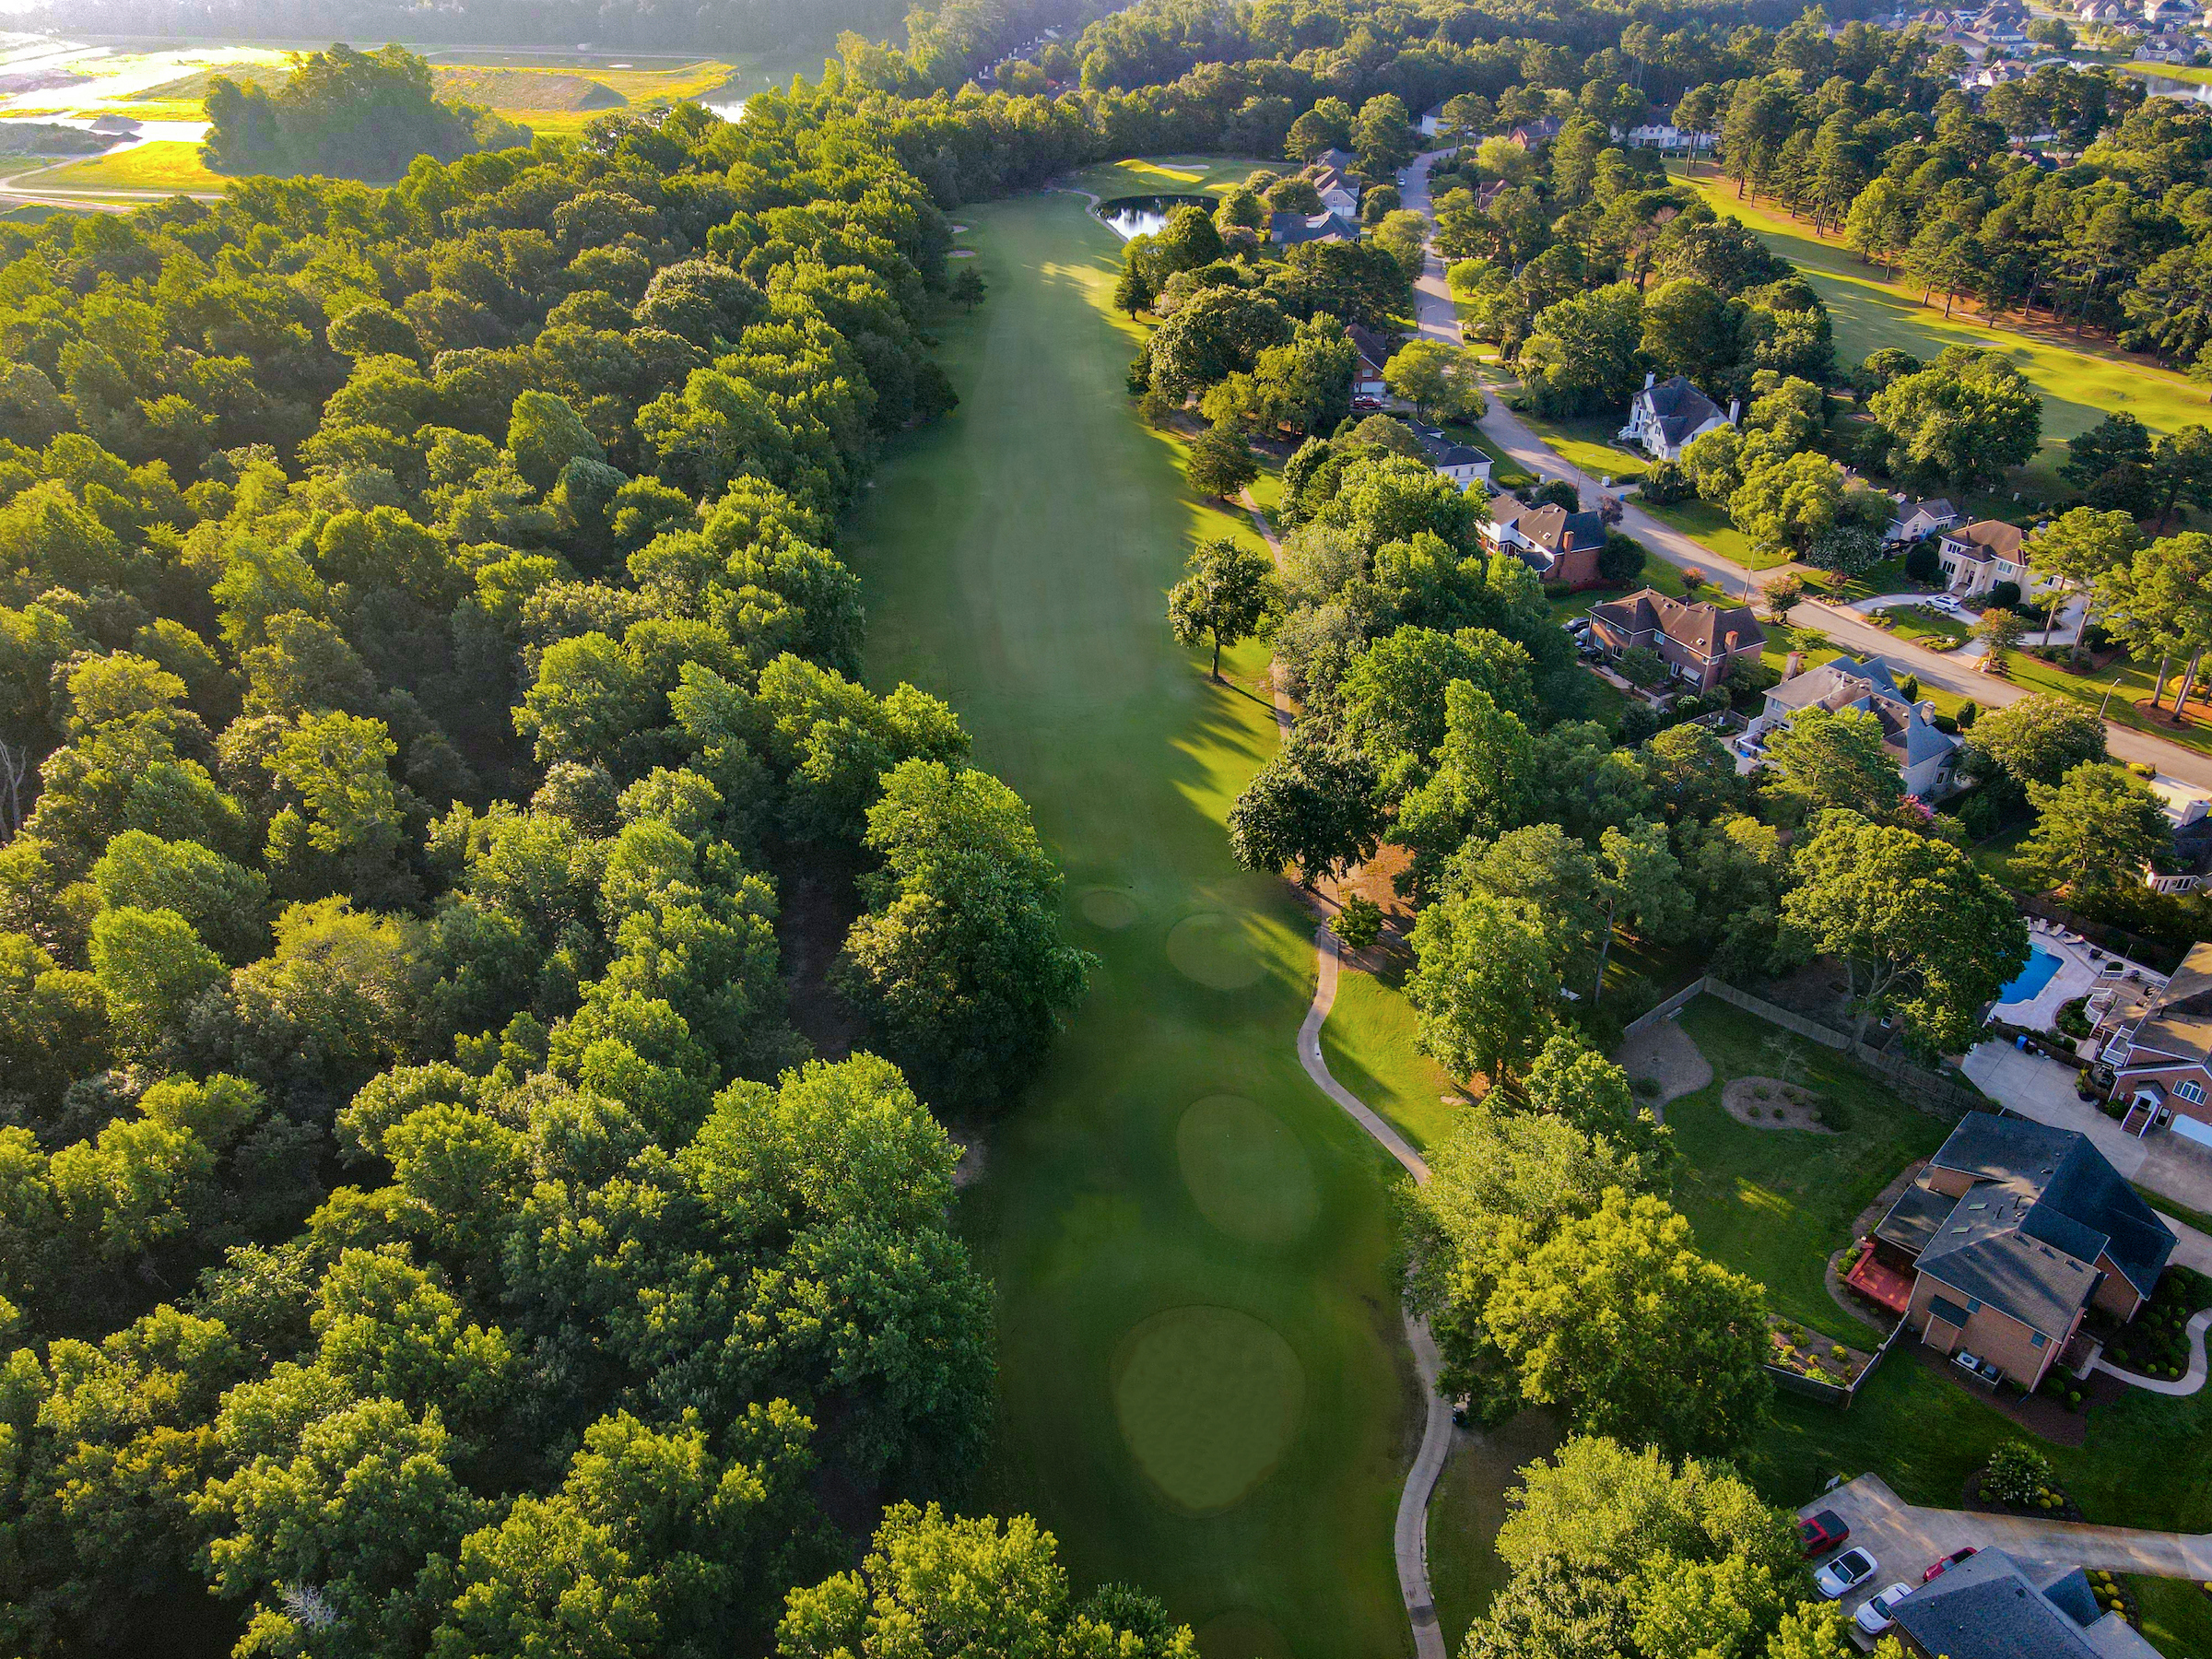


Build confidence one swing at a time with professional coaching, clinics, junior development and practice support. Whether you are new to the game or ready to refine your approach, Greenbrier gives progress a clear path.
Whether you're a serious golfer, fitness buff, world traveler or foodie, there's an XLife option to fuel your passion. It's a great way to explore even more of what the Invited network and our international roster of Alliance Clubs have to offer.

Bring your group to a tournament experience shaped by championship golf, thoughtful planning and welcoming hospitality. From charity events to corporate outings, Greenbrier pairs course presentation with customized menus and attentive service.

Where Chesapeake club life connects golf, wellness, dining and community.
From golf access to club amenities, our membership team is available to answer questions and arrange a personal tour.

General Manager

Membership Director
Through Invited and XLife benefits, nearby clubs offer more ways to play, practice, and explore different course designs without leaving the region.
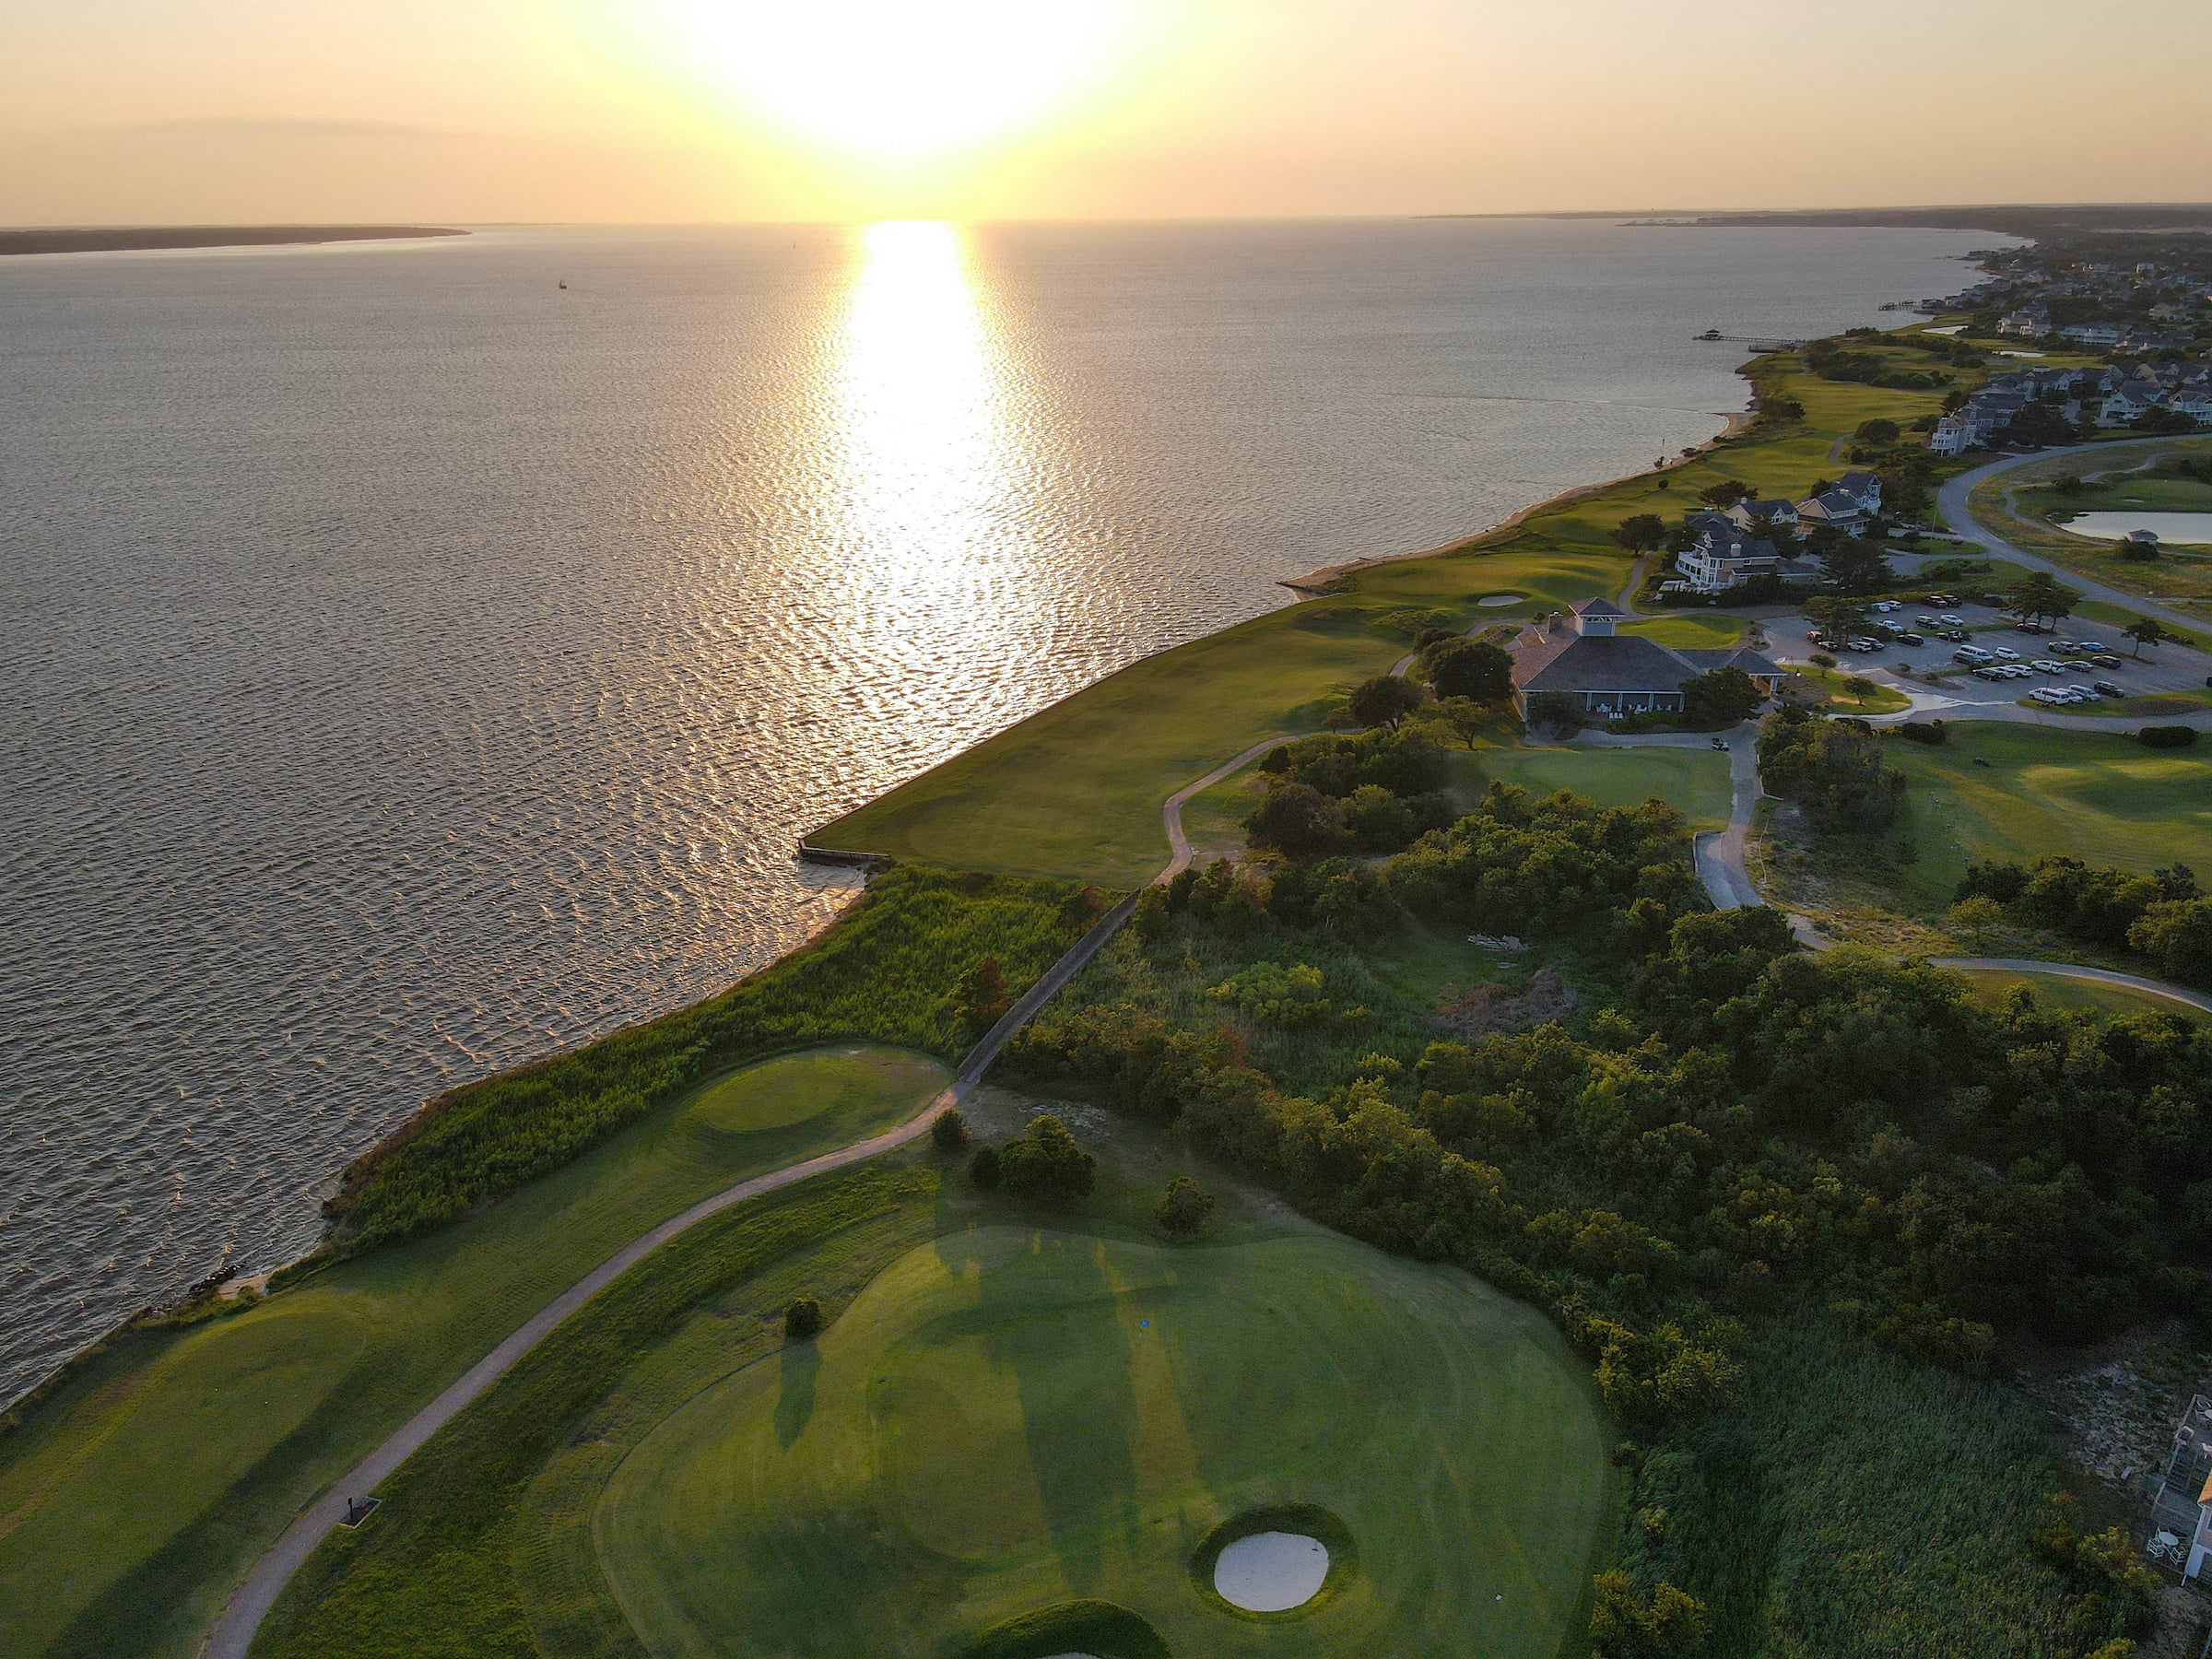
Keeping with the true Scottish links tradition, world-class architect Bob Moore blended the Outer Banks natural windswept environment into a shot maker’s paradise.
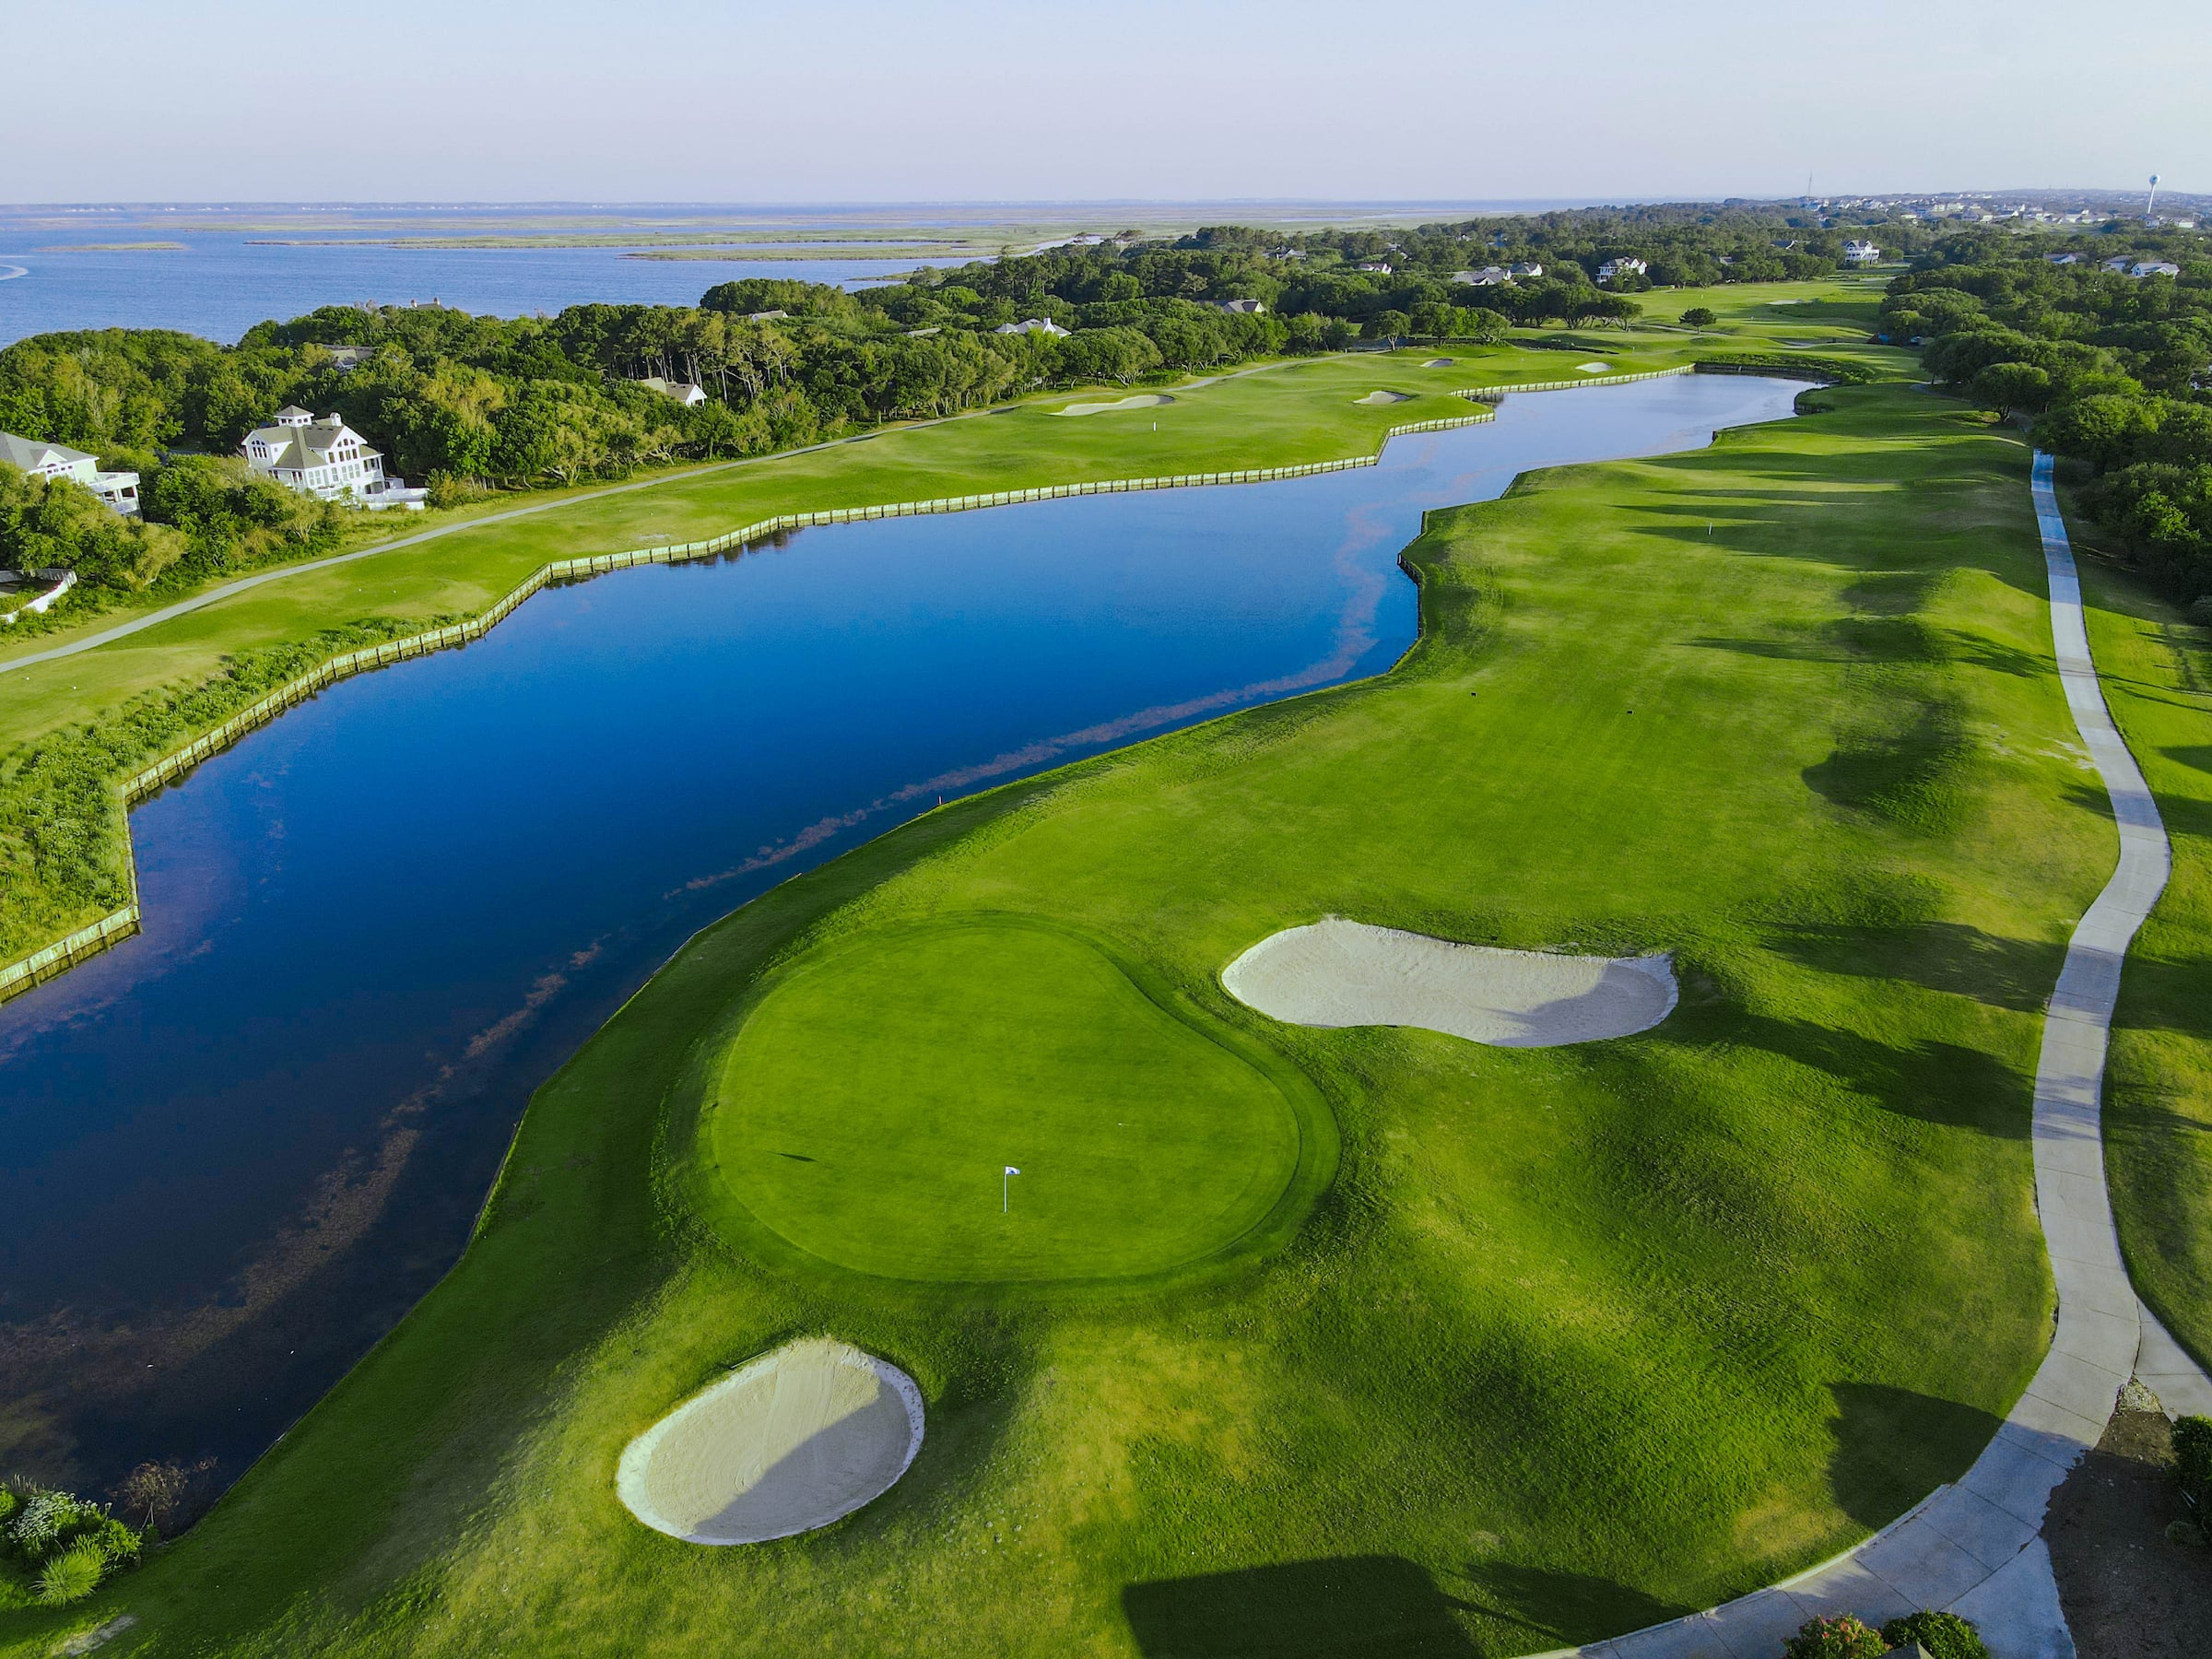
The Currituck Club offers 18 holes of championship Outer Banks golf designed by award-winning designer, Rees Jones.
Thank you for visiting our site. Please review our Privacy Policy. We use cookies on our site and collect other information pursuant to our Privacy Policy. By continuing to use our site, you consent to our Privacy Policy and data collection practices.