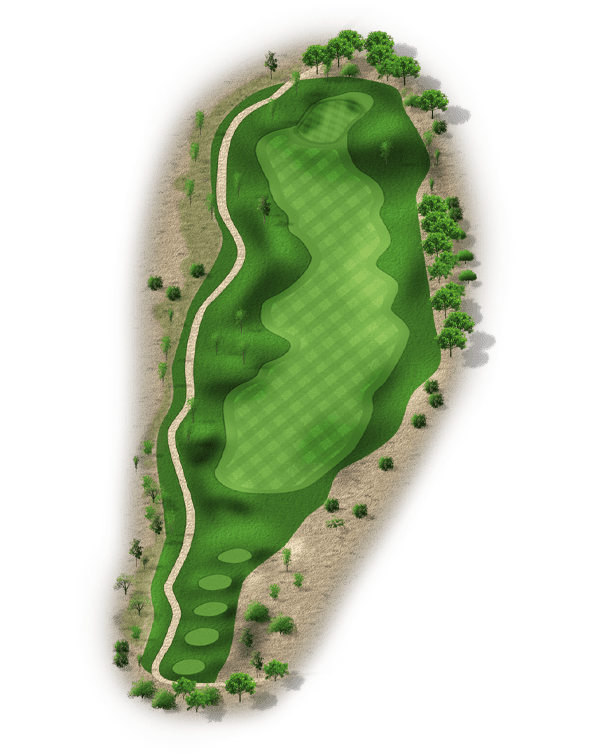
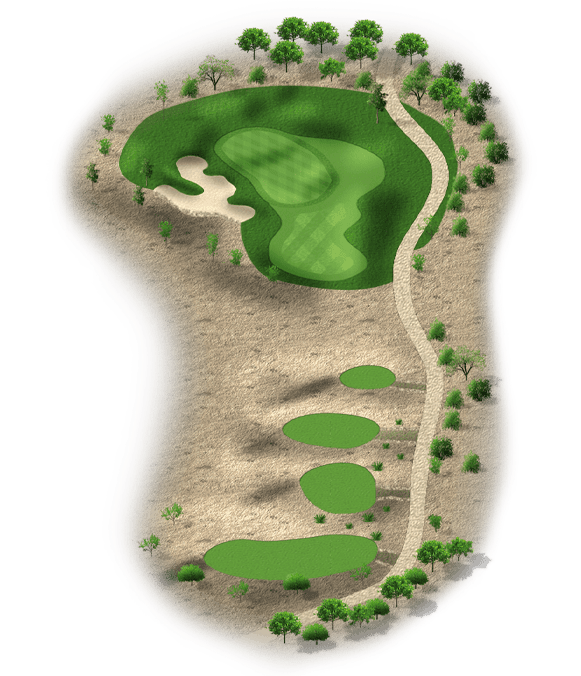
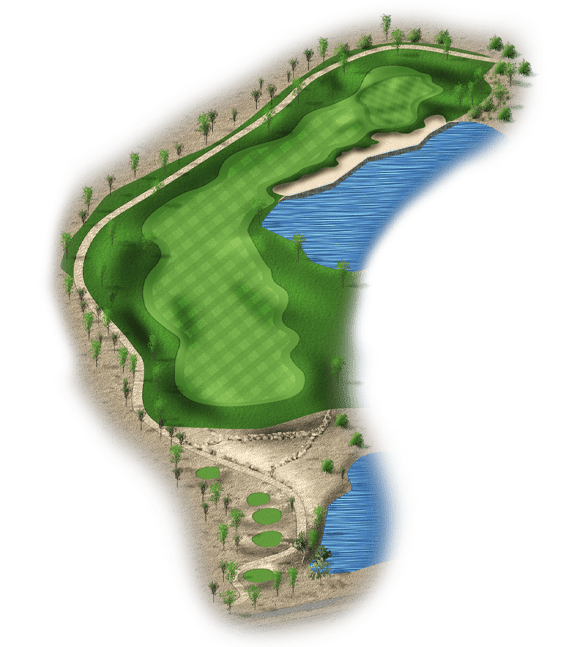
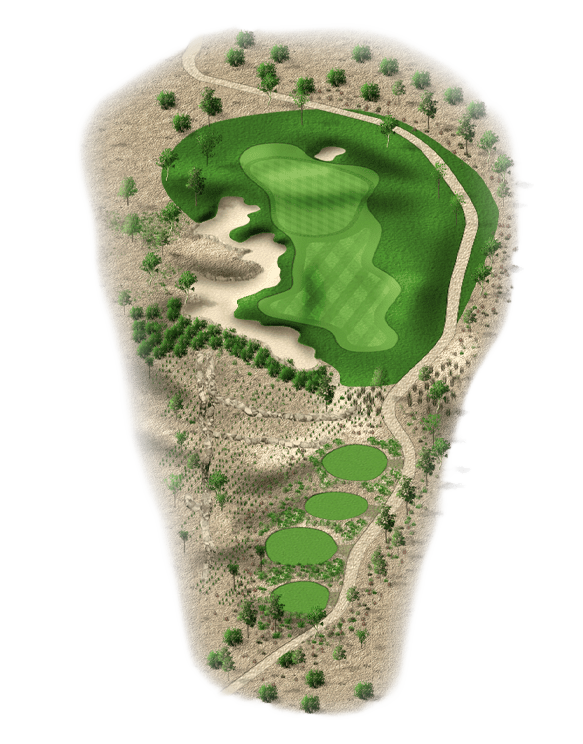
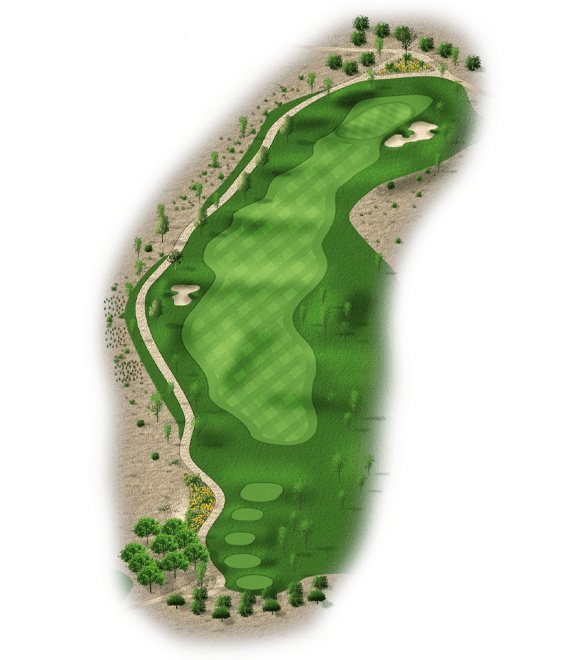
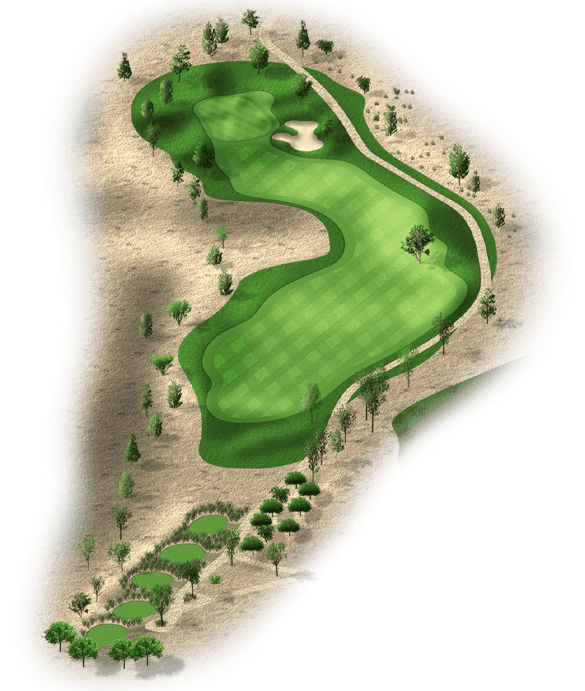
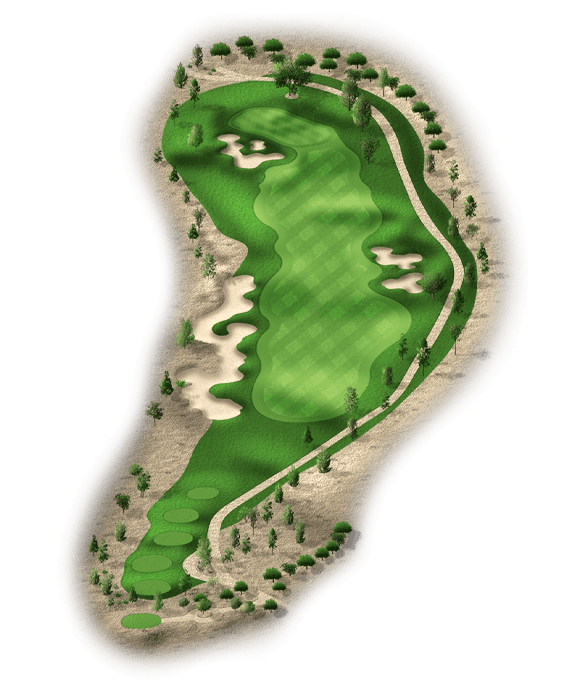
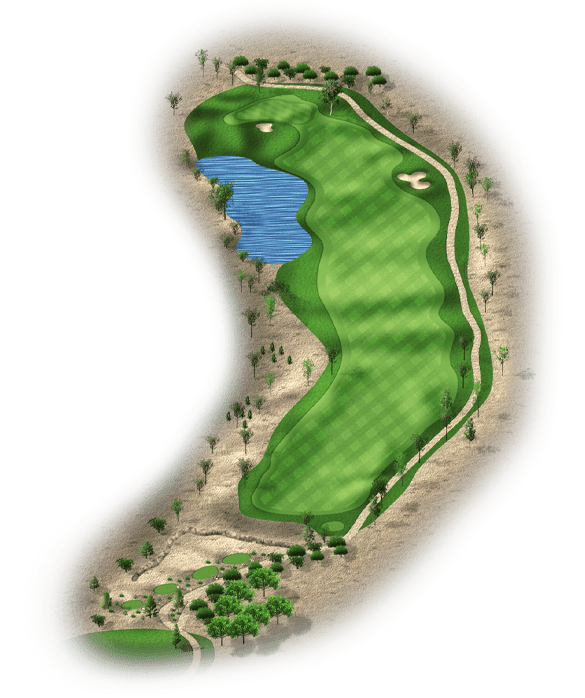
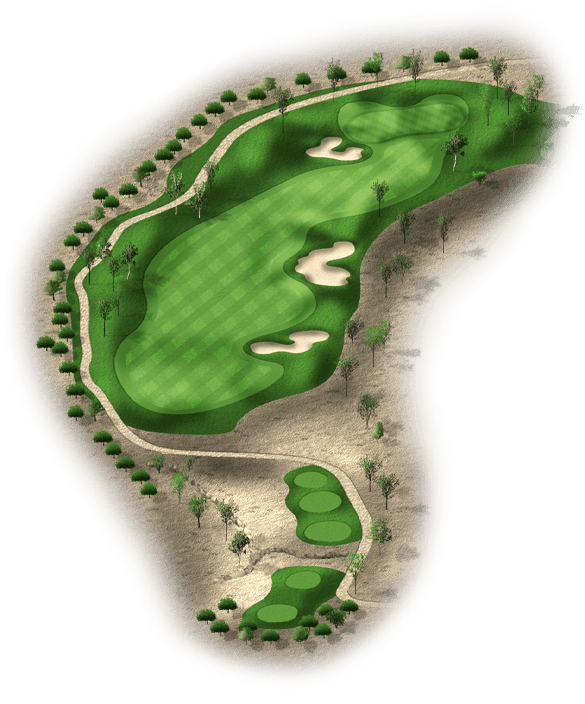
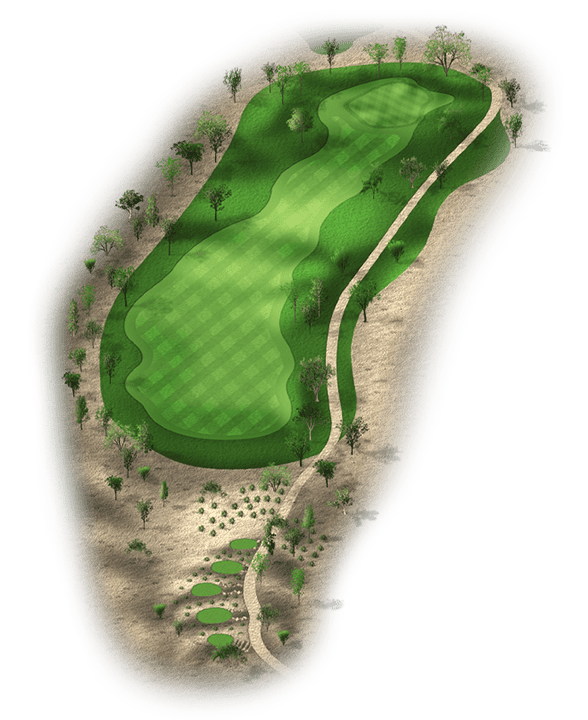
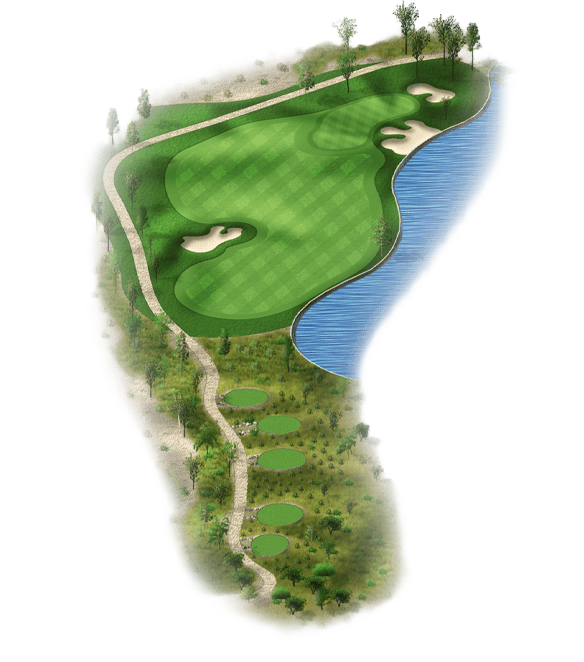
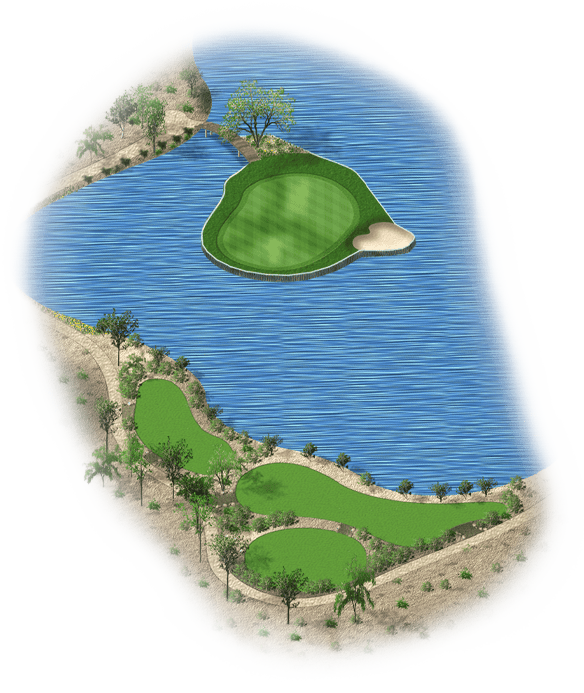
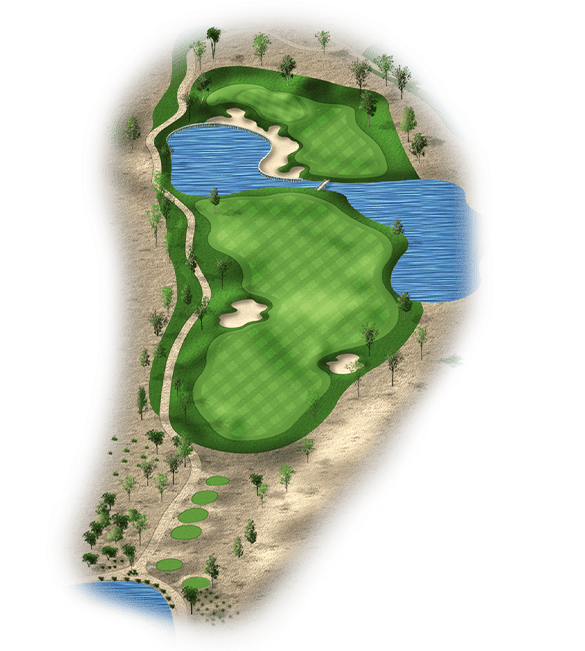
Seville Golf & Country Club Golf Course

The Seville golf course offers 18 holes of pure bliss surrounded by spectacular panoramic views of the San Tan Mountains. It is considered o…

The Seville golf course offers 18 holes of pure bliss surrounded by spectacular panoramic views of the San Tan Mountains. It is considered one of the finest golf courses in Gilbert, AZ and provides a fun challenge for golfers of all levels.

# 1 / Hole #1

Par: 4

Handicaps:
Men's 13 Women's 13

Yardage by Tee:

BLACK 410

GOLD 370

BLUE 330

WHITE 310

GREEN 285

Slope:

Men's: Black- 124 | Black/Gold- 121 | Gold -118 | Gold/Blue- 116 | Blue - 114 | Women's: White - 124 | White/Green- 119 | Green- 115 |

Pro Tips

The opening hole is a short par 4 where a well-placed drive will leave players with a wedge or short iron into the green. A deep bunker guards the right side of the green and a small drop-off protects the left.

# 2 / Hole #2

Par: 5

Handicaps:
Men's 9 Women's 5

Yardage by Tee:

BLACK 555

GOLD 525

BLUE 505

WHITE 480

GREEN 460

Slope:

Men's: Black- 124 | Black/Gold- 121 | Gold -118 | Gold/Blue- 116 | Blue - 114 | Women's: White - 124 | White/Green- 119 | Green- 115 |

Pro Tips

The second is a relatively short par 5 that provides an opportunity for birdie. Longer hitters can challenge the two bunkers on the right, which will set up an ideal approach angle in. A small tree on the left side of the fairway about 105 yards out must be avoided. Finally, the green is guarded by a front left bunker.

# 3 / Hole #3

Par: 4

Handicaps:
Men's 5 Women's 3

Yardage by Tee:

BLACK 470

GOLD 440

BLUE 420

WHITE 400

GREEN 375

Slope:

Men's: Black- 124 | Black/Gold- 121 | Gold -118 | Gold/Blue- 116 | Blue - 114 | Women's: White - 124 | White/Green- 119 | Green- 115 |

Pro Tips

A wide open fairway awaits players on the third, which is the longest par 4 on the course. The safe play is down the right-center of the fairway to avoid the houses left. Players may find the approach difficult as it’ll require a mid-to-long iron into the green.

# 4 / Hole #4

Par: 3

Handicaps:
Men's 17 Women's 17

Yardage by Tee:

BLACK 190

GOLD 160

BLUE 150

WHITE 125

GREEN 100

Slope:

Men's: Black- 124 | Black/Gold- 121 | Gold -118 | Gold/Blue- 116 | Blue - 114 | Women's: White - 124 | White/Green- 119 | Green- 115 |

Pro Tips

The fourth hole is the first par 3 on the golf course. Most players will have a mid-to-long iron into this two-tiered green. It’s fairly open, with the exception of a bunker front-left and a desert left of the green. Tee shots that land in the middle of the green will set up a good chance at par.

# 5 / Hole #5

Par: 5

Handicaps:
Men's 3 Women's 9

Yardage by Tee:

BLACK 530

GOLD 500

BLUE 480

WHITE 450

GREEN 425

Slope:

Men's: Black- 124 | Black/Gold- 121 | Gold -118 | Gold/Blue- 116 | Blue - 114 | Women's: White - 124 | White/Green- 119 | Green- 115 |

Pro Tips

This par 5 features a blind tee shot with desert on both sides of the hole. The line off the tee is off the left side of the bunker, which will set up a good look at reading the green in two. Water guards the front-right and right side of the green and a bunker wraps around the right side as well. The left side of the hole is home to a bunker that, if hit, will leave an awkward 50 yard bunker shot. The best lay-up is down the right side and short of the water, which will leave a wedge or short-iron in.

# 6 / Hole #6

Par: 4

Handicaps:
Men's 1 Women's 1

Yardage by Tee:

BLACK 430

GOLD 395

BLUE 375

WHITE 360

GREEN 335

Slope:

Men's: Black- 124 | Black/Gold- 121 | Gold -118 | Gold/Blue- 116 | Blue - 114 | Women's: White - 124 | White/Green- 119 | Green- 115 |

Pro Tips

The sixth is another risk-reward hole. This one has out-of-bounds left and water right, so finding the fairway off the tee is important. Water and a bunker protect the front-right side of the green and desert guards long-right. Players should aim for the middle of the green to have a good chance of making par.

# 7 / Hole #7

Par: 4

Handicaps:
Men's 11 Women's 11

Yardage by Tee:

BLACK 375

GOLD 345

BLUE 320

WHITE 305

GREEN 280

Slope:

Men's: Black- 124 | Black/Gold- 121 | Gold -118 | Gold/Blue- 116 | Blue - 114 | Women's: White - 124 | White/Green- 119 | Green- 115 |

Pro Tips

 The seventh is the shortest par 4 on the front nine. Most players don’t need to hit driver off the tee because hitting it too far will find the water. Out of bounds left and water long means a miss should stay right. A green with a lot of slope awaits approach shots that most will hit with a wedge.

# 8 / Hole #8

Par: 3

Handicaps:
Men's 15 Women's 15

Yardage by Tee:

BLACK 210

GOLD 185

BLUE 175

WHITE 160

GREEN 135

Slope:

Men's: Black- 124 | Black/Gold- 121 | Gold -118 | Gold/Blue- 116 | Blue - 114 | Women's: White - 124 | White/Green- 119 | Green- 115 |

Pro Tips

The eighth is the longest par 3 on the golf course. It features a difficult two-tiered green and bunkers on the left side. Aim for the center of the green because par is a great score.

# 9 / Hole #9

Par: 4

Handicaps:
Men's 7 Women's 7

Yardage by Tee:

BLACK 445

GOLD 420

BLUE 400

WHITE 375

GREEN 355

Slope:

Men's: Black- 124 | Black/Gold- 121 | Gold -118 | Gold/Blue- 116 | Blue - 114 | Women's: White - 124 | White/Green- 119 | Green- 115 |

Pro Tips

The front nine ends with a dogleg right par 4. Bunkers on the left side of the fairway and desert on the right make finding the fairway a must. A good drive will leave players with a short iron or wedge into this long, narrow green that’s protected by a bunker on the right.

# 10 / Hole #10

Par: 4

Handicaps:
Men's 2 Women's 4

Yardage by Tee:

BLACK 415

GOLD 390

BLUE 370

WHITE 350

GREEN 325

Slope:

Men's: Black- 124 | Black/Gold- 121 | Gold -118 | Gold/Blue- 116 | Blue - 114 | Women's: White - 124 | White/Green- 119 | Green- 115 |

Pro Tips

The back nine opens with a short par 4. Most players will hit less than driver to avoid the hazard on the left and desert on the right. A tee shot down the left will help take some distance off the approach shot into an elevated green. Avoiding the greenside bunker on the right will help set up a birdie opportunity.

# 11 / Hole #11

Par: 4

Handicaps:
Men's 12 Women's 10

Yardage by Tee:

BLACK 415

GOLD 390

BLUE 370

WHITE 330

GREEN 310

Slope:

Men's: Black- 124 | Black/Gold- 121 | Gold -118 | Gold/Blue- 116 | Blue - 114 | Women's: White - 124 | White/Green- 119 | Green- 115 |

Pro Tips

This one is another short par 4 that’ll leave most players a wedge or short-iron into the green. Fairway bunkers on both sides of the fairway make hitting a good tee shot important. Bunkers protect the left side of the green and anything in the middle of the green should set up a good birdie chance.

# 12 / Hole #12

Par: 5

Handicaps:
Men's 4 Women's 6

Yardage by Tee:

BLACK 590

GOLD 555

BLUE 535

WHITE 515

GREEN 475

Slope:

Men's: Black- 124 | Black/Gold- 121 | Gold -118 | Gold/Blue- 116 | Blue - 114 | Women's: White - 124 | White/Green- 119 | Green- 115 |

Pro Tips

The twelfth is the longest hole on the golf course, requiring three shots to reach the green, especially because it typically plays into the wind. Players must avoid the desert left and out-of-bounds right off the tee. On the second shot a bunker protects the right side and water on the left. An elevated green awaits and is guarded by front left bunkers and a drop-off on the back, which make an up-and-down difficult.

# 13 / Hole #13

Par: 4

Handicaps:
Men's 10 Women's 12

Yardage by Tee:

BLACK 380

GOLD 355

BLUE 320

WHITE 300

GREEN 280

Slope:

Men's: Black- 124 | Black/Gold- 121 | Gold -118 | Gold/Blue- 116 | Blue - 114 | Women's: White - 124 | White/Green- 119 | Green- 115 |

Pro Tips

The thirteenth is a short par 4 with a fairway that’s fairly wide open, with the exception of a bunker and desert on the right. Again, most players don’t need to hit driver, as they’ll only need a wedge or short-iron into the green. This putting surface is large and protected by a front-left bunker.

# 14 / Hole #14

Par: 3

Handicaps:
Men's 18 Women's 16

Yardage by Tee:

BLACK 180

GOLD 170

BLUE 150

WHITE 140

GREEN 120

Slope:

Men's: Black- 124 | Black/Gold- 121 | Gold -118 | Gold/Blue- 116 | Blue - 114 | Women's: White - 124 | White/Green- 119 | Green- 115 |

Pro Tips

Next is the first par 3 on the back nine. Most players will hit a mid-to-long iron off the tee to a green that sits slightly downhill. Bunkers protect the right side of this two-tiered putting surface.

# 15 / Hole #15

Par: 4

Handicaps:
Men's 6 Women's 2

Yardage by Tee:

BLACK 460

GOLD 435

BLUE 415

WHITE 395

GREEN 375

Slope:

Men's: Black- 124 | Black/Gold- 121 | Gold -118 | Gold/Blue- 116 | Blue - 114 | Women's: White - 124 | White/Green- 119 | Green- 115 |

Pro Tips

The fifteenth hole is the longest par 4 on the back nine, however, it also has the widest fairway. There’s no real trouble, so players can feel free to let it rip. Approach shots should aim at the middle of the green, where there’s the best chance at walking away with par or birdie.

# 16 / Hole #16

Par: 4

Handicaps:
Men's 16 Women's 18

Yardage by Tee:

BLACK 315

GOLD 290

BLUE 250

WHITE 225

GREEN 205

Slope:

Men's: Black- 124 | Black/Gold- 121 | Gold -118 | Gold/Blue- 116 | Blue - 114 | Women's: White - 124 | White/Green- 119 | Green- 115 |

Pro Tips

This risk-reward hole is a drivable par 4 that’s protected by water on the right side. Players who lay-up will have a wedge into the green and will only have to avoid the bunker on the left side of the fairway. The green itself is also protected by bunkers on the right side.

# 17 / Hole #17

Par: 3

Handicaps:
Men's 14 Women's 14

Yardage by Tee:

BLACK 145

GOLD 130

BLUE 125

WHITE 110

GREEN 90

Slope:

Men's: Black- 124 | Black/Gold- 121 | Gold -118 | Gold/Blue- 116 | Blue - 114 | Women's: White - 124 | White/Green- 119 | Green- 115 |

Pro Tips

The par 3 seventeenth is the signature hole at Seville. With its island green, player’s distance control will be tested. A bunker on the right side adds to the challenge of this hole.

# 18 / Hole #18

Par: 5

Handicaps:
Men's 5 Women's 8

Yardage by Tee:

BLACK 545

GOLD 510

BLUE 475

WHITE 435

GREEN 420

Slope:

Men's: Black- 124 | Black/Gold- 121 | Gold -118 | Gold/Blue- 116 | Blue - 114 | Women's: White - 124 | White/Green- 119 | Green- 115 |

Pro Tips

 The closing hole is a standard three-shot par 5 for most, though longer hitters may get home in two with a great tee shot. A bunker protects the left side of the fairway, so an ideal tee shot should be down the right-center. Players face a decision on the second shot with water coming into play, carry it and be left with a flip wedge. Anything short of the water will face a wedge or short-iron for the third. This small green is protected by bunkers in the front.