COURSE INFO

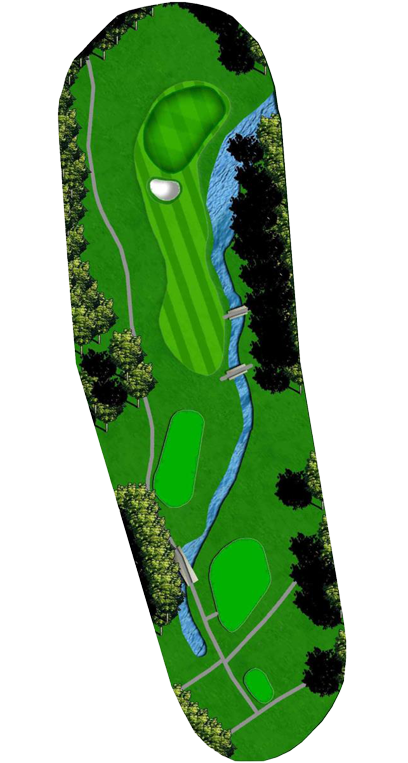
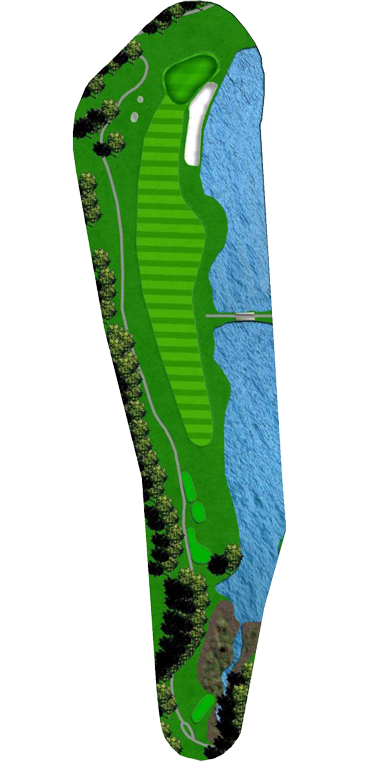
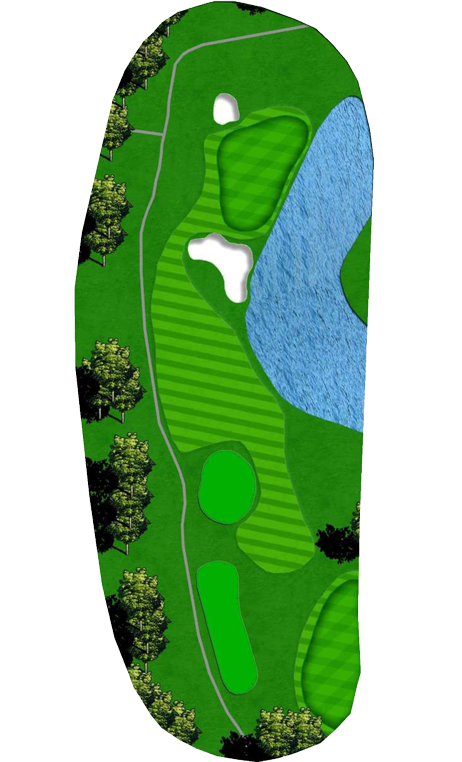
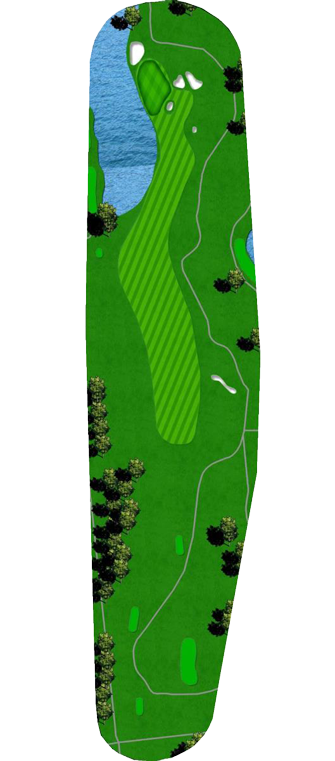
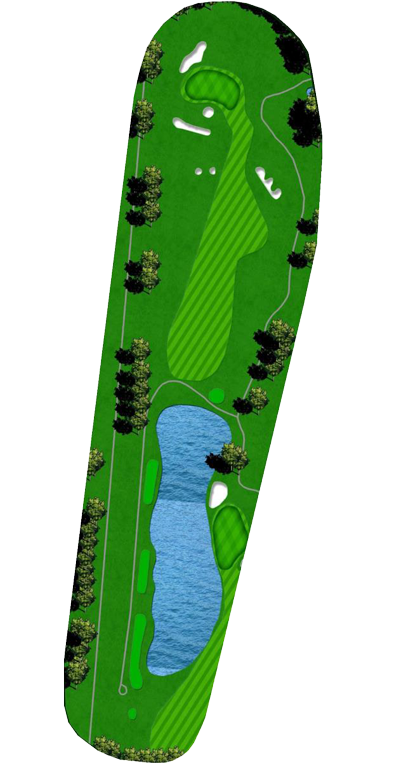
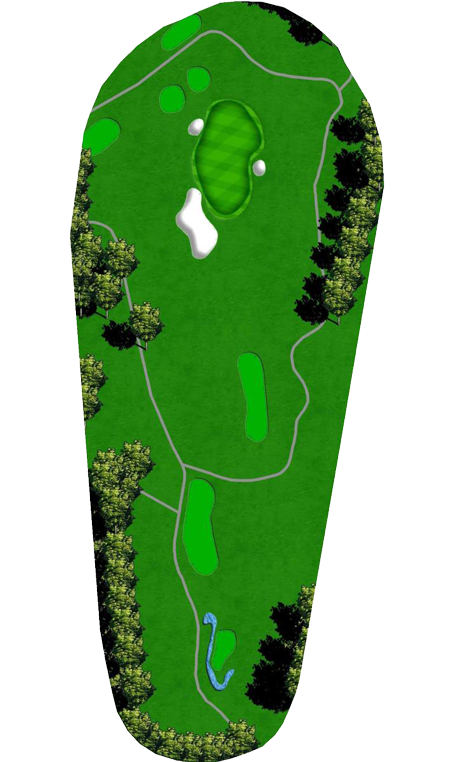
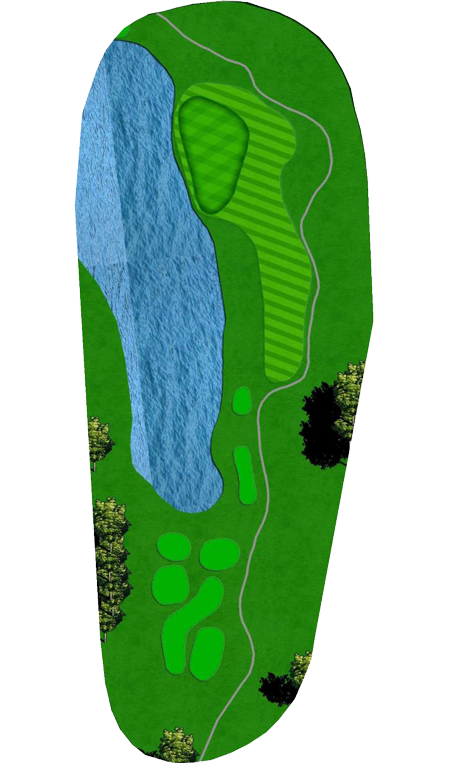
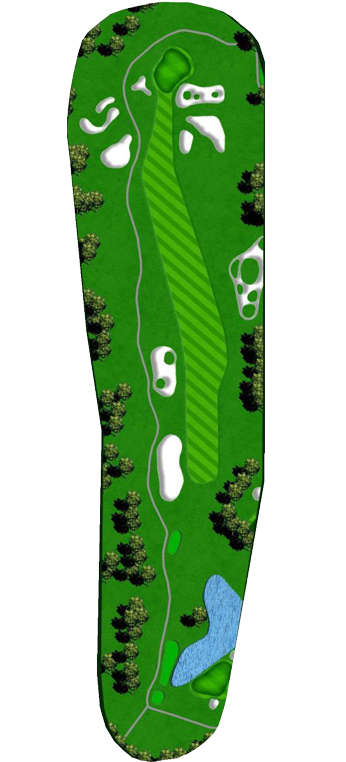
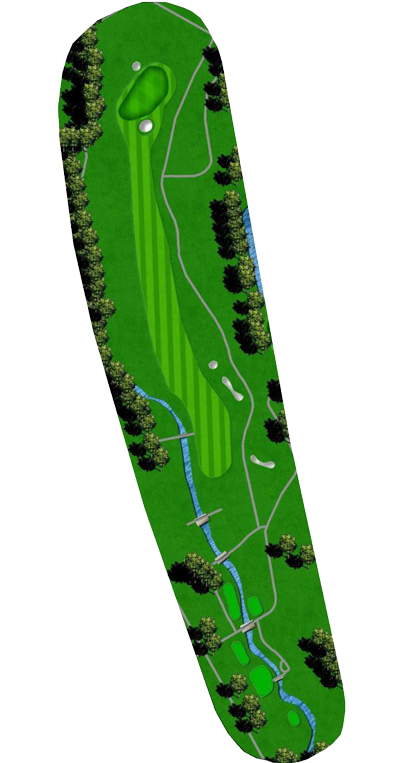
Pete Dye's West Course is a hidden gem — equally demanding, equally beautiful, and full of character. Tackle the treacherous 8th, where a pond-guarded green and railroad tie retaining wall frame one of Dye's most visually striking challenges. Test your precision on the par-3 14th, navigate the blind uphill approach to the Alps-style 9th, and catch your breath on the tranquil short 4th. Every hole tells a story. Whether you're chasing a personal best or simply falling deeper in love with the game, the West Course delivers a round you won't forget.

Holes: 18   Yards: 6,752   Par: 70   Rating: 74.60   Slope: 140

1st Hole

Par 4 · 380

Pro’s Tip:
Ease into your round with straightaway par 4. Avoid the trees and large bunker directly off the tee and leave wedge second shot. Multi-sectioned green makes accuracy premium for good birdie look. Avoid front left bunker.

Tee 1: 380

Tee 2: 343

Tee 3: 333

Tee 4: 300

2nd Hole

Par 3 · 204

Pro’s Tip:
One of the hardest par 3s on the course. Traditionally playing into the wind. Mid-Long Iron to slender green. Creek and small pond collect many golf balls as short right of green slopes dramatically to the water. Par here gets round off to a good start.

Tee 1: 204

Tee 2: 166

Tee 3: 160

Tee 4: 103

3rd Hole

Par 4 · 470

Pro’s Tip:
Easily the hardest tee shot on course as left to right wind blows directly to the lake which runs down the entire right side of the hole. Accurate drive avoids not only the water but trees lining the left side. Mid-iron approach to large green. Trust your yardage or end up in the large front bunker.

Tee 1: 470

Tee 2: 444

Tee 3: 341

Tee 4: 306

4th Hole

Par 4 · 333

Pro’s Tip:
Drive-able par 4 for the longer hitters. Church pew style bunkers, hidden off the tee, protect short and right of the green. Solid drive leaves a flip wedge to receptive green. Make birdie here.

Tee 1: 333

Tee 2: 327

Tee 3: 304

Tee 4: 279

5th Hole

Par 4 · 432

Pro’s Tip:
Solid par 4 with slight dogleg right. Trees on both sides of the landing area make accuracy important. OB left sneaks into play quicker than you think. Slender angled green awaits second shots with large swells right and long making up and downs difficult.

Tee 1: 432

Tee 2: 372

Tee 3: 355

Tee 4: 345

6th Hole

Par 3 · 150

Pro’s Tip:
Short par 3 with pond to the right of the green. Don’t get cute with tee ball or you’ll find bunker short. Triangle shaped green allows for tight pin placements, but a tee ball to the middle gives good looks to any pin.

Tee 1: 150

Tee 2: 138

Tee 3: 124

Tee 4: 88

7th Hole

Par 5 · 576

Pro’s Tip:
Long par 5 with blind landing area. Avoid OB left and bunkers on the right. Second shot placement is premium as layup is lined with large bunkers and a fairway that narrows significantly. Longer hitter will go for green in two and find it protected by a host of deep bunkers and grass swells making it difficult to save birdie.

Tee 1: 576

Tee 2: 518

Tee 3: 515

Tee 4: 415

8th Hole

Par 4 · 462

Pro’s Tip:
Downwind par 4 with pond at the end of fairway which lines the left side of green as well. Solid tee ball will leave short iron to relatively flat green. Avoid bunkers short right and long.

Tee 1: 462

Tee 2: 431

Tee 3: 356

Tee 4: 343

9th Hole

Par 4 · 393

Pro’s Tip:
Classic Pete Dye design with large mounds blocking view of the green. Short enough to go for off the tee but blind shot hides OB right and greenside bunkers. Good drive avoids OB left and will leave wedge to small tough green. Avoid going long.

Tee 1: 393

Tee 2: 370

Tee 3: 325

Tee 4: 219

10th Hole

Par 3 · 192

Pro’s Tip:
Par 3 to start back nine. Multi-tiered green protected by pot bunkers. Hit the right tier for a good look at birdie otherwise enjoy the rollercoaster ride.

Tee 1: 192

Tee 2: 155

Tee 3: 135

Tee 4: 93

11th Hole

Par 4 · 371

Pro’s Tip:
Short par 4 with accuracy a premium off the tee. Long iron off the tee is enough to leave 130-150yd approach. Smallest green on the course requires accurate approach. Protected short by trees and large bunker, left of green drops 20 ft to large grass bowl

Tee 1: 371

Tee 2: 367

Tee 3: 332

Tee 4: 233

12th Hole

Par 4 · 405

Pro’s Tip:
Solid Par 4 requiring very accurate tee shot. Trees pinch both sides of the hole with a bunker extending across the fairway. Good drive leaves 140yds to tiered green. Avoid missing green right into small deep grass bunkers.

Tee 1: 405

Tee 2: 380

Tee 3: 320

Tee 4: 258

13th Hole

Par 4 · 350

Pro’s Tip:
Uphill par 4. Solid drive will avoid bunker left and the extremely deep bunker right. Wedge or short iron second shot to green. Avoid large deep bunker short right. Uphill shot hides green surface for hole locations in the back.

Tee 1: 350

Tee 2: 337

Tee 3: 292

Tee 4: 215

14th Hole

Par 3 · 174

Pro’s Tip:
Final par 3 on the course. Green surrounded by water on the left and deep grass bunkers short and right of green. Accurate club selection is a must for a good look at birdie.

Tee 1: 174

Tee 2: 170

Tee 3: 135

Tee 4: 110

15th Hole

Par 4 · 469

Pro’s Tip:
Longest Par 4 on the course typically playing into the wind. Solid drive avoids trees and OB right off the tee and leaves downhill mid-long iron second shot. Tough deep bunkers left and right of green make proper club selection a must if trying to make birdie. Par is solid every time.

Tee 1: 469

Tee 2: 433

Tee 3: 356

Tee 4: 349

16th Hole

Par 5 · 536

Pro’s Tip:
Second and final par 5 on the course. Large landing area but it is a must you avoid long fairway bunkers on the left. Solid tee ball leaves the choice to layup or go for it. Green protected by 50yds of bunkers on the right with greenside bunker and native grass left. Front pin location is green light.

Tee 1: 536

Tee 2: 520

Tee 3: 494

Tee 4: 401

17th Hole

Par 4 · 399

Pro’s Tip:
Short par 4 with large collection of bunkers and swells protecting the left side of fairway and short of green. Fairway off tee tightens significantly at 75yds out so accurate tee ball is a must. Aggressive short iron or wedge approach set ups good look for birdie. Avoid pot bunker right of green.

Tee 1: 399

Tee 2: 374

Tee 3: 319

Tee 4: 268

18th Hole

Par 4 · 456

Pro’s Tip:
Solid par 4 finishing hole. Creek runs the length of the left side with fairway sloping towards hazard. Large mounds right help to catapult ball down the fairway. Avoid hitting it too far as second will be 50 ft below green surface. Well placed tee ball leaves 100yds and clear view of green. Precise second shot to proper tier required for good birdie chance.

Tee 1: 456

Tee 2: 389

Tee 3: 374

Tee 4: 251

BECOME A MEMBER

A golf membership with room for the whole family.

Explore Memberships

MEET THE MEMBERSHIP TEAM

Our membership team is available to answer questions and guide you through the process.