

A JACK NICKLAUS & JACK NICKLAUS II DESIGN
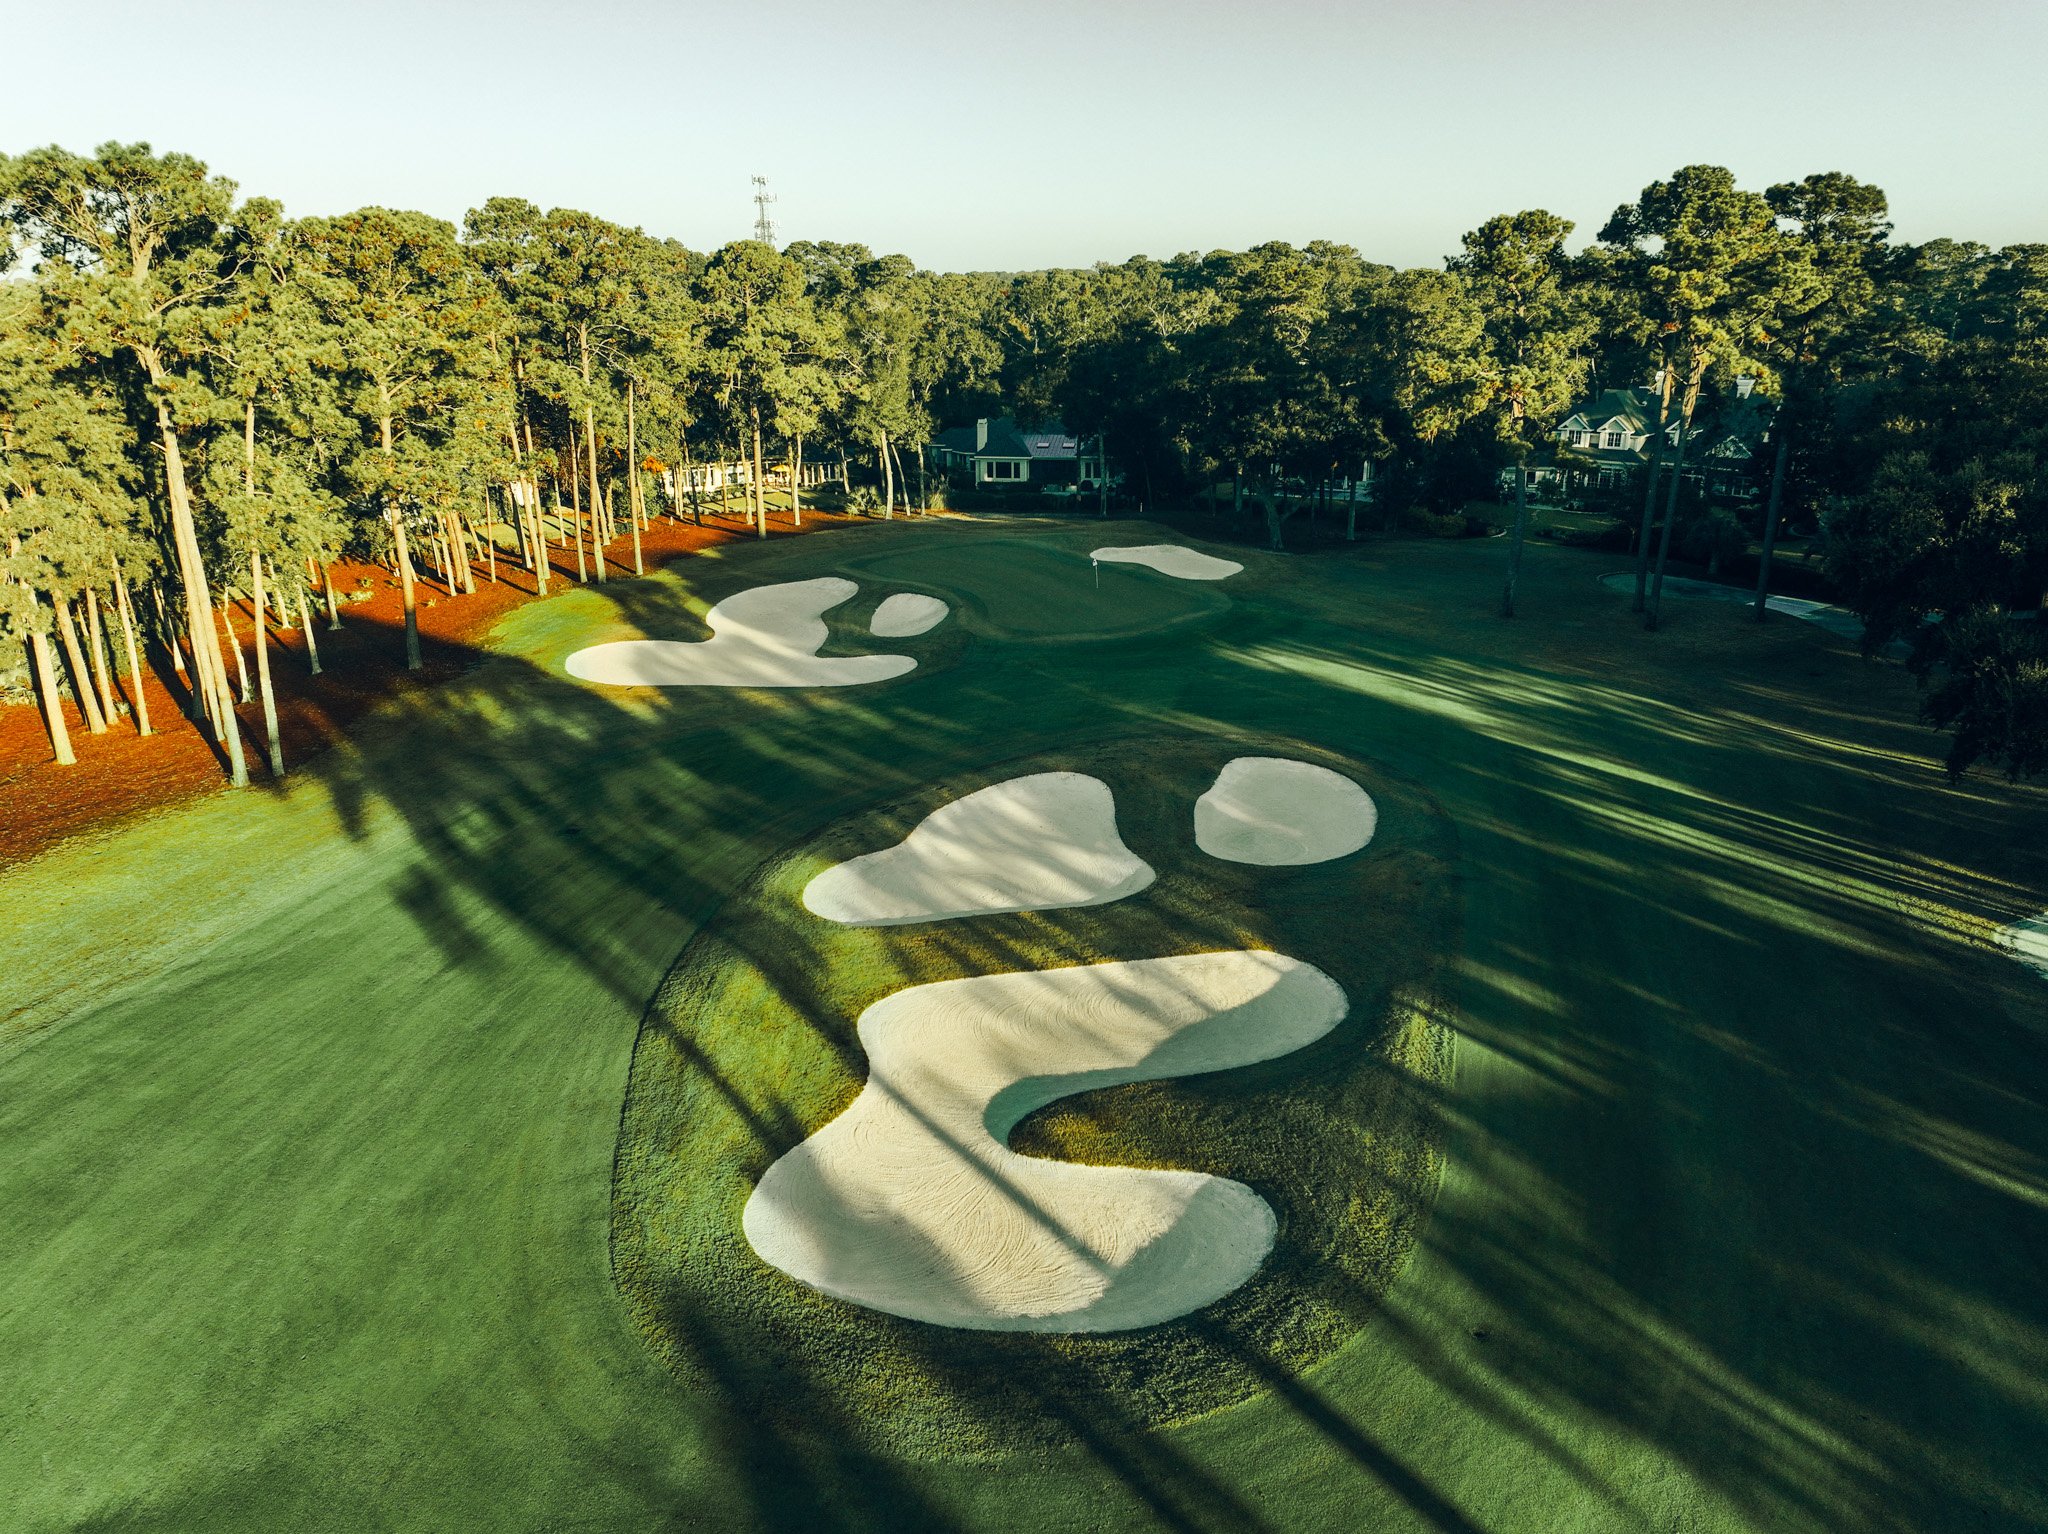
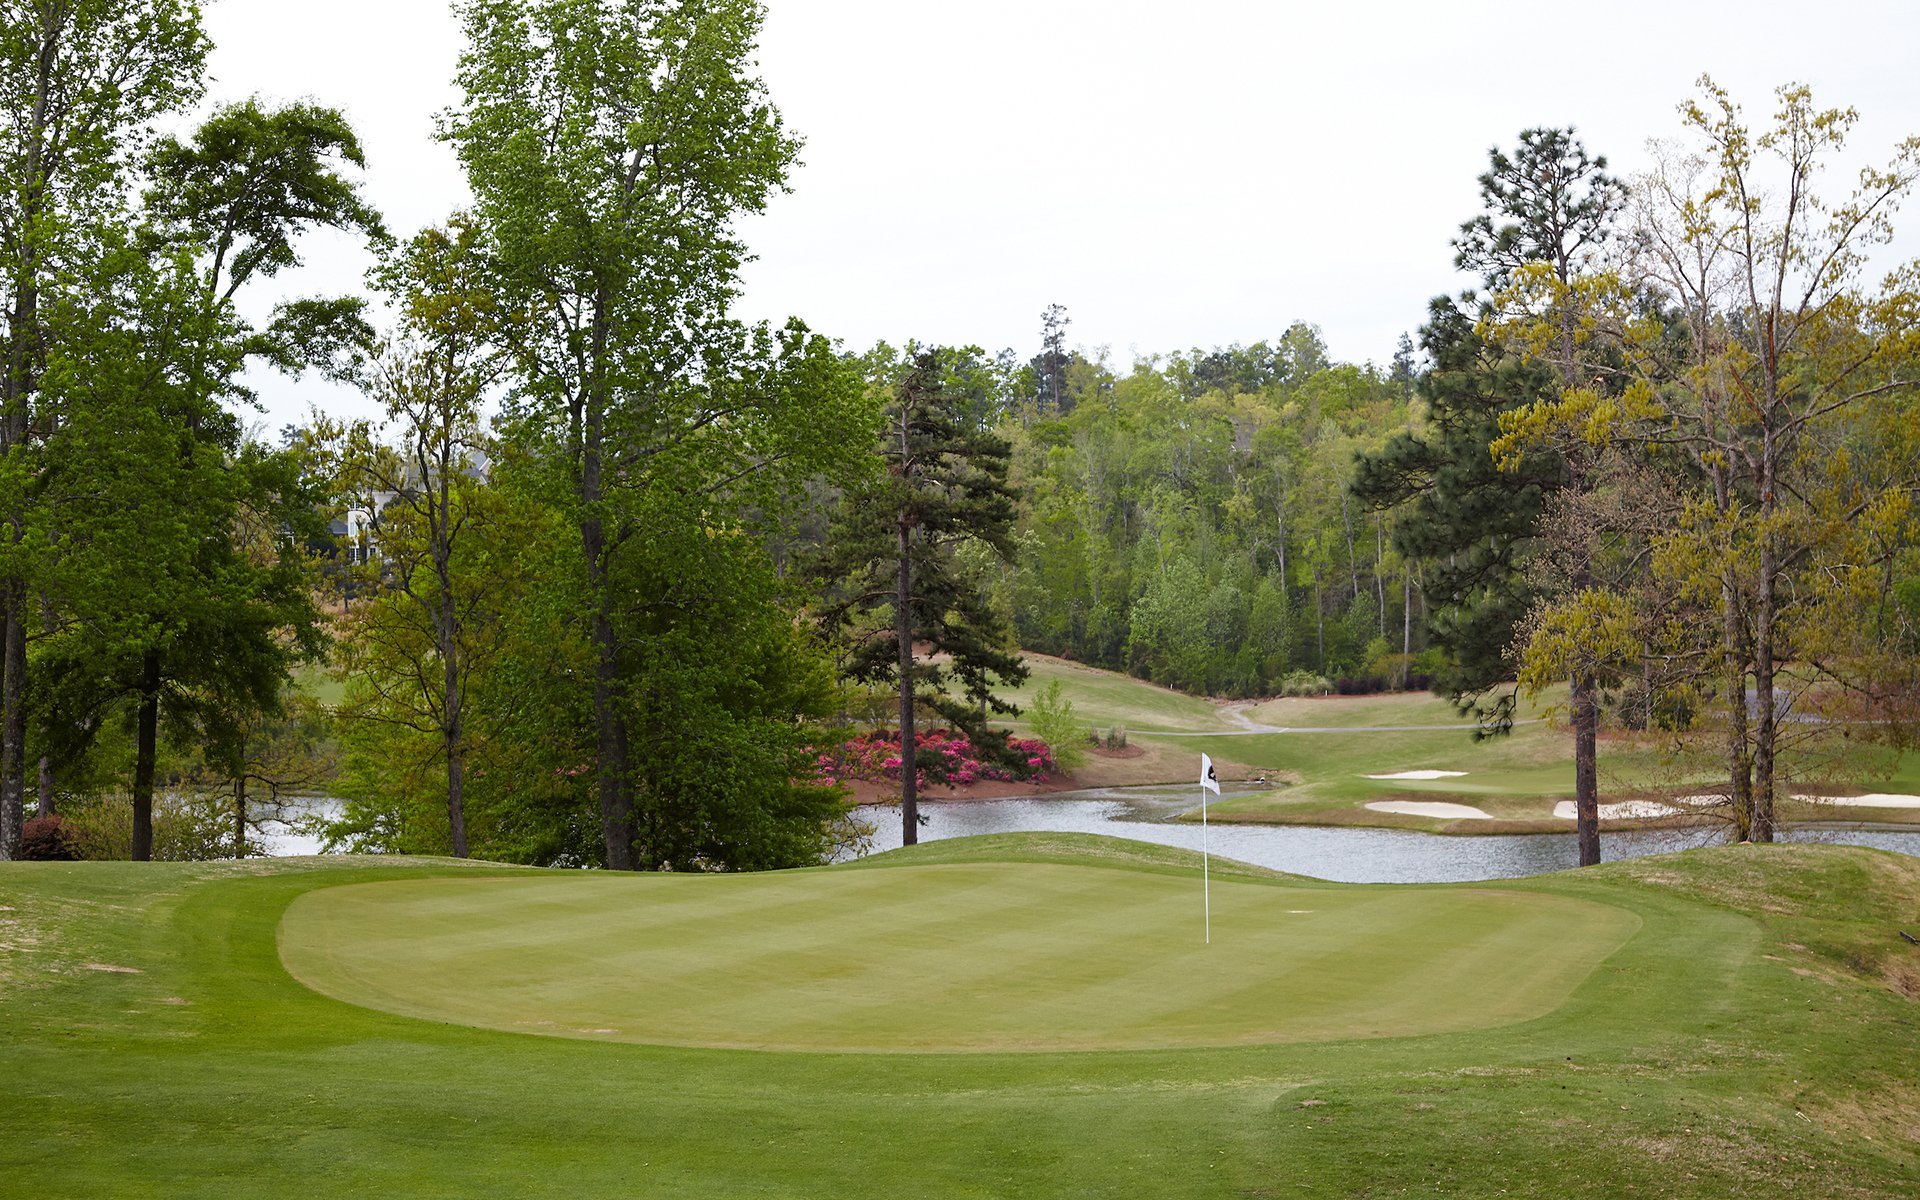
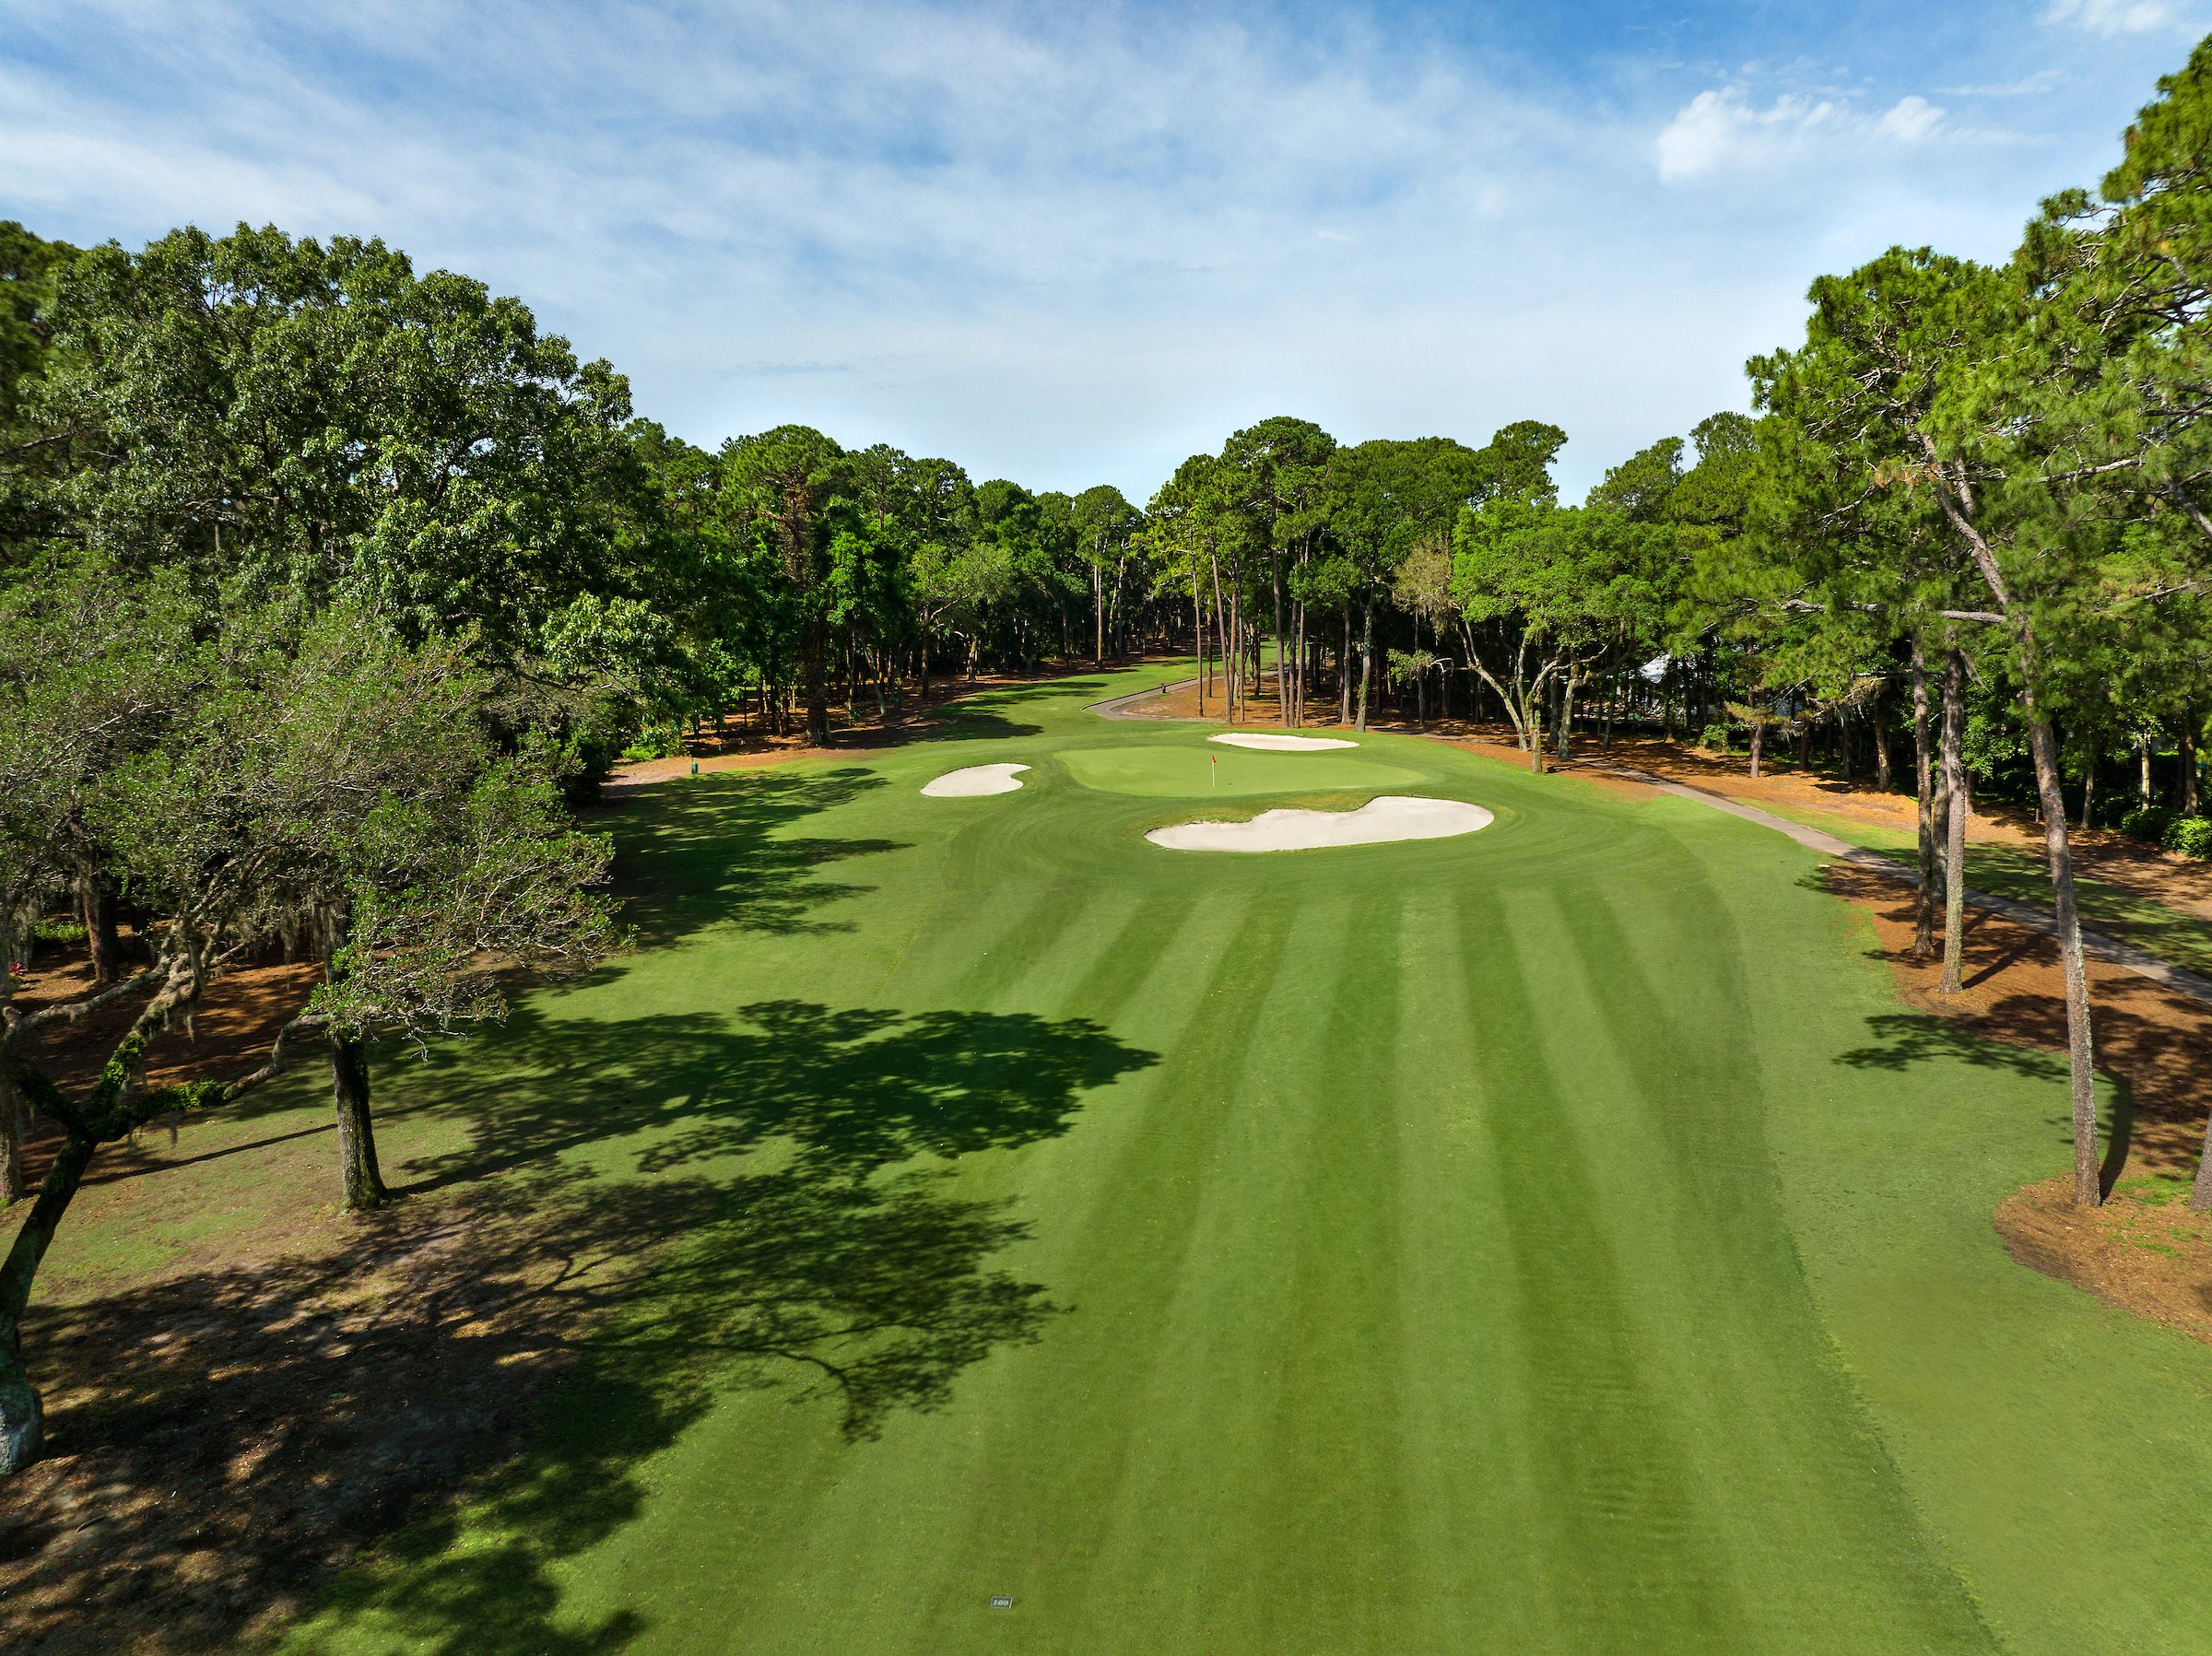
Designed by Jack Nicklaus and Jack Nicklaus II, The Golf Club at Indigo Run is where heritage and innovation meet. Our recently restored championship course honors its iconic design while offering a fresh, modern playing experience that captures the beauty of the Lowcountry. Every round celebrates the spirit of the game and the community that calls this remarkable course home.