
COURSE INFO
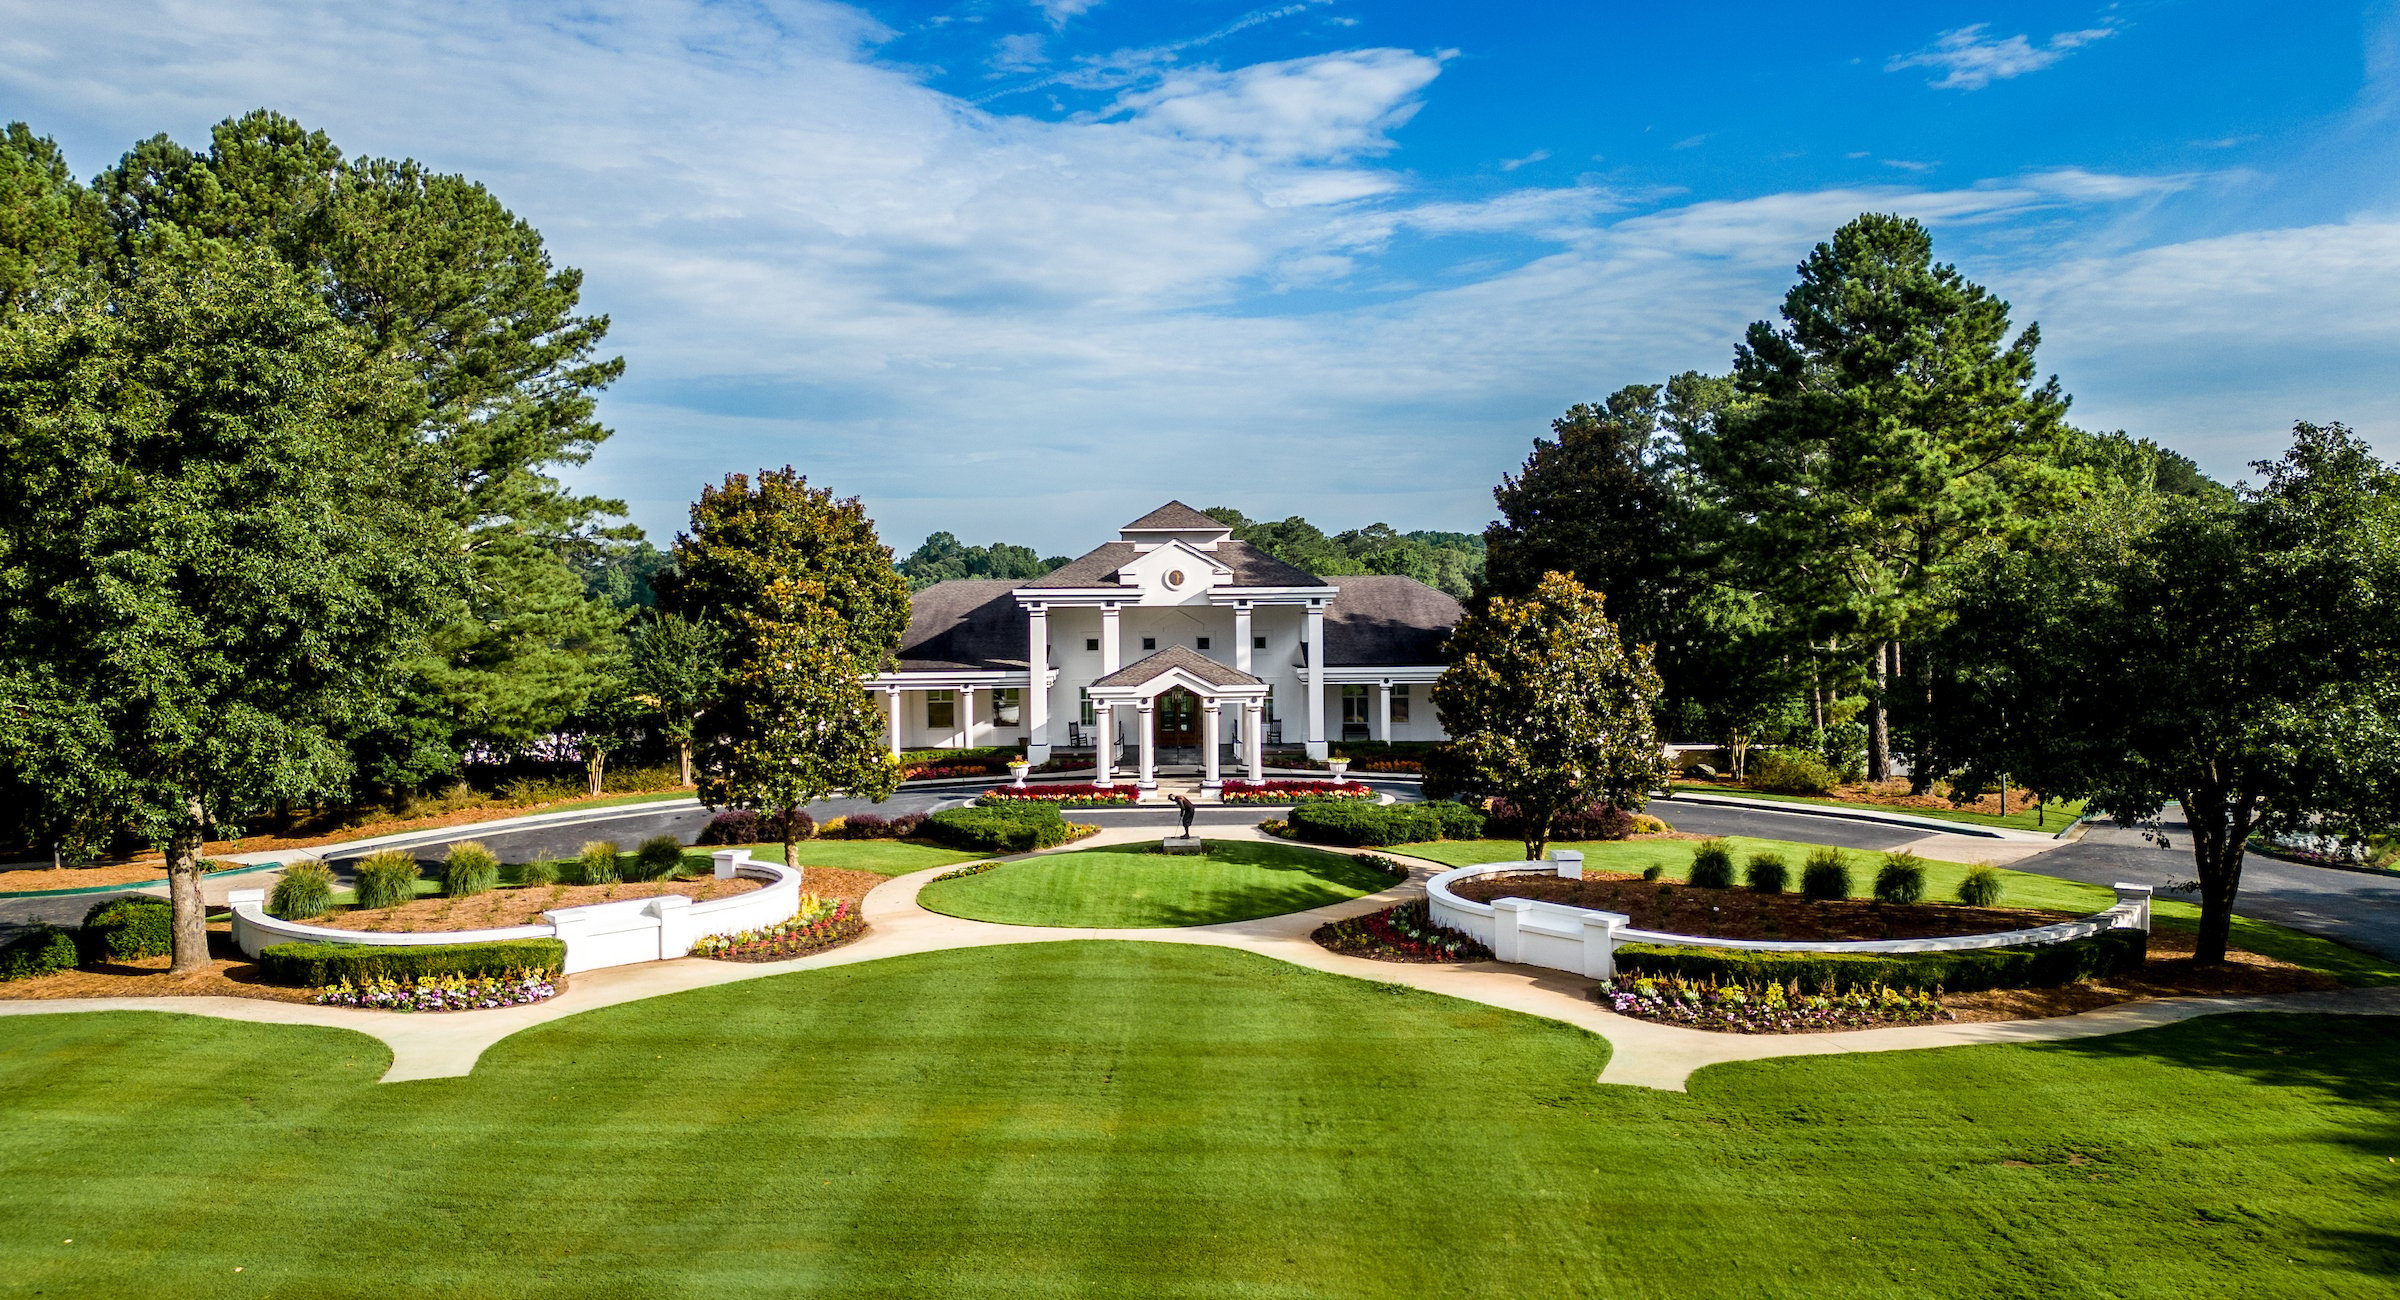
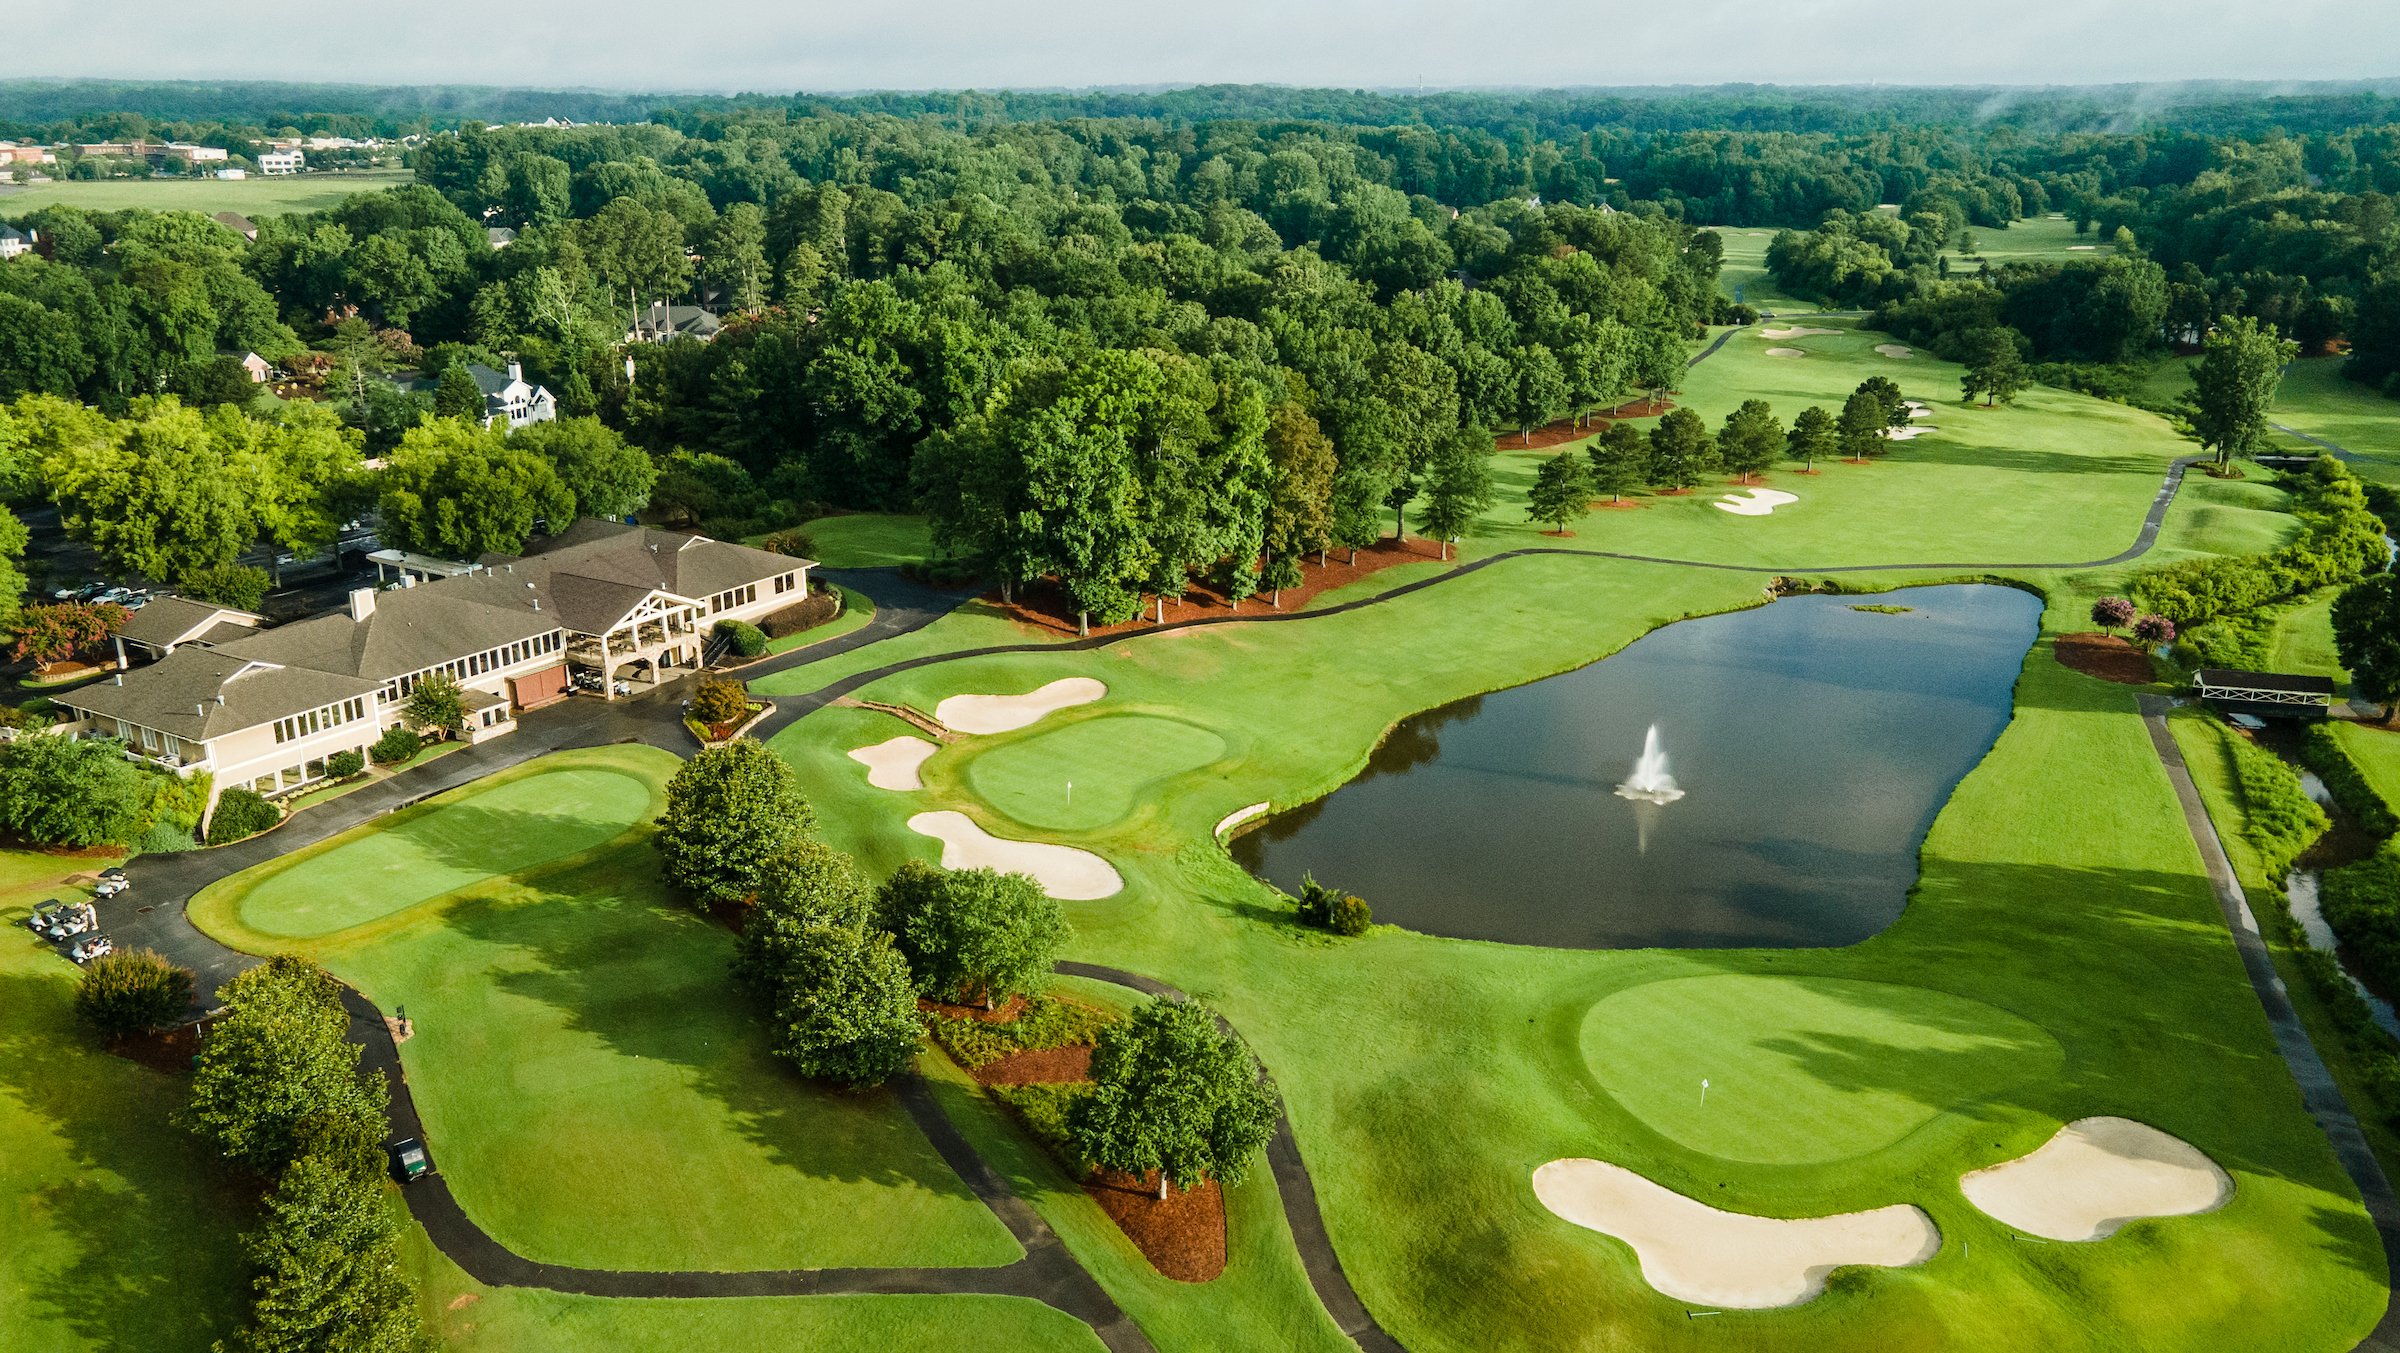
Whitewater Creek Country Club in Fayetteville is a true Arnold Palmer signature design and widely regarded as one of the premier layouts in South Atlanta. The 18-hole championship course features rolling foothills, mature oak-lined fairways, and impeccably maintained greens set among scenic waterways. Thoughtfully placed bunkers and water hazards add challenge without sacrificing playability, making every round both rewarding and enjoyable.
Holes: 18 Par: 72 Rating: 74.5 Slope: 144 Yardage: 7,253
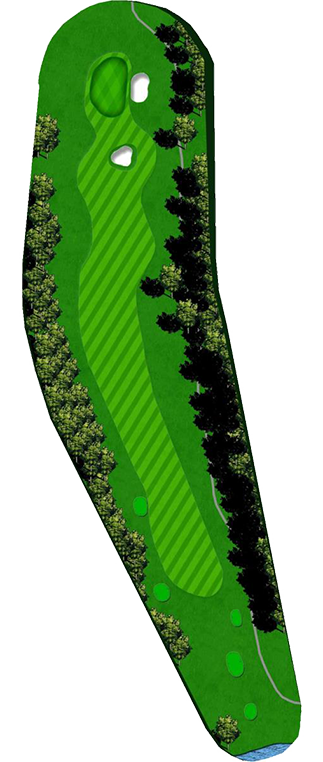
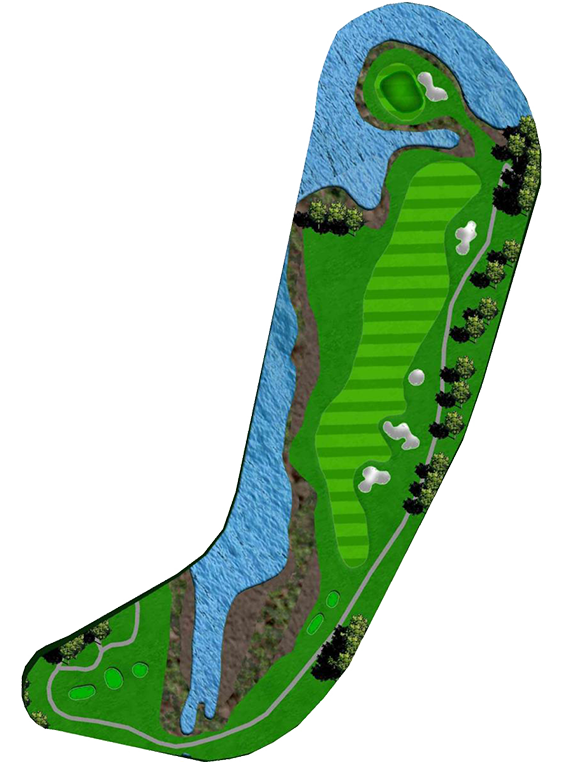
1st Hole
Par 4 · 454
Tee 1: 454
Tee 2: 432
Tee 3: 392
Tee 4: 369
Tee 5: 351

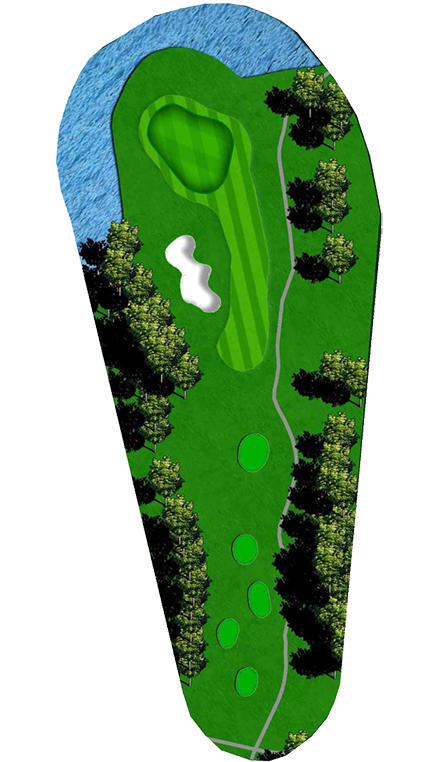
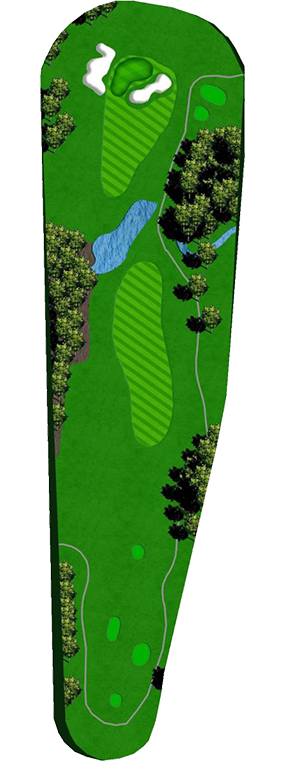
2nd Hole
Par 4 · 410
Tee 1: 410
Tee 2: 394
Tee 3: 375
Tee 4: 353
Tee 5: 315

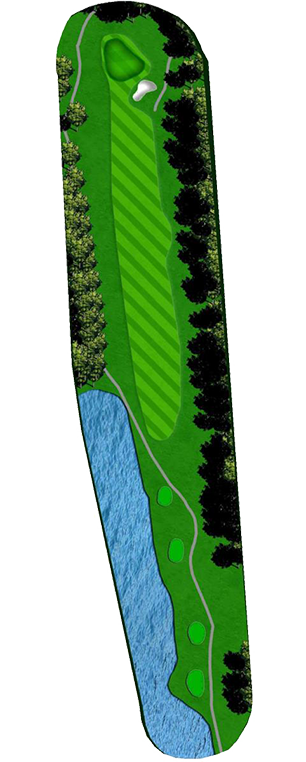
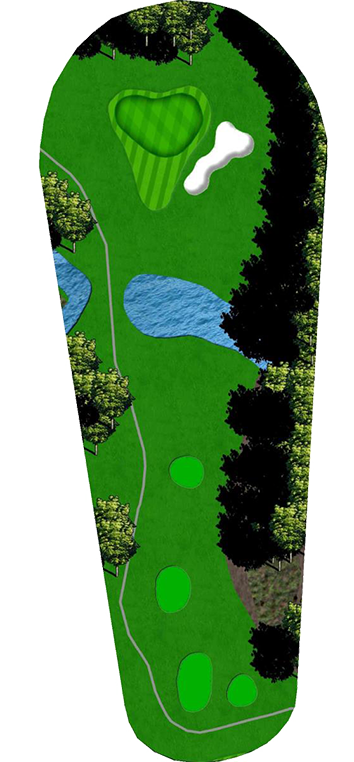
3rd Hole
Par 3 · 210
Tee 1: 210
Tee 2: 189
Tee 3: 161
Tee 4: 143
Tee 5: 99

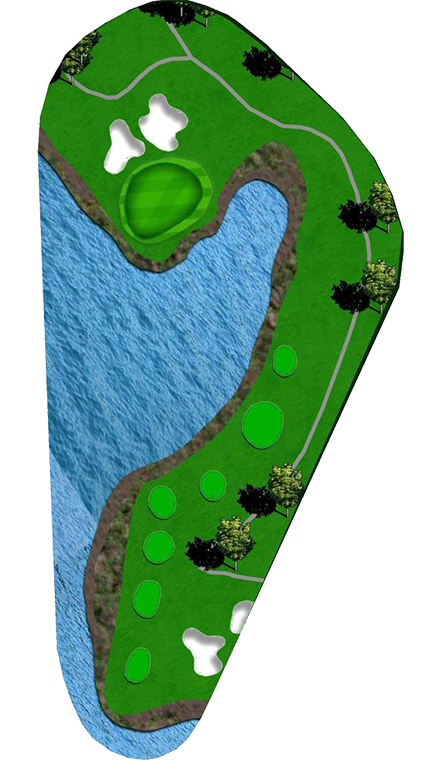
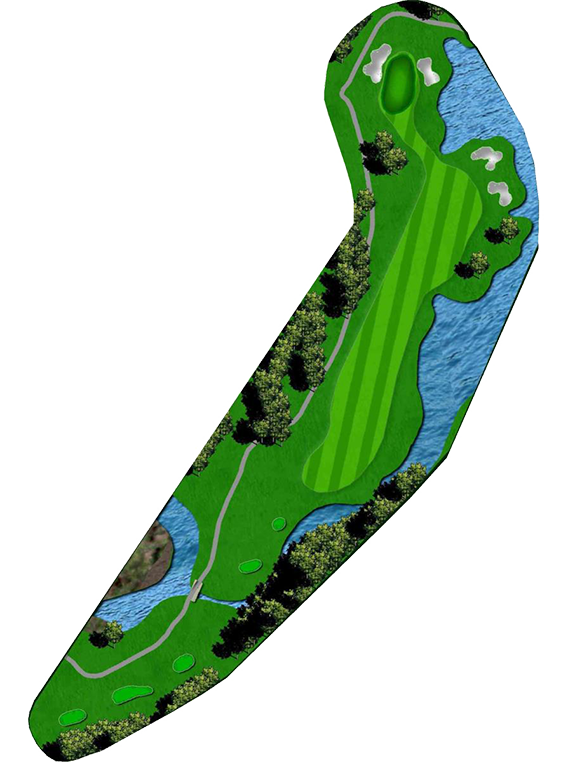
4th Hole
Par 5 · 529
Tee 1: 529
Tee 2: 512
Tee 3: 490
Tee 4: 470
Tee 5: 429

5th Hole
Par 4 · 348
Tee 1: 348
Tee 2: 321
Tee 3: 308
Tee 4: 275
Tee 5: 226
6th Hole
Par 5 · 549
Tee 1: 549
Tee 2: 527
Tee 3: 504
Tee 4: 481
Tee 5: 444

7th Hole
Par 3 · 202
Tee 1: 202
Tee 2: 185
Tee 3: 170
Tee 4: 153
Tee 5: 119
8th Hole
Par 4 · 388
Tee 1: 388
Tee 2: 367
Tee 3: 320
Tee 4: 307
Tee 5: 268
9th Hole
Par 4 · 421
Tee 1: 421
Tee 2: 401
Tee 3: 380
Tee 4: 363
Tee 5: 348

10th Hole
Par 4 · 425
Tee 1: 425
Tee 2: 411
Tee 3: 390
Tee 4: 374
Tee 5: 321

11th Hole
Par 3 · 165
Tee 1: 165
Tee 2: 137
Tee 3: 121
Tee 4: 106
Tee 5: 87
12th Hole
Par 5 · 455
Tee 1: 455
Tee 2: 435
Tee 3: 416
Tee 4: 365
Tee 5: 343
13th Hole
Par 4 · 415
Tee 1: 415
Tee 2: 392
Tee 3: 366
Tee 4: 346
Tee 5: 316
14th Hole
Par 3 · 174
Tee 1: 174
Tee 2: 169
Tee 3: 146
Tee 4: 108
Tee 5: 88
15th Hole
Par 5 · 526
Tee 1: 526
Tee 2: 508
Tee 3: 480
Tee 4: 448
Tee 5: 370
16th Hole
Par 3 · 169
Tee 1: 169
Tee 2: 146
Tee 3: 117
Tee 4: 117
Tee 5: 105
17th Hole
Par 4 · 387
Tee 1: 387
Tee 2: 369
Tee 3: 339
Tee 4: 329
Tee 5: 300
18th Hole
Par 5 · 512
Tee 1: 512
Tee 2: 490
Tee 3: 450
Tee 4: 444
Tee 5: 378
Ready to Play?

FREQUENTLY ASKED QUESTIONS
Do I need a golf membership to play?
How many golf courses are available?
Do you offer golf lessons or clinics?
Are there youth or junior golf programs?
Can I host a golf outing or tournament?
Is there a dress code on the golf courses?
Are club rentals or fittings available?
What practice facilities are available?
Do I have access to all five clubs with one membership?
What types of memberships are available?
Do I have to be a resident of Peachtree City or Newnan to join?
Can families be included in one membership?
Are there social and dining benefits beyond golf?
How do I learn more or schedule a tour?
Discover Our Nearby Clubs
Considering other options or looking for the perfect fit for your guest list and style? Explore nearby Invited Clubs. Each offering beautiful indoor and outdoor event spaces, full-service planning, and exclusive wedding experiences.
Atlanta National Golf Club
Milton, GANestled in the rolling hills of Milton, Atlanta National Golf Club is a private, Pete and P.B. Dye–designed course celebrated for its challenging layout and natural beauty. The 18-hole championship course features striking elevation changes, sculpted fairways, and a signature island green on the 17th hole.

Brookfield Country Club
Roswell, GALocated in the heart of Roswell, Brookfield Country Club blends traditional Southern hospitality with a fresh, modern spirit. Its 18-hole championship course offers challenge and variety, while recent renovations have transformed the clubhouse into a welcoming retreat for dining, fitness, and social events.
Polo Golf & Country Club
Cumming, GASurrounded by lush woodlands in Forsyth County, Polo Golf & Country Club combines exceptional golf with an inviting country club lifestyle. The Joe Lee–designed course offers play for every level, while the 30,000-square-foot clubhouse serves as a social hub for dining, events, and family gatherings.