
COURSE INFO
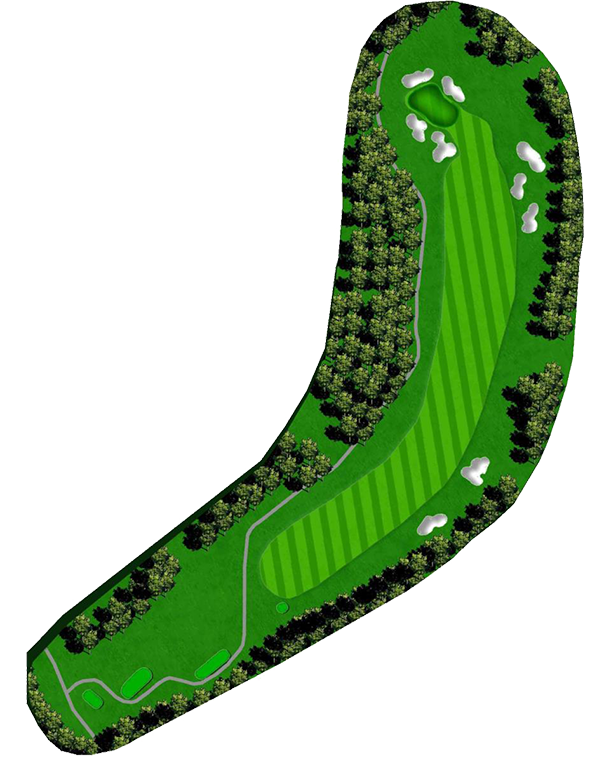
The Old Course at White Oak Golf Club in Newnan, Georgia—just south of Atlanta—first debuted as an 18-hole championship course in 1986. Two additional nines were added in 1987 and 1990, creating the 36-hole layout Members enjoy today. Designed by Rocky Roquemore, the club has long been a favorite among Atlanta-area golfers and their guests.
Holes: 18 Par: 72 Rating: 74.5 Slope: 144 Yardage: 7,253
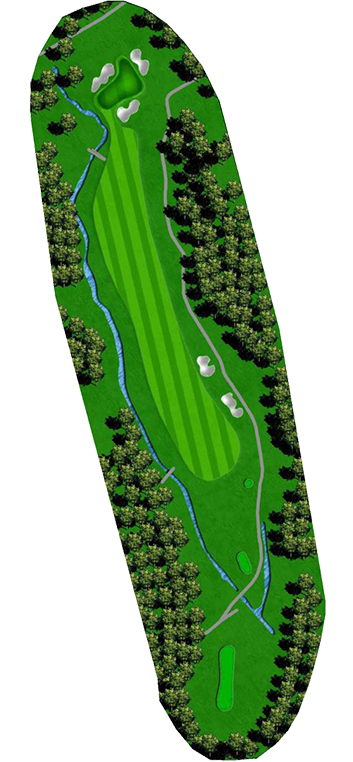
1st Hole
Par 4 · 405
Tee 1: 405
Tee 2: 387
Tee 3: 370
Tee 4: 351
Tee 5: 351
Tee 6: 274

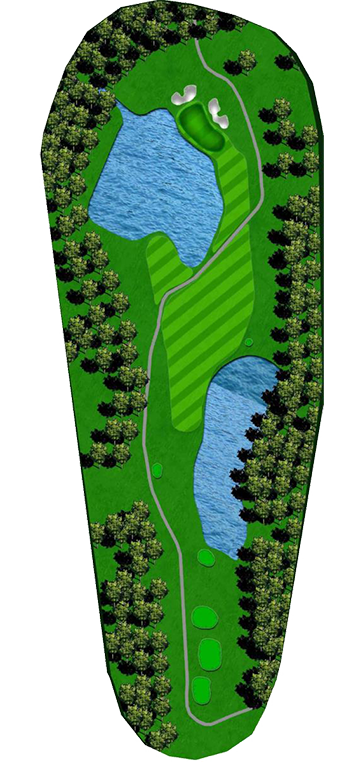
2nd Hole
Par 5 · 552
Tee 1: 552
Tee 2: 537
Tee 3: 520
Tee 4: 470
Tee 5: 470
Tee 6: 377
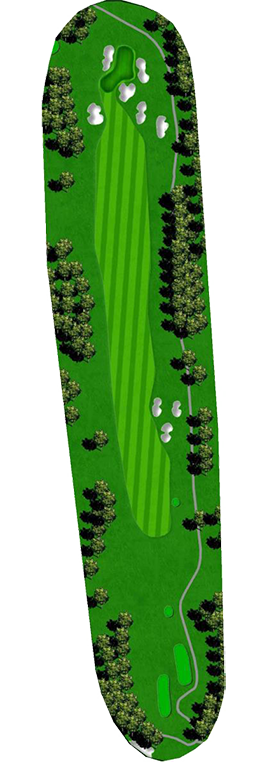
3rd Hole
Par 3 · 203
Tee 1: 203
Tee 2: 177
Tee 3: 152
Tee 4: 126
Tee 5: 126
Tee 6: 126

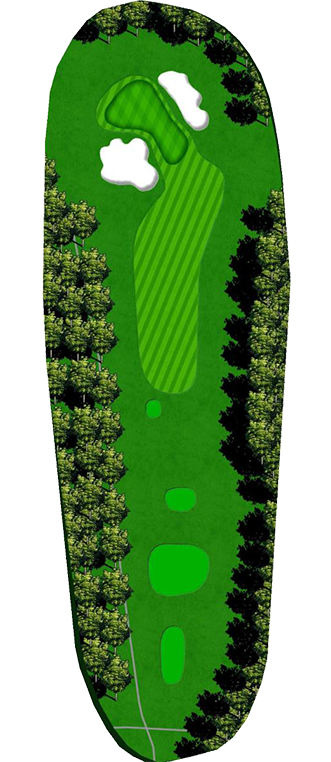
4th Hole
Par 4 · 391
Tee 1: 391
Tee 2: 366
Tee 3: 342
Tee 4: 342
Tee 5: 246
Tee 6: 152
5th Hole
Par 5 · 497
Tee 1: 497
Tee 2: 485
Tee 3: 470
Tee 4: 393
Tee 5: 393
Tee 6: 336
6th Hole
Par 4 · 348
Tee 1: 348
Tee 2: 319
Tee 3: 314
Tee 4: 314
Tee 5: 223
Tee 6: 223

7th Hole
Par 4 · 397
Tee 1: 397
Tee 2: 372
Tee 3: 363
Tee 4: 299
Tee 5: 299
Tee 6: 219

8th Hole
Par 3 · 211
Tee 1: 211
Tee 2: 181
Tee 3: 174
Tee 4: 148
Tee 5: 148
Tee 6: 117
9th Hole
Par 4 · 414
Tee 1: 414
Tee 2: 391
Tee 3: 384
Tee 4: 320
Tee 5: 320
Tee 6: 210

10th Hole
Par 4 · 405
Tee 1: 405
Tee 2: 378
Tee 3: 349
Tee 4: 308
Tee 5: 308
Tee 6: 249

11th Hole
Par 5 · 552
Tee 1: 552
Tee 2: 511
Tee 3: 498
Tee 4: 420
Tee 5: 420
Tee 6: 360

12th Hole
Par 3 · 203
Tee 1: 203
Tee 2: 160
Tee 3: 139
Tee 4: 139
Tee 5: 110
Tee 6: 110

13th Hole
Par 4 · 391
Tee 1: 391
Tee 2: 393
Tee 3: 375
Tee 4: 316
Tee 5: 316
Tee 6: 216

14th Hole
Par 5 · 497
Tee 1: 497
Tee 2: 492
Tee 3: 455
Tee 4: 441
Tee 5: 441
Tee 6: 387
15th Hole
Par 3 · 348
Tee 1: 348
Tee 2: 152
Tee 3: 145
Tee 4: 124
Tee 5: 124
Tee 6: 95

16th Hole
Par 4 · 379
Tee 1: 379
Tee 2: 364
Tee 3: 348
Tee 4: 287
Tee 5: 287
Tee 6: 287

17th Hole
Par 4 · 328
Tee 1: 328
Tee 2: 318
Tee 3: 294
Tee 4: 294
Tee 5: 256
Tee 6: 191

18th Hole
Par 4 · 403
Tee 1: 403
Tee 2: 373
Tee 3: 352
Tee 4: 323
Tee 5: 323
Tee 6: 230

Ready to Play?


FREQUENTLY ASKED QUESTIONS
Do I need a golf membership to play?
How many golf courses are available?
Do you offer golf lessons or clinics?
Are there youth or junior golf programs?
Can I host a golf outing or tournament?
Is there a dress code on the golf courses?
Are club rentals or fittings available?
What practice facilities are available?
Do I have access to all five clubs with one membership?
What types of memberships are available?
Do I have to be a resident of Peachtree City or Newnan to join?
Can families be included in one membership?
Are there social and dining benefits beyond golf?
How do I learn more or schedule a tour?
Discover Our Nearby Clubs
Considering other options or looking for the perfect fit for your guest list and style? Explore nearby Invited Clubs. Each offering beautiful indoor and outdoor event spaces, full-service planning, and exclusive wedding experiences.
Atlanta National Golf Club
Milton, GANestled in the rolling hills of Milton, Atlanta National Golf Club is a private, Pete and P.B. Dye–designed course celebrated for its challenging layout and natural beauty. The 18-hole championship course features striking elevation changes, sculpted fairways, and a signature island green on the 17th hole.

Brookfield Country Club
Roswell, GALocated in the heart of Roswell, Brookfield Country Club blends traditional Southern hospitality with a fresh, modern spirit. Its 18-hole championship course offers challenge and variety, while recent renovations have transformed the clubhouse into a welcoming retreat for dining, fitness, and social events.
Polo Golf & Country Club
Cumming, GAKnown for its immaculate year-round conditioning, this championship layout features fast greens and a strategic design that provides a fair yet formidable test.