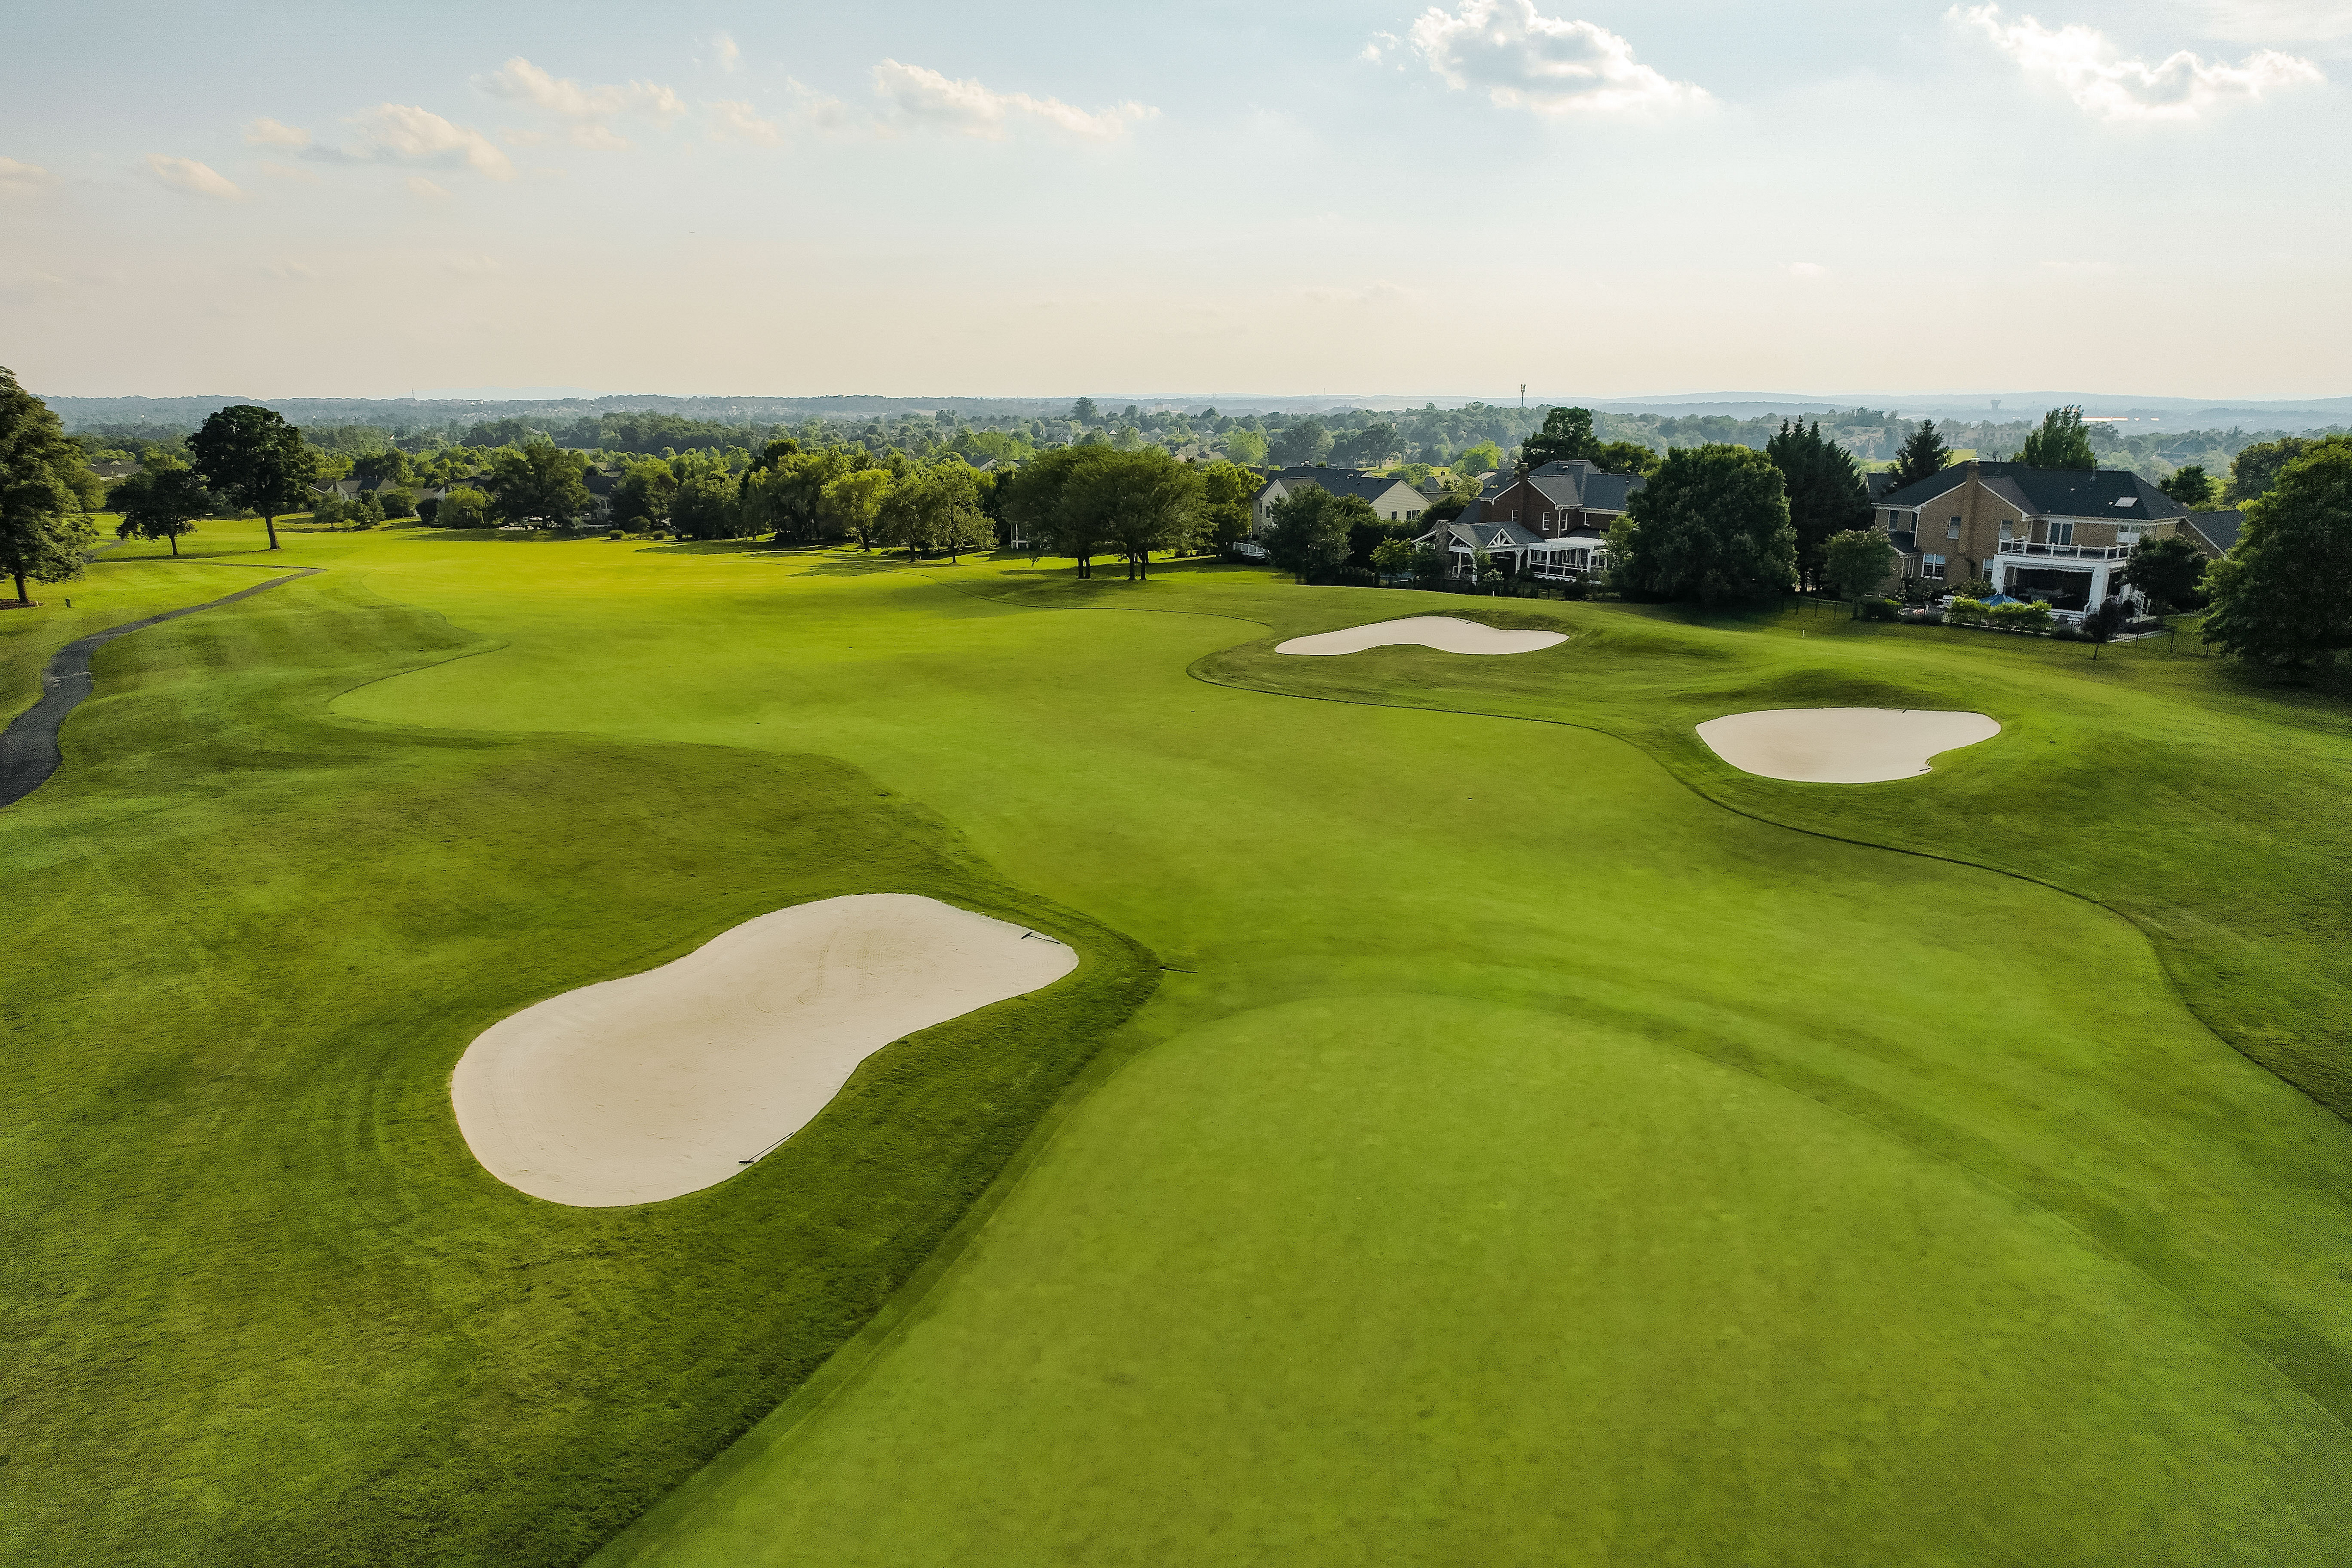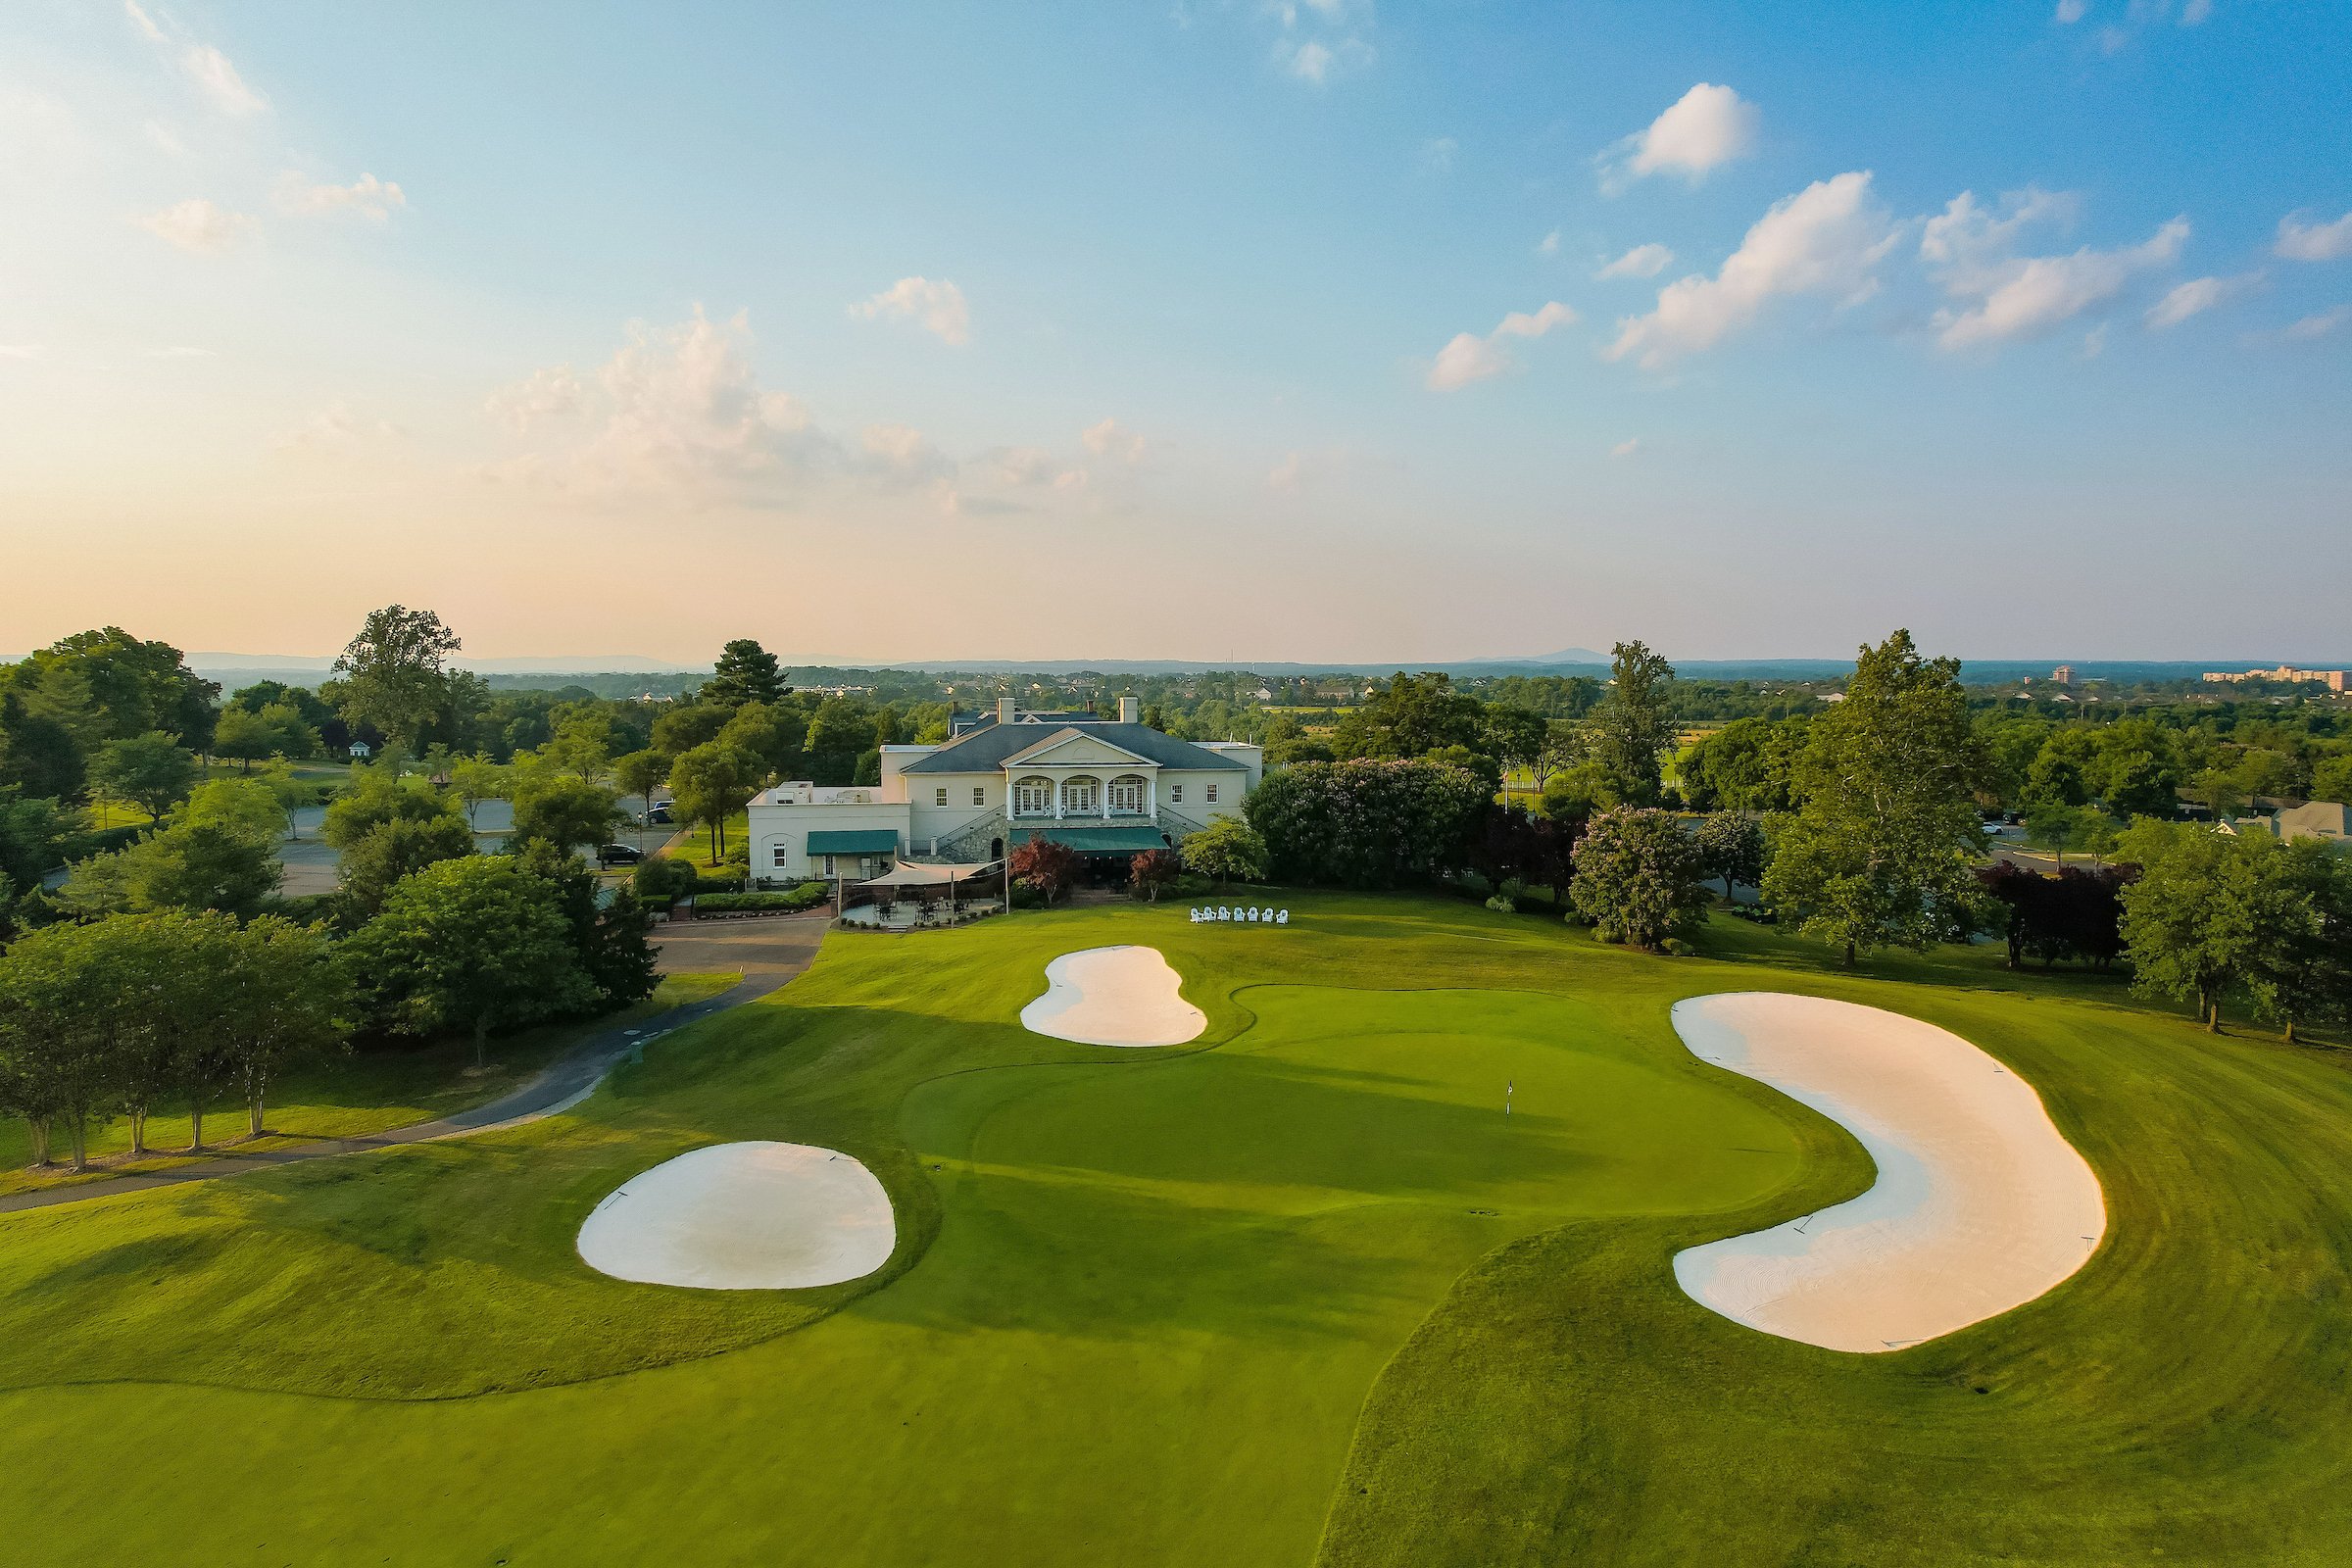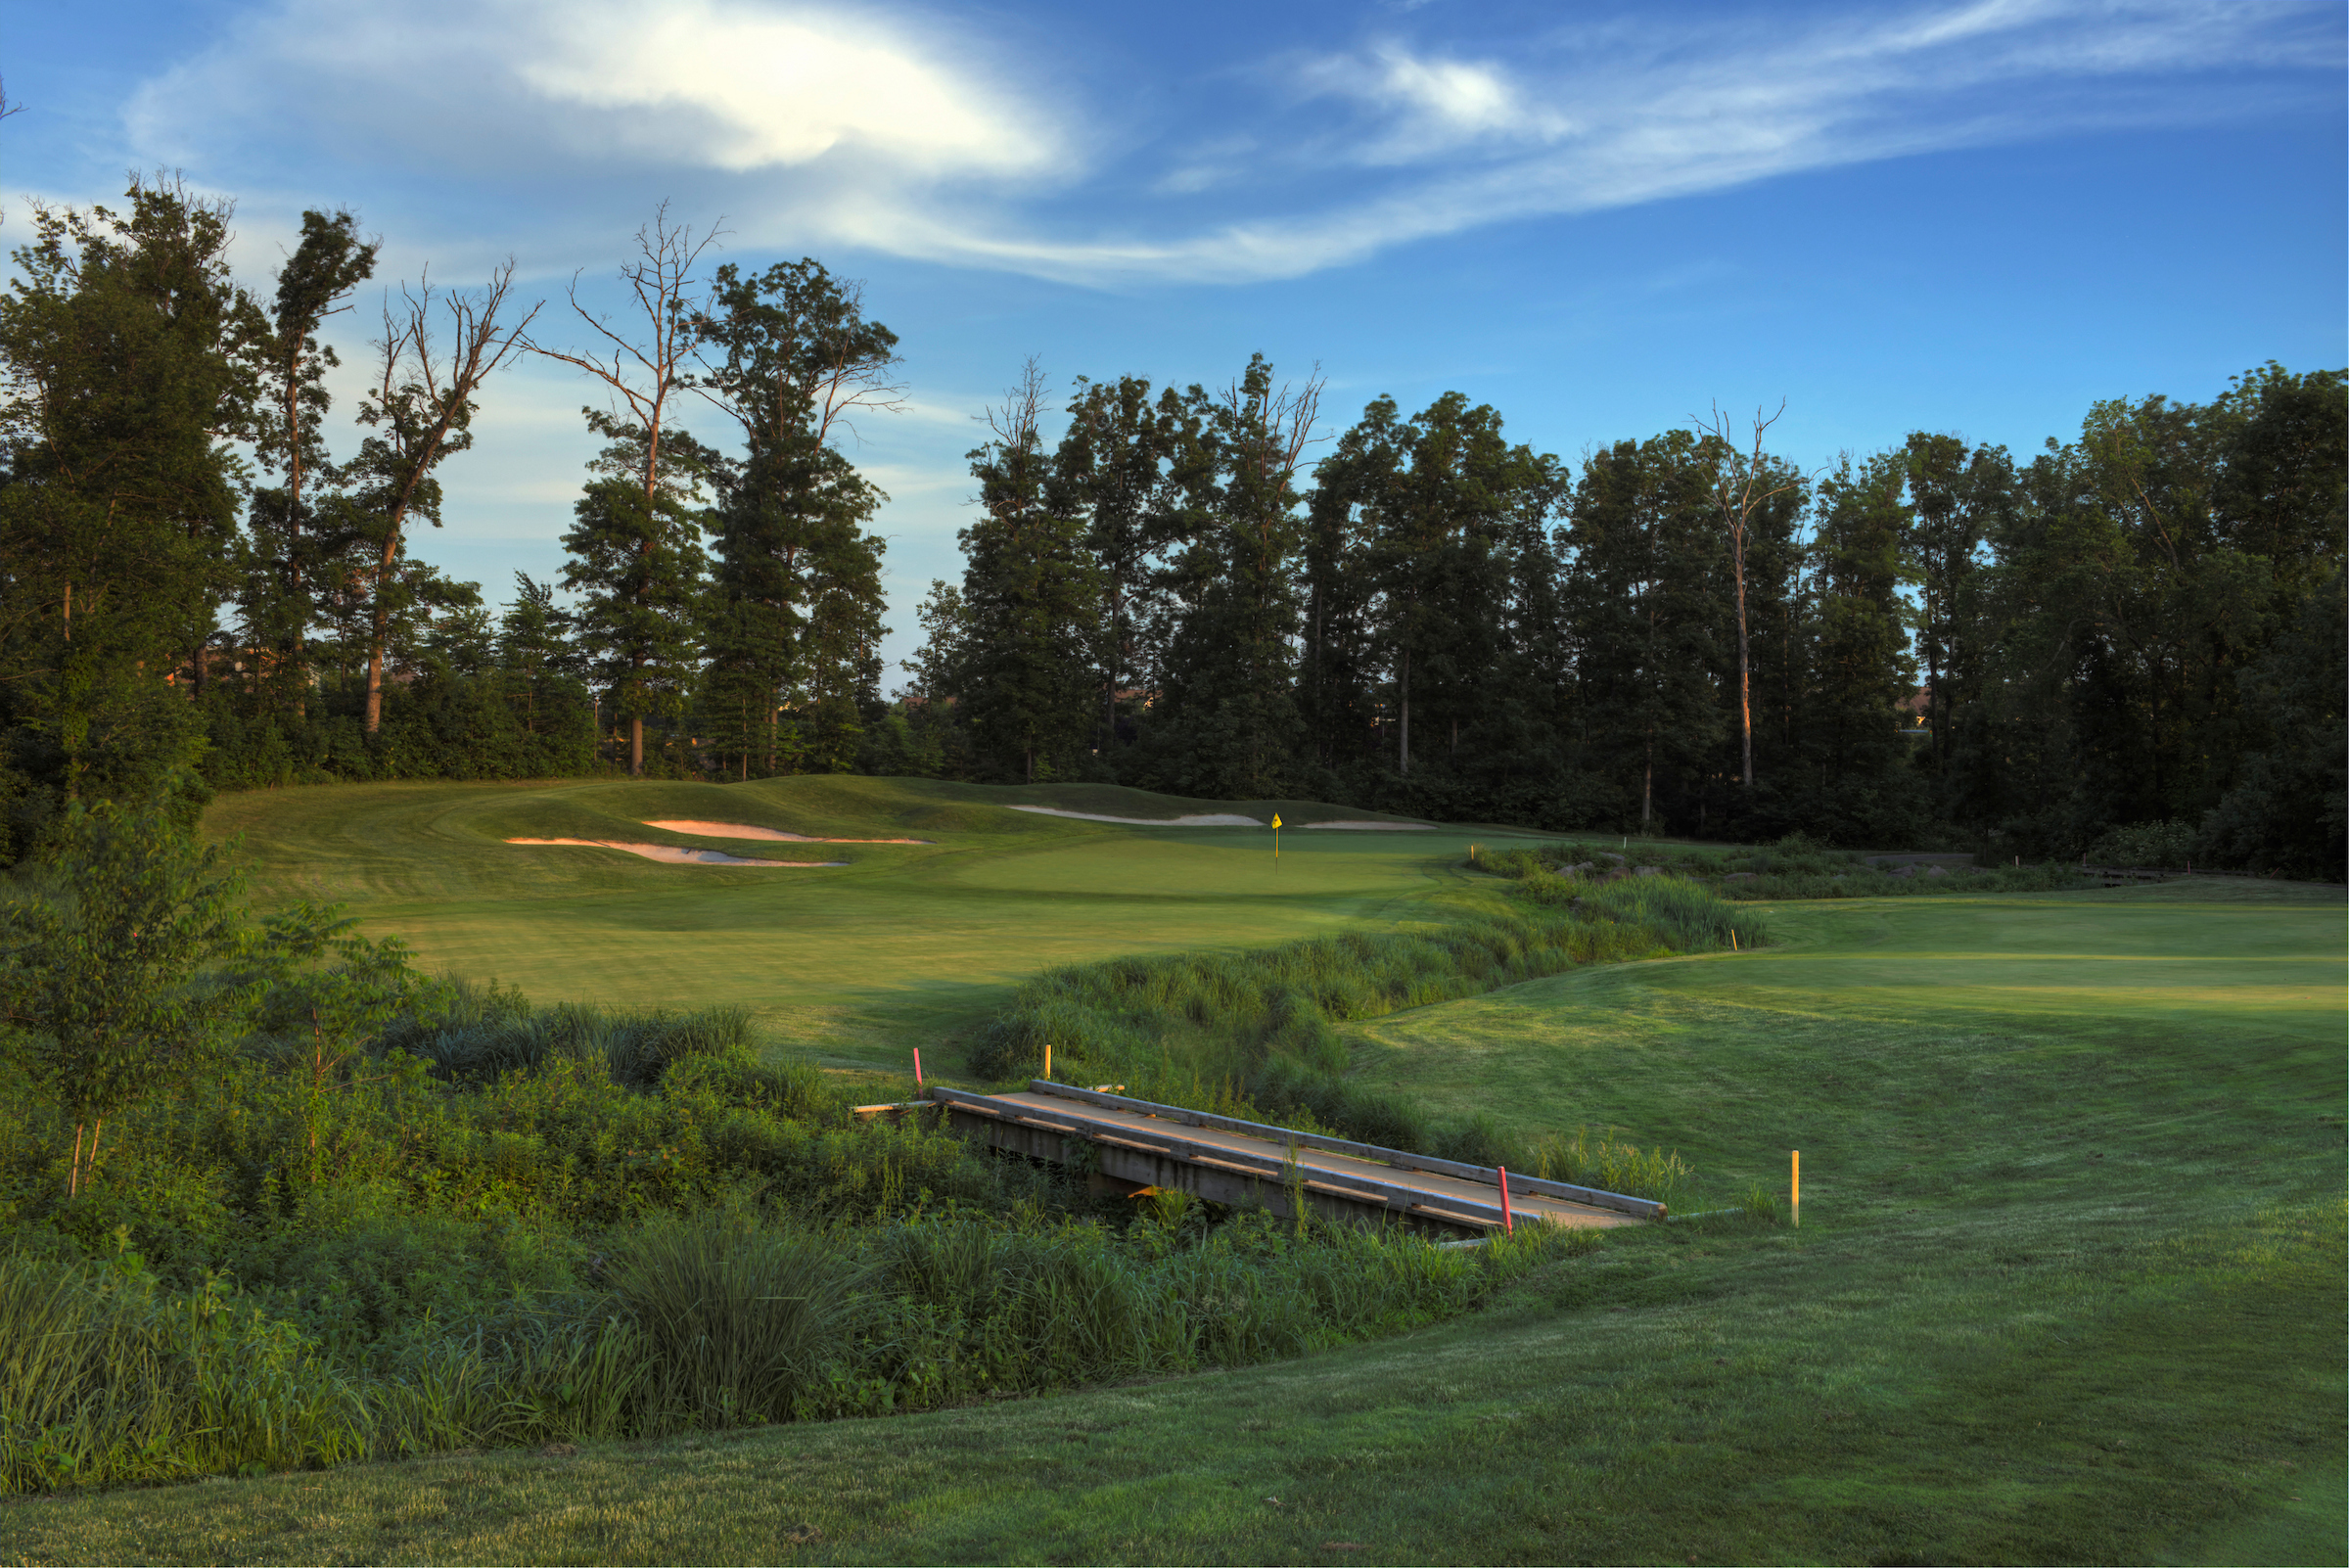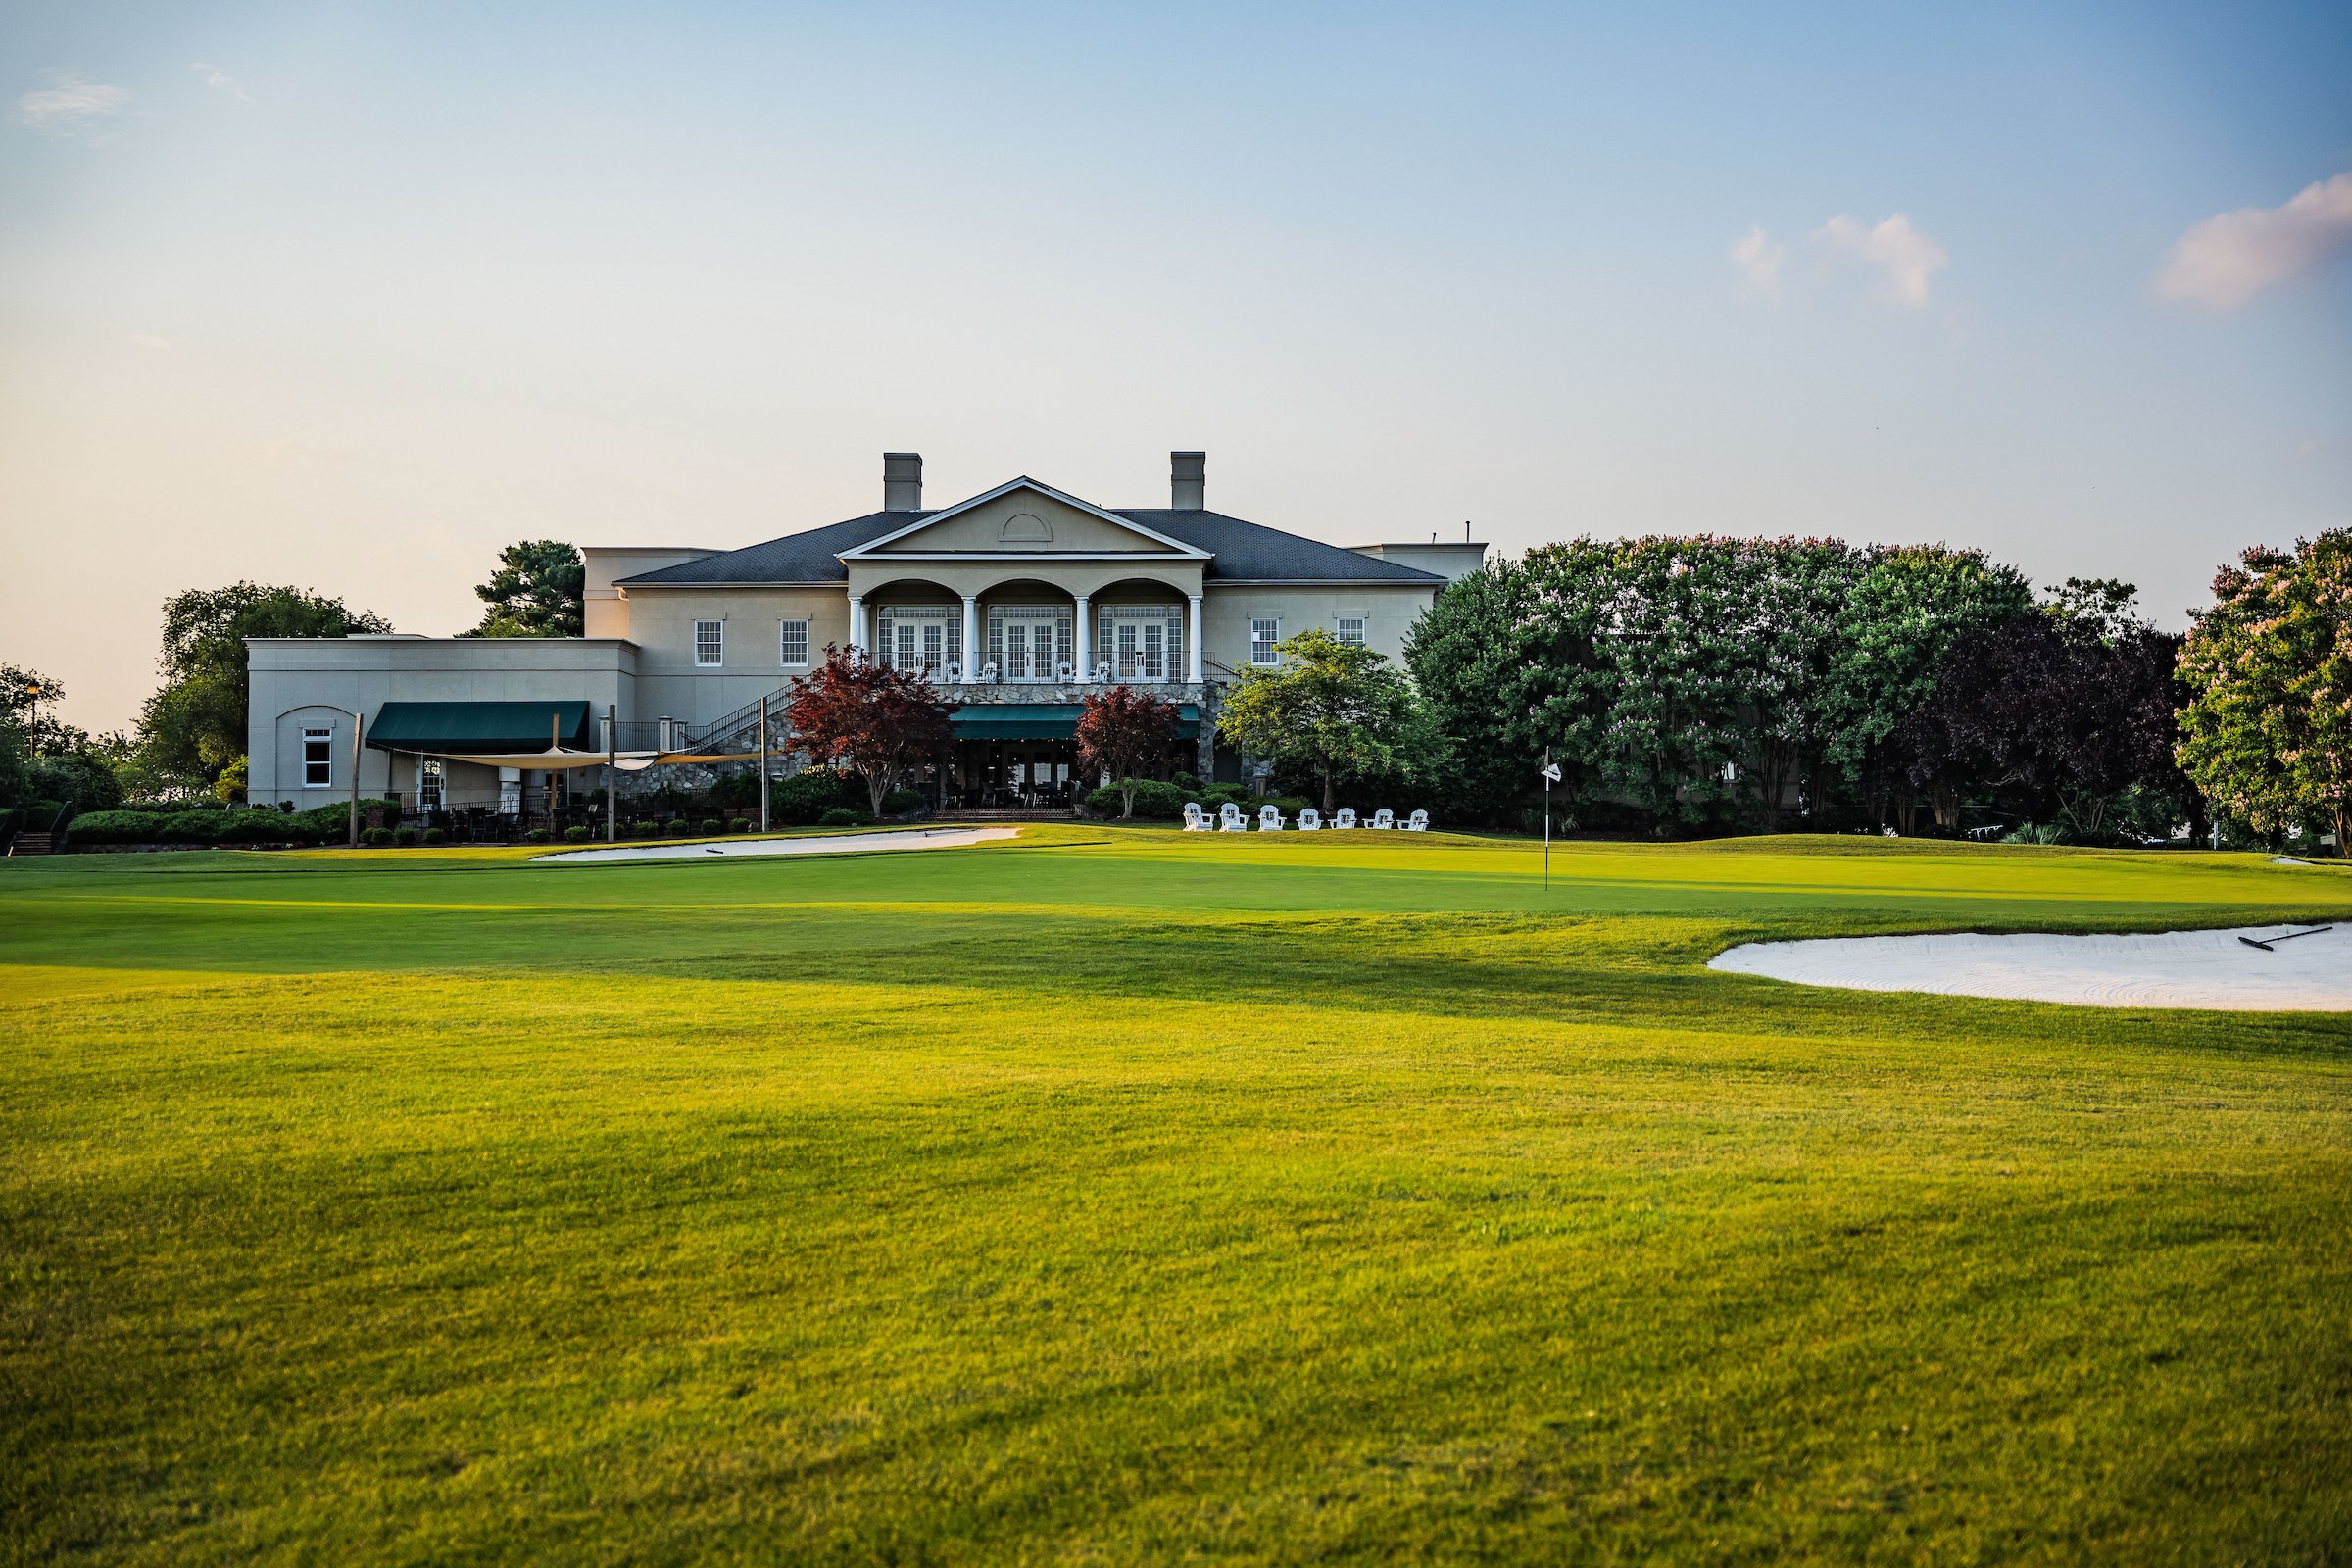


AN ARNOLD PALMER SIGNATURE DESIGN
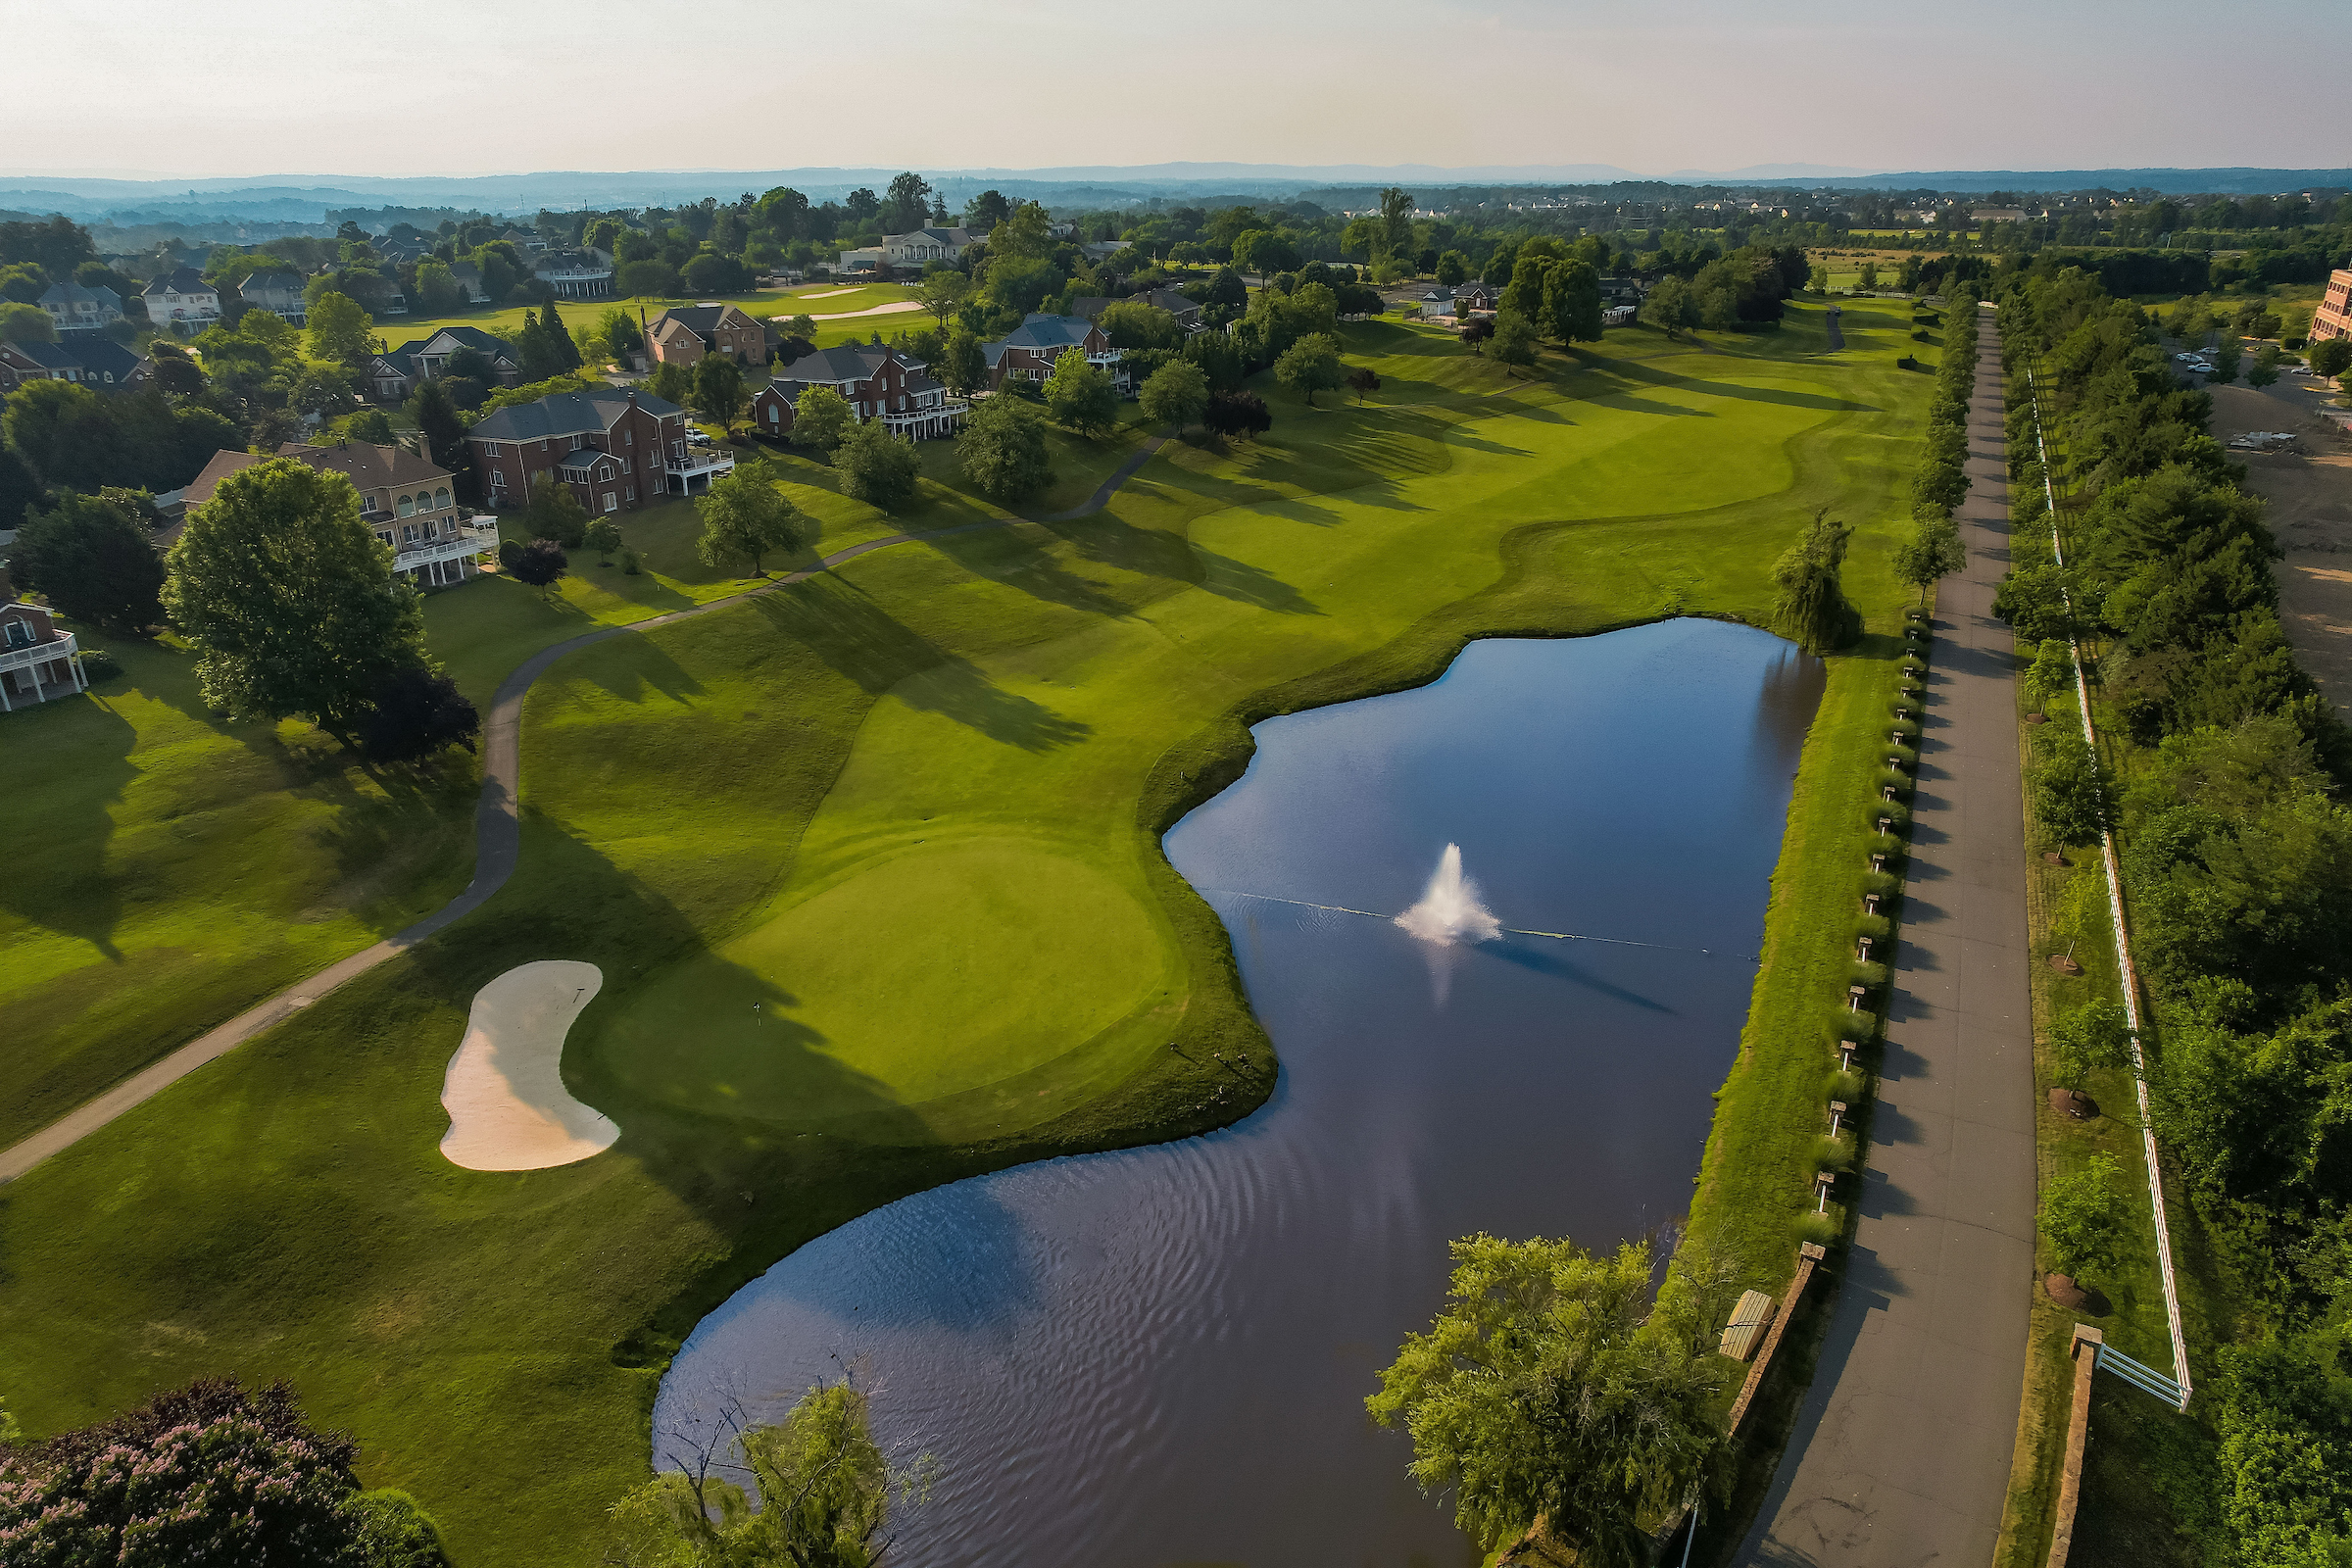
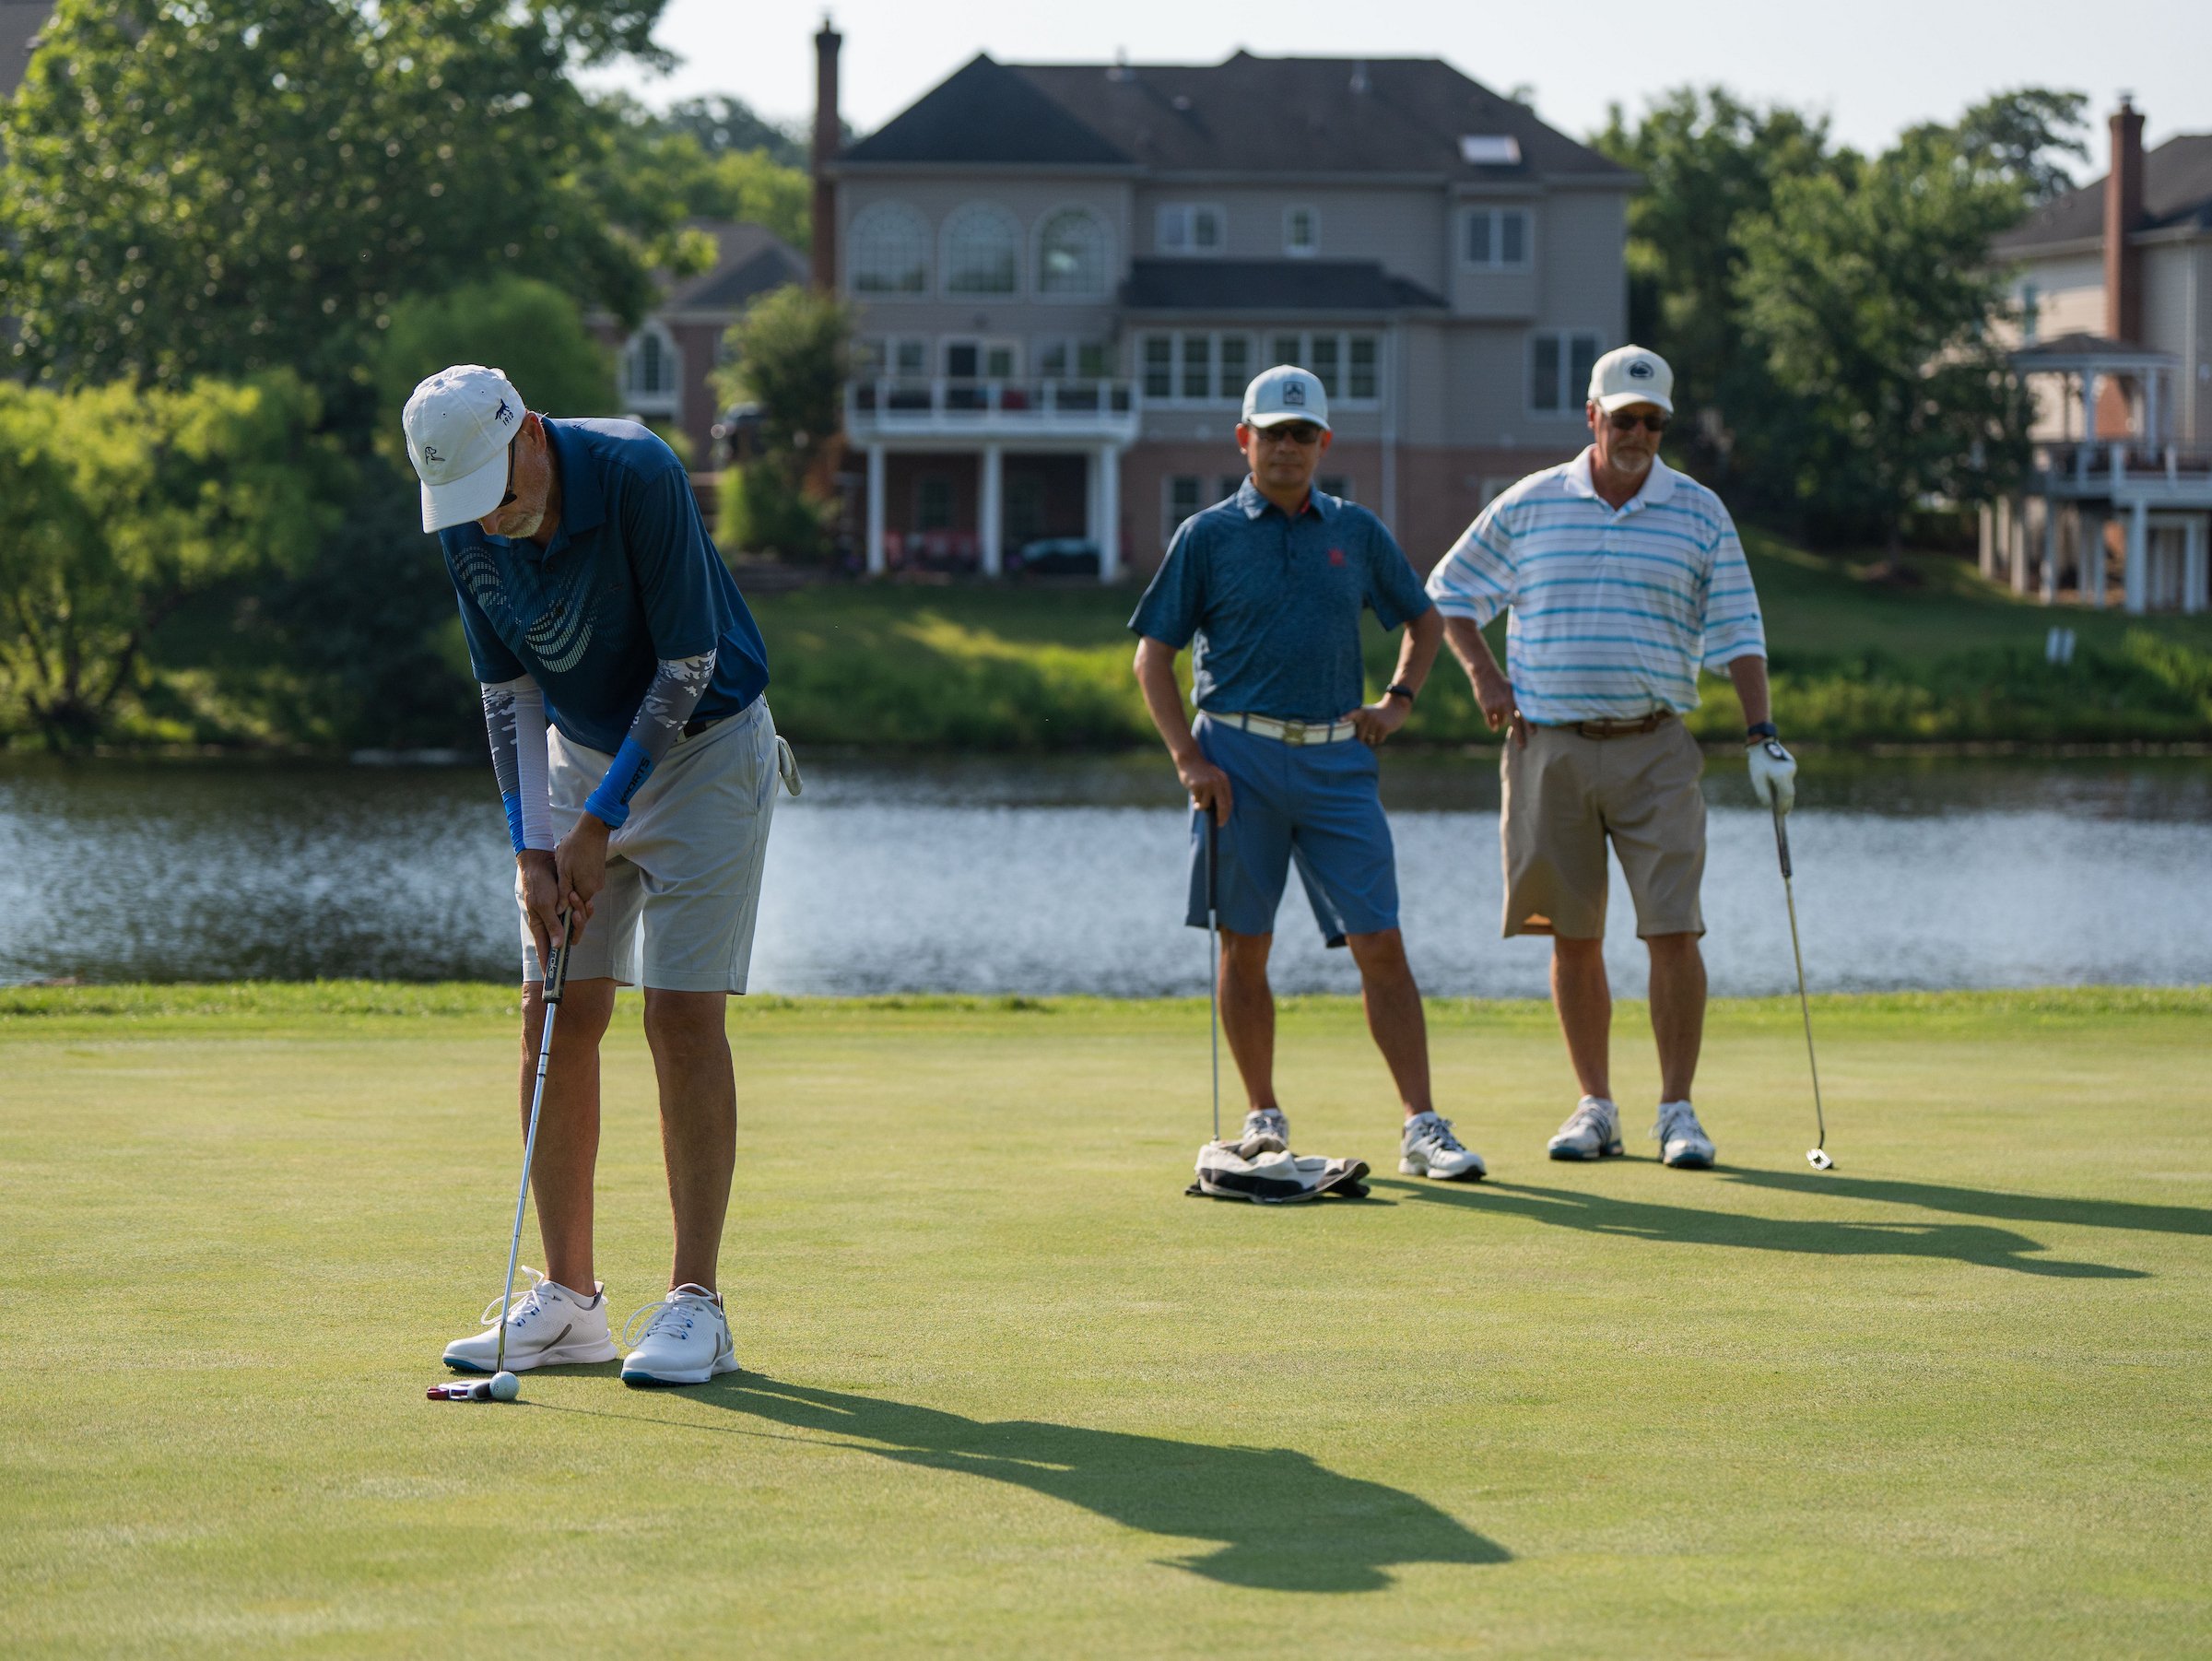
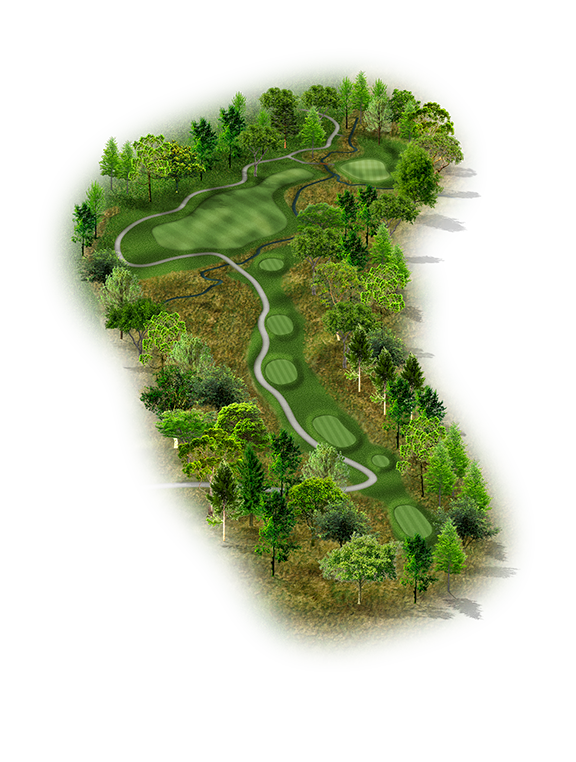
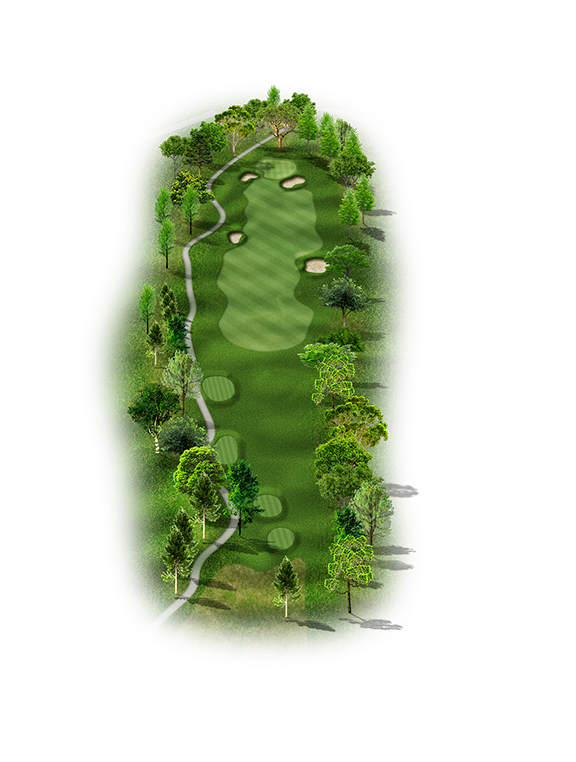
Belmont is home to an 18-hole Arnold Palmer Signature golf course, nominated in its inaugural year as Best New Private Golf Course by Golf Digest. Measuring 7,212 yards from the back tees, the natural elevation changes, tree-lined fairways and vast amount of wetland hazards challenge all levels of golfers. As a result, Belmont was rated the third most challenging golf course in Virginia by the USGA.